3D Printer Heated Chamber

img 1577

One of the big gripes I have with my 3D printer, a Bambu Labs X1 Carbon, is the lack of a chamber heater. For more exotic materials (nylon, carbon fiber nylon, carbon fiber ABS), cooling too rapidly can cause the material to warp mid-print and either fail or induce bowed surfaces.

Carbon fiber nylon print failing due to rapid cooling

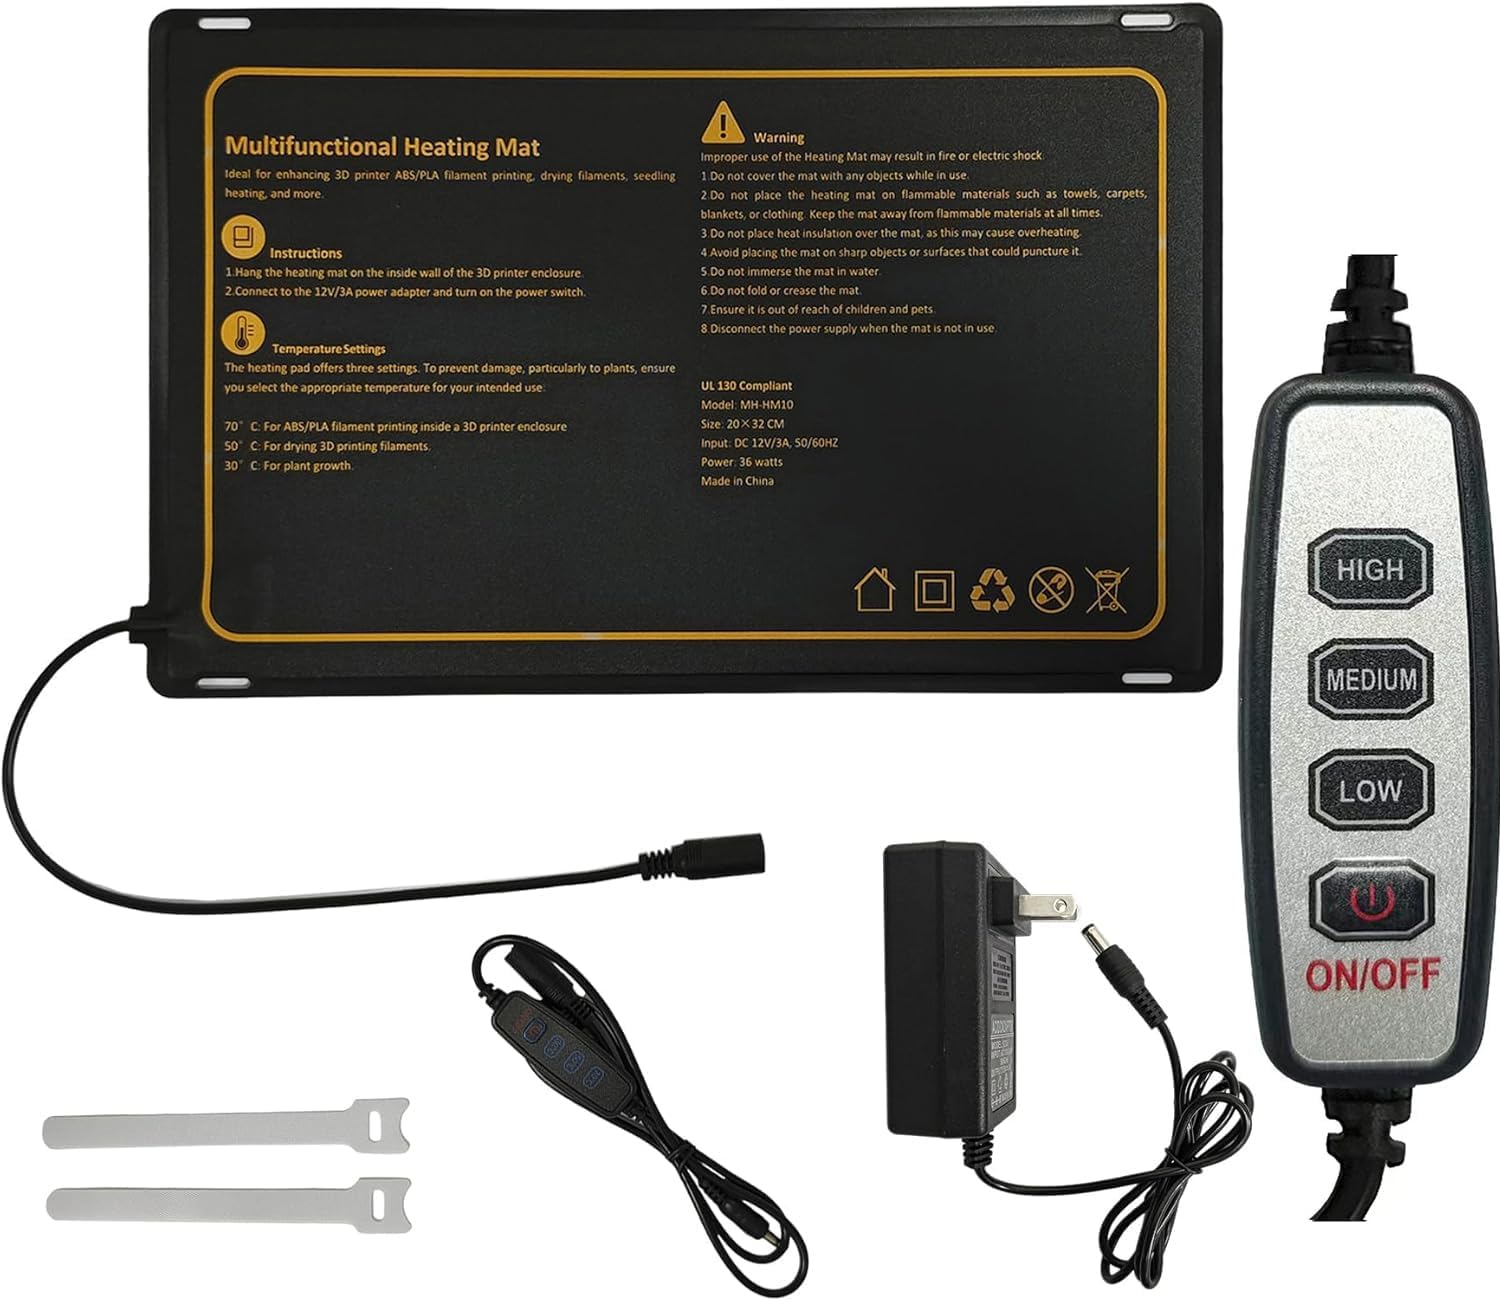
A common way to fix this with printers is to add a heated, enclosed chamber, which usually increases the price. Unfortunately, my X1C was not deemed high-end enough, and Bambu Labs did not include a heater from stock. However, I challenged myself to create my own system and be able to reliably print these exotic materials, as the only premade options were expensive and had poor reviews.

71af bndgol. ac sl1500

3D Printer Heated Chamber Mat, currently on Amazon with a 3.2 star rating and limited temperature controls
I would like to preface that, about halfway through this project, when searching for temperature controller sockets, I came across this video by Ember Prototypes, detailing a project very similar to how mine turned out. He’s got a great tutorial on how to do something similar, but I would like to argue that mine improves what he did.

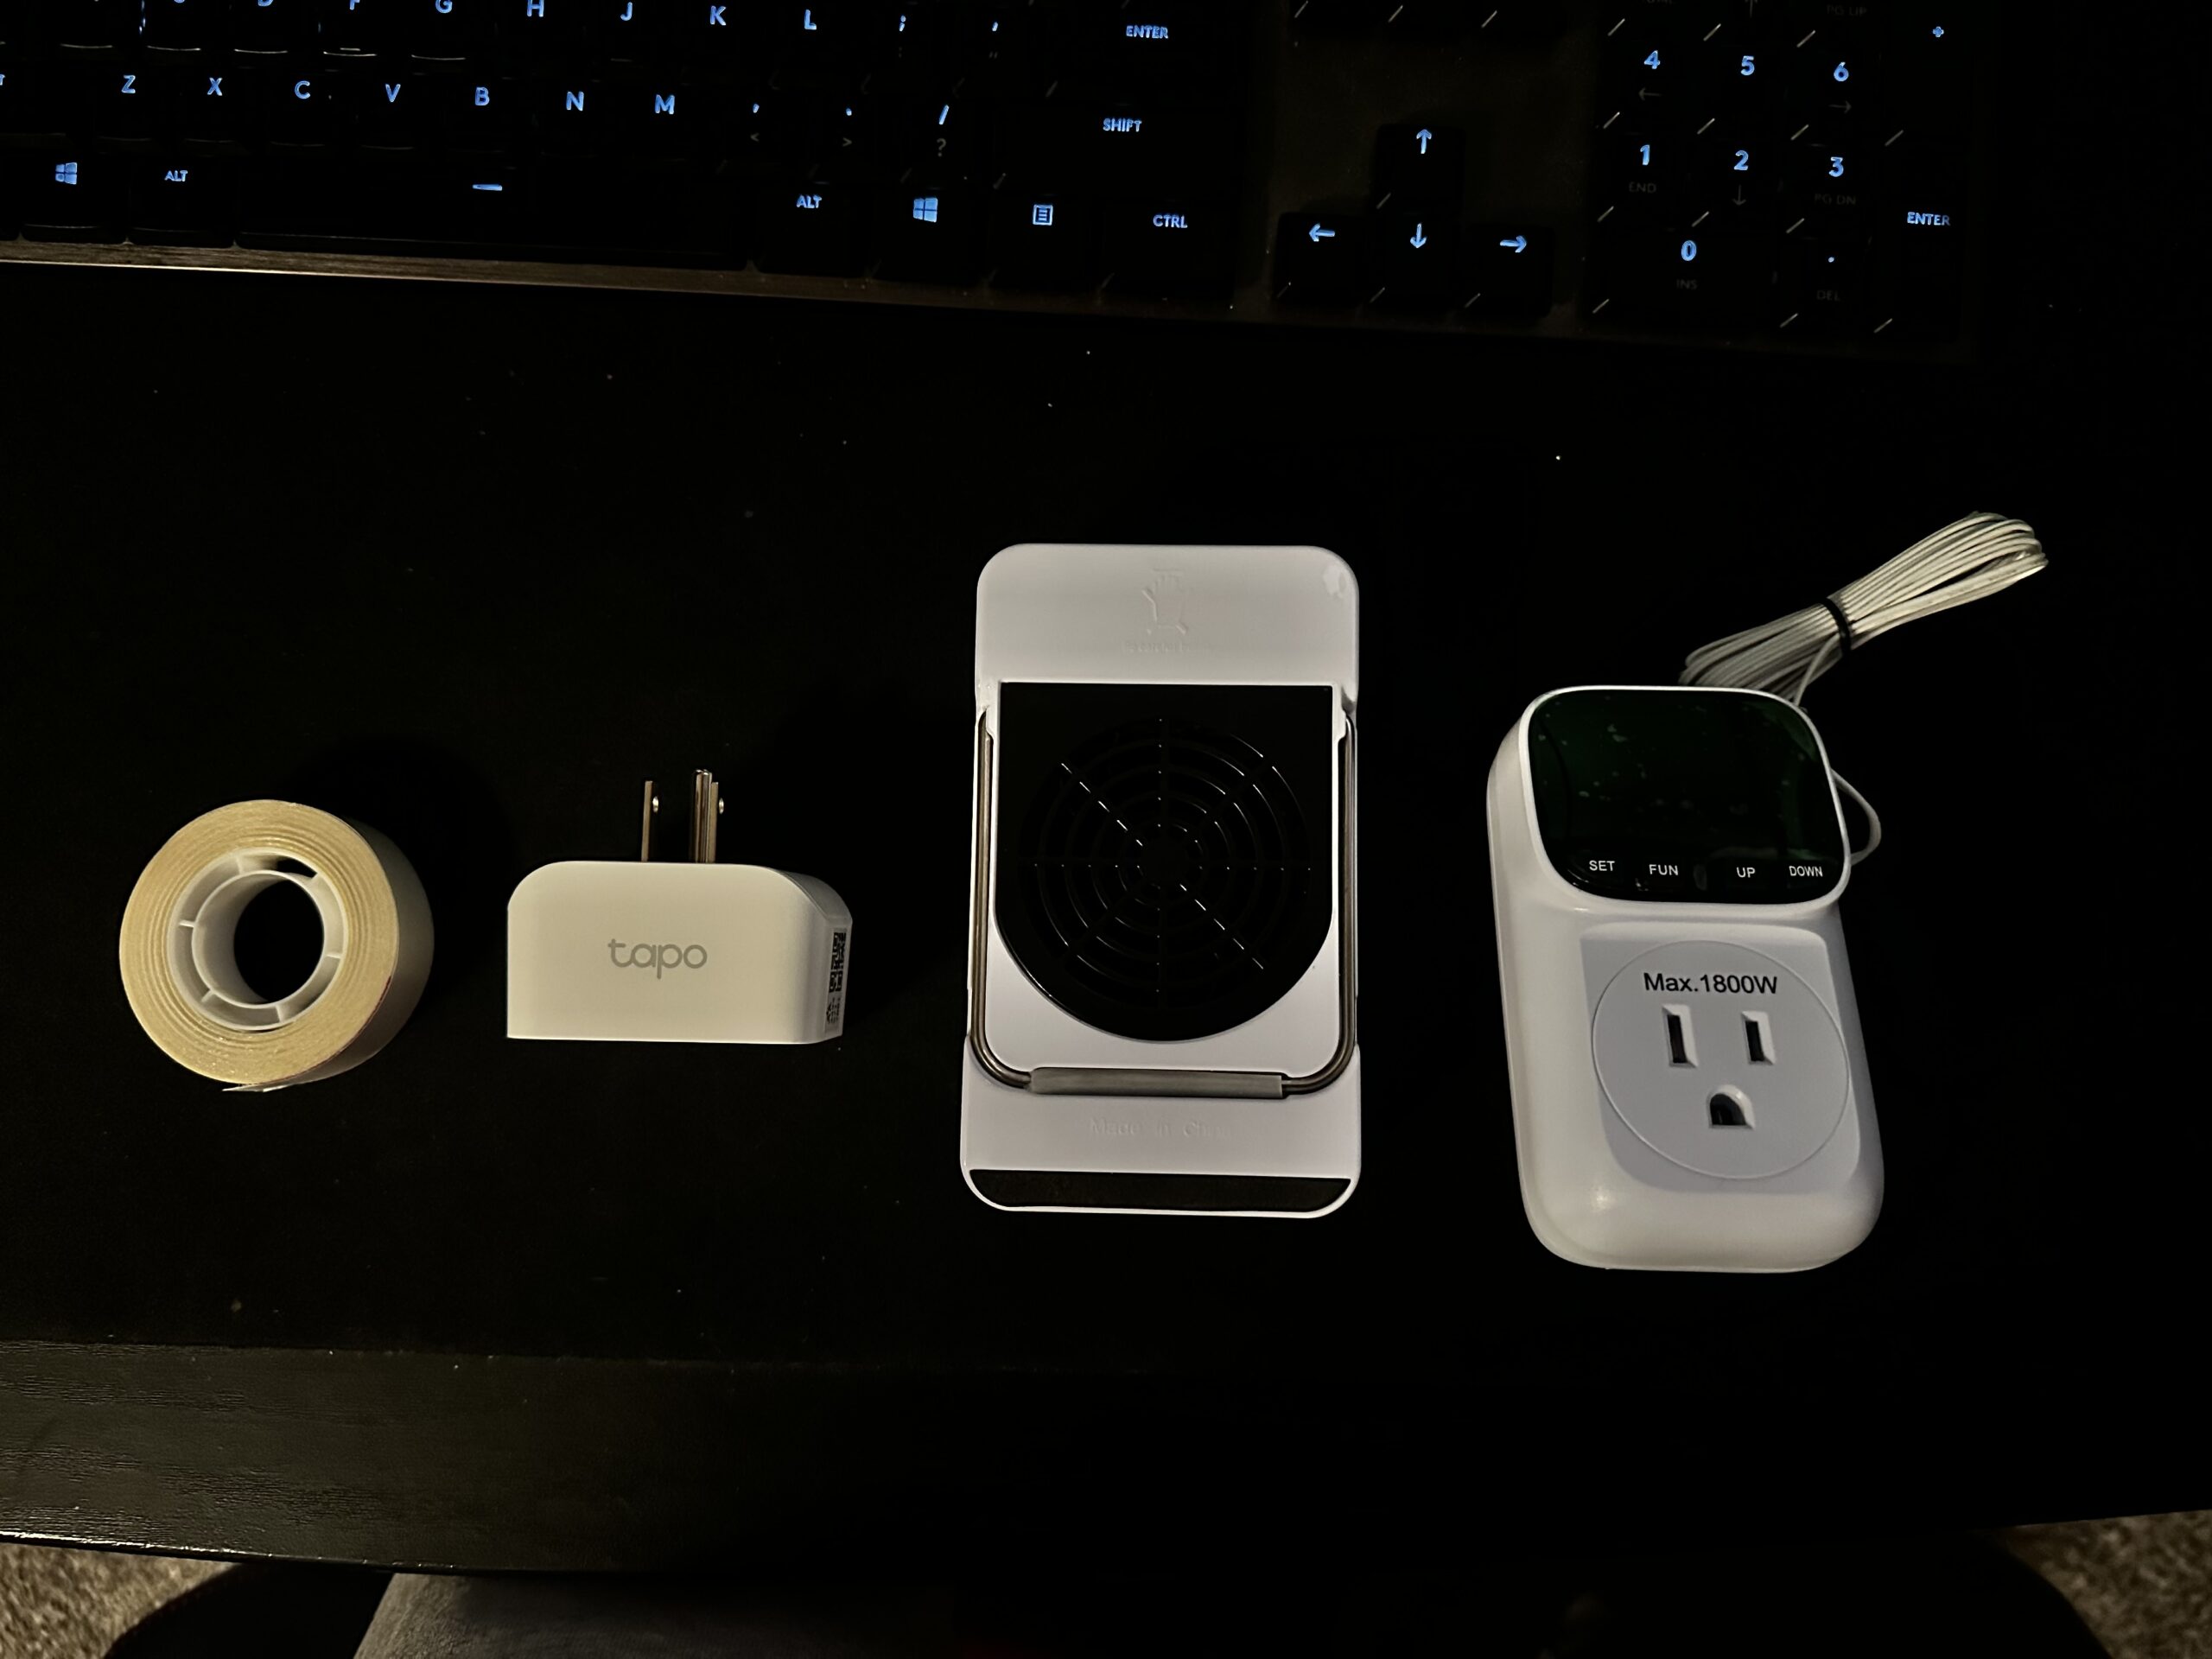
My project utilized the following bill of materials:

  • Mini Desktop Heater
  • Temperature Controller Socket
  • Wi-Fi Socket
  • PETG Filament
  • 3D Printer
  • Duct Tape
  • Double-sided tape
img 1561

Double-sided tape, Wi-Fi socket, mini desktop heater, and temperature controller socket, as used in this project
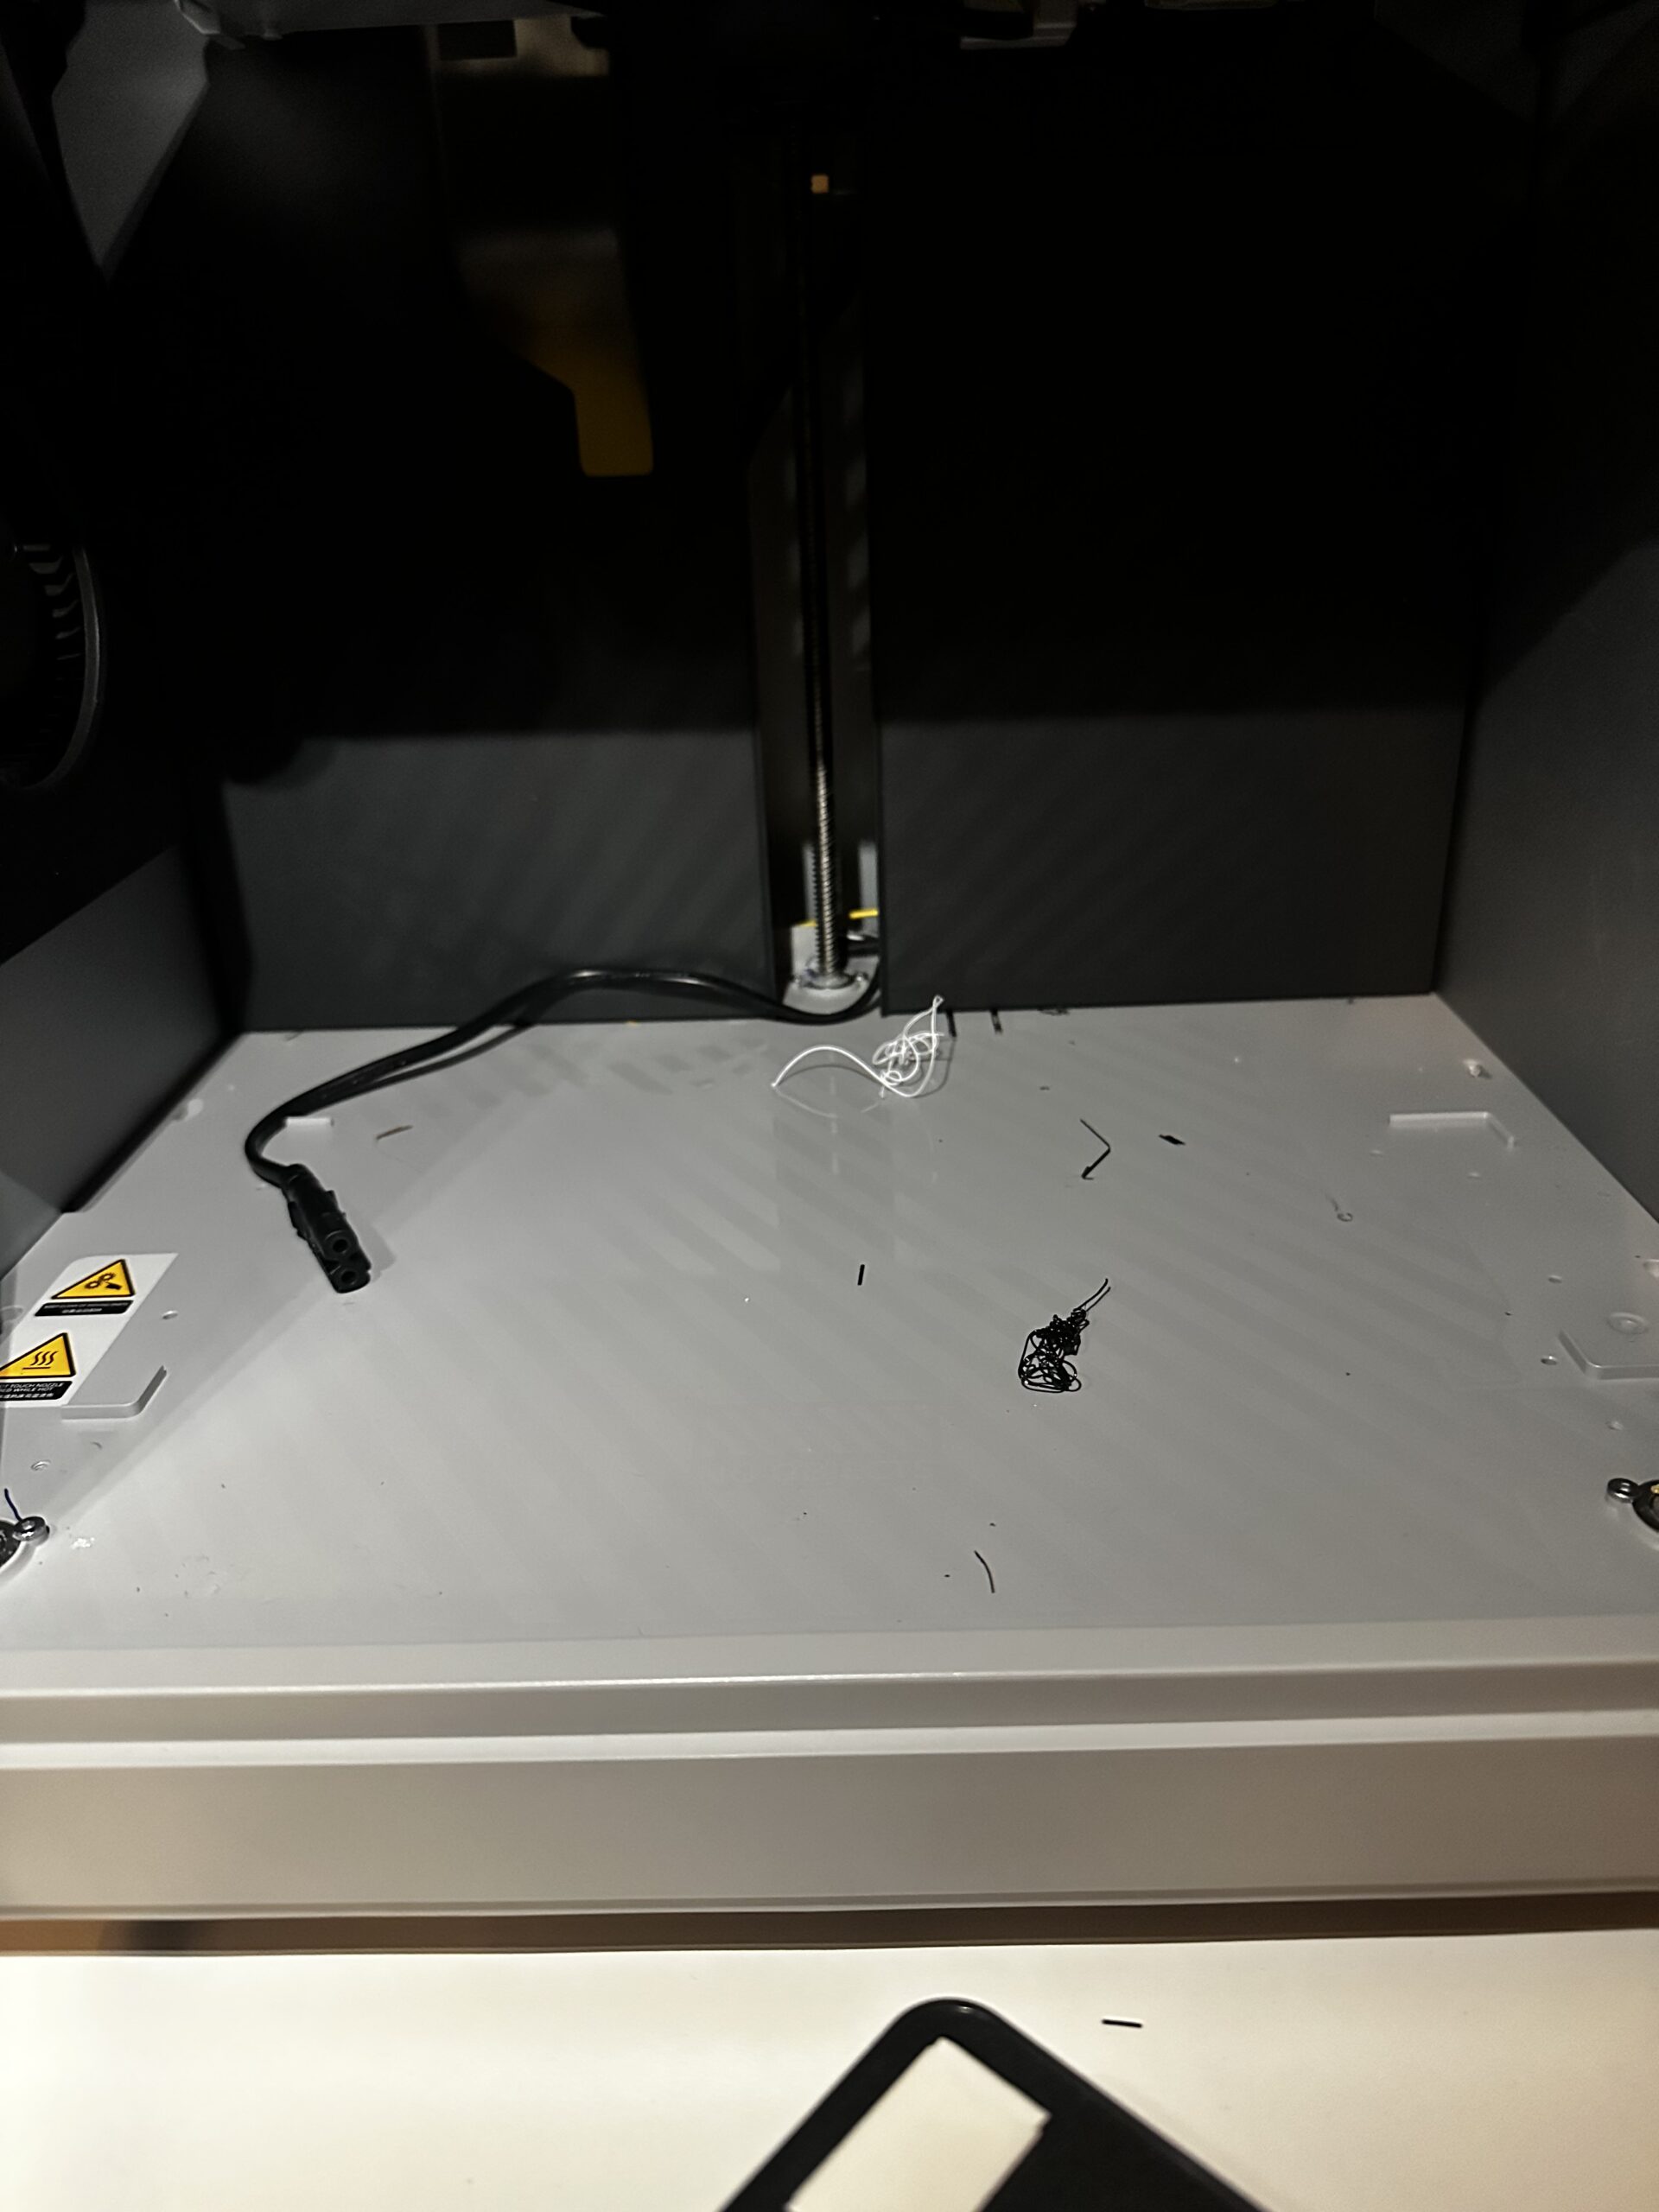
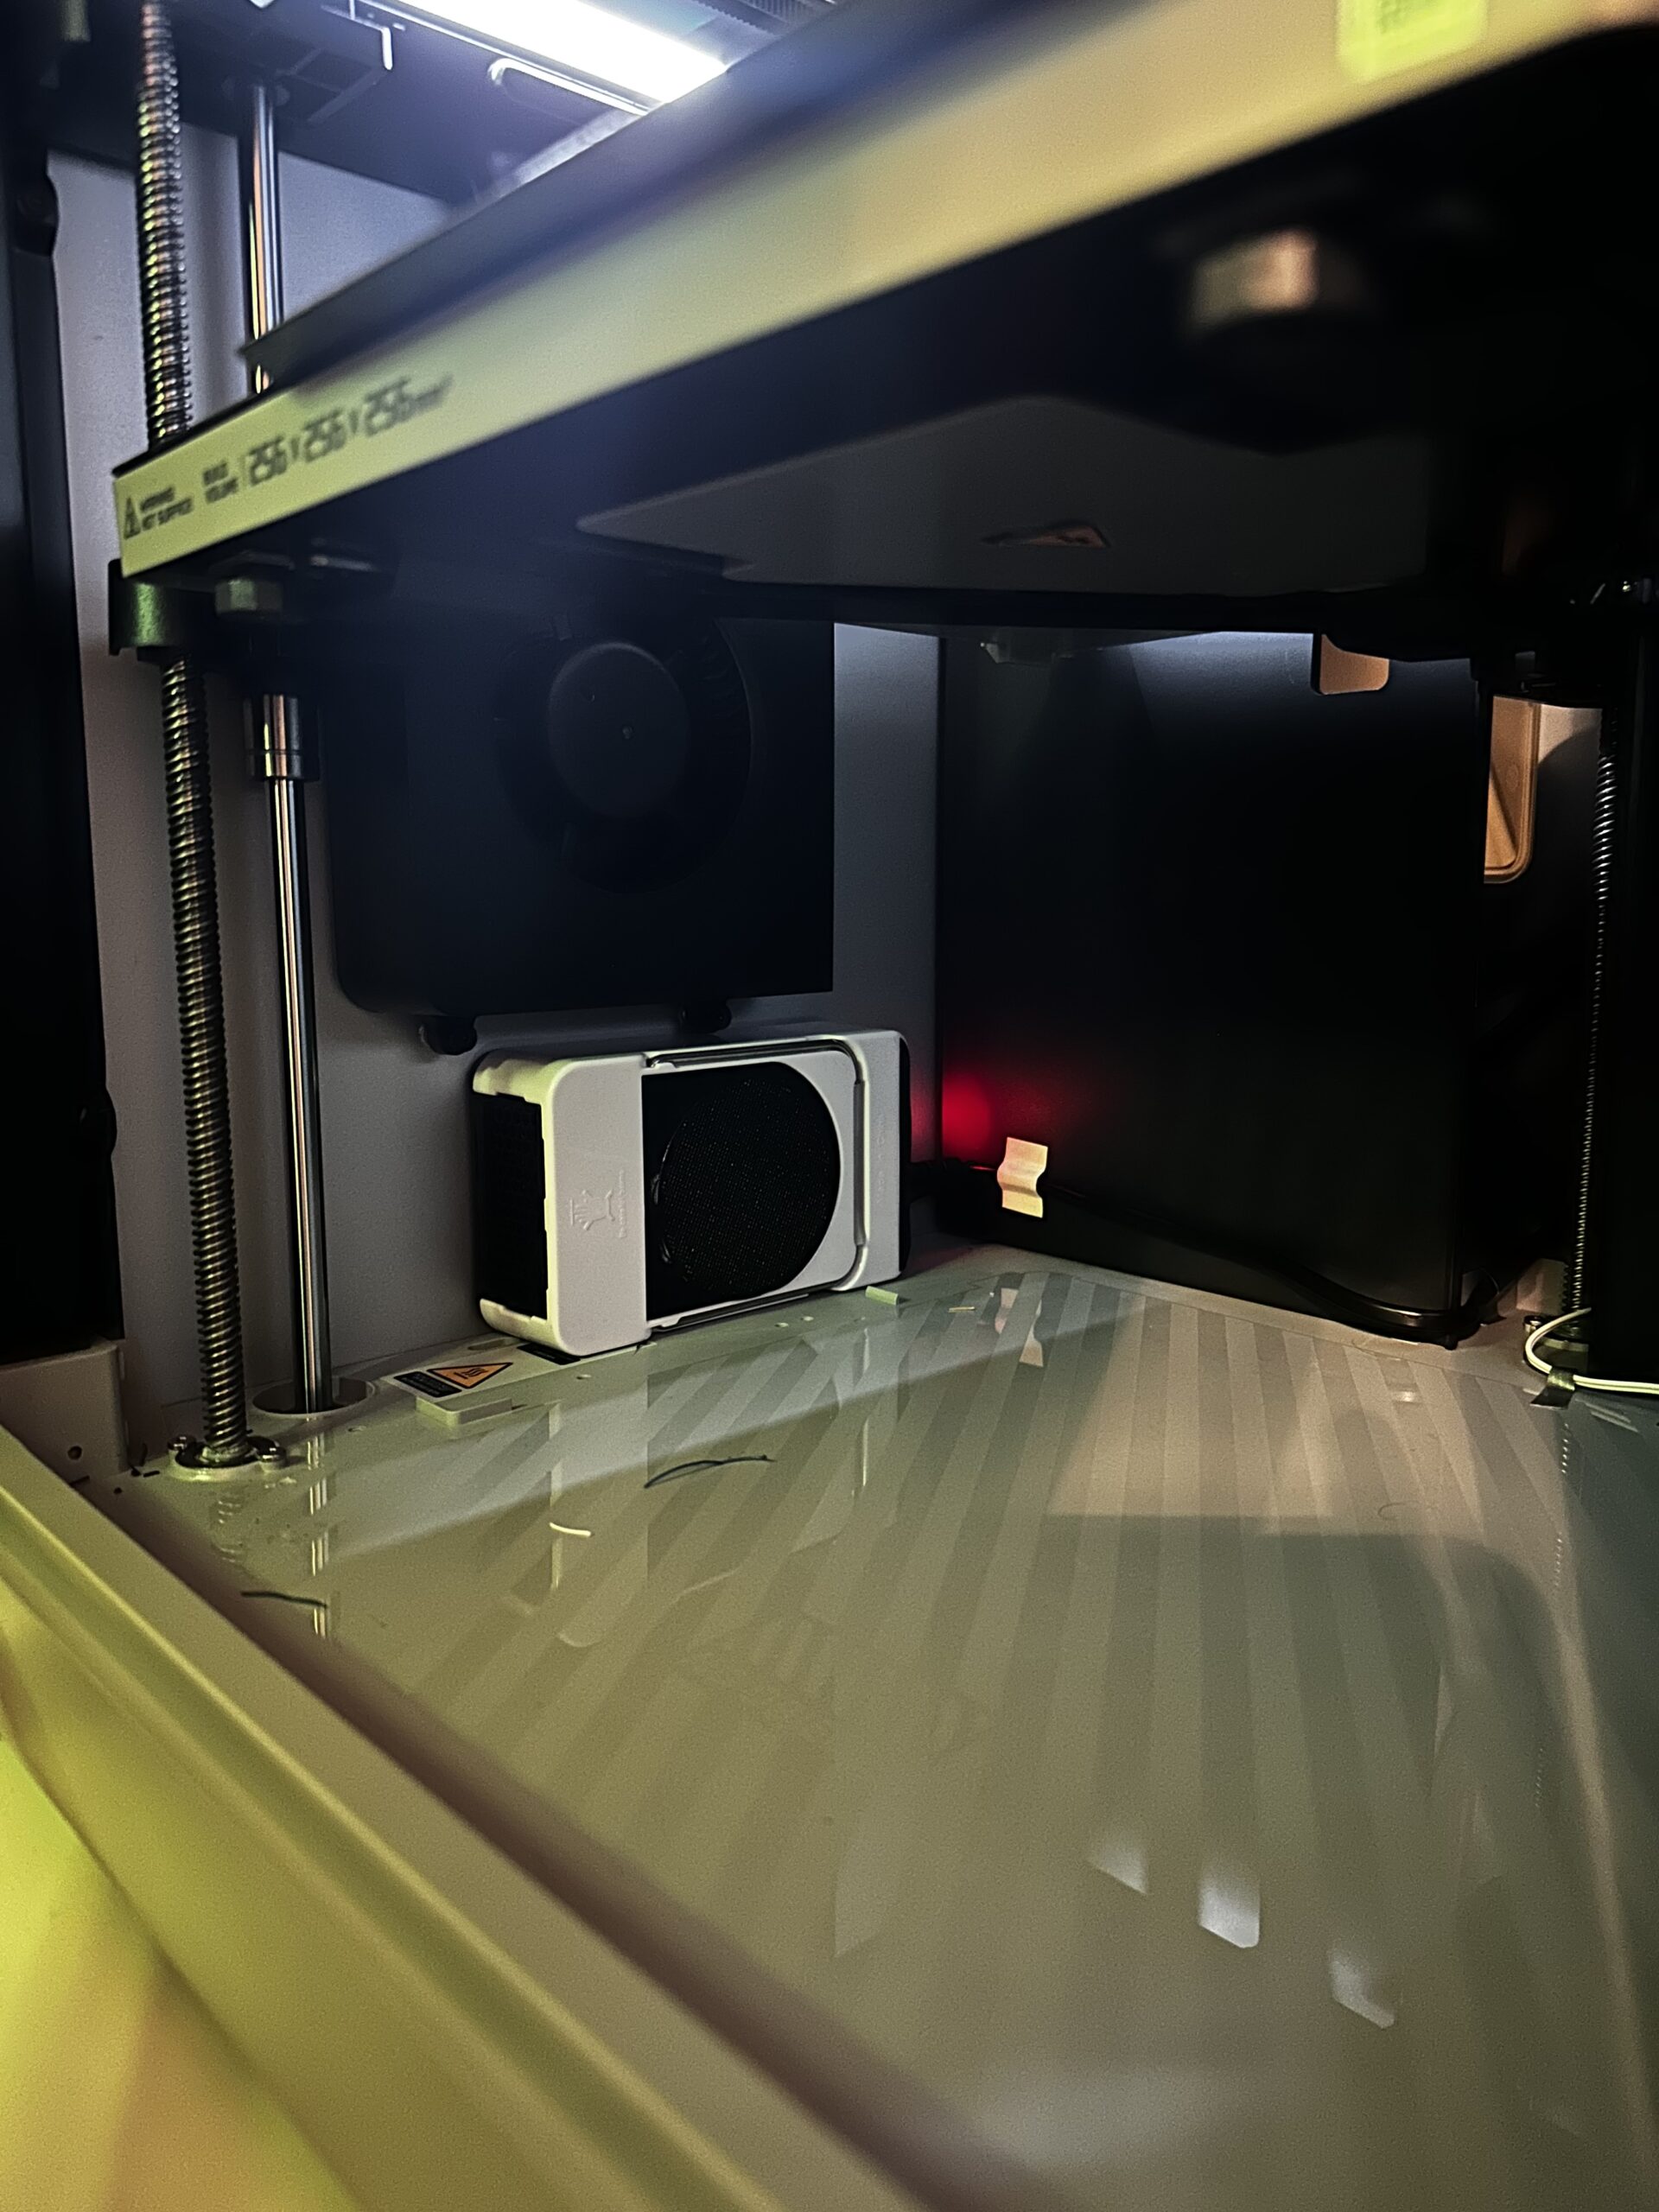
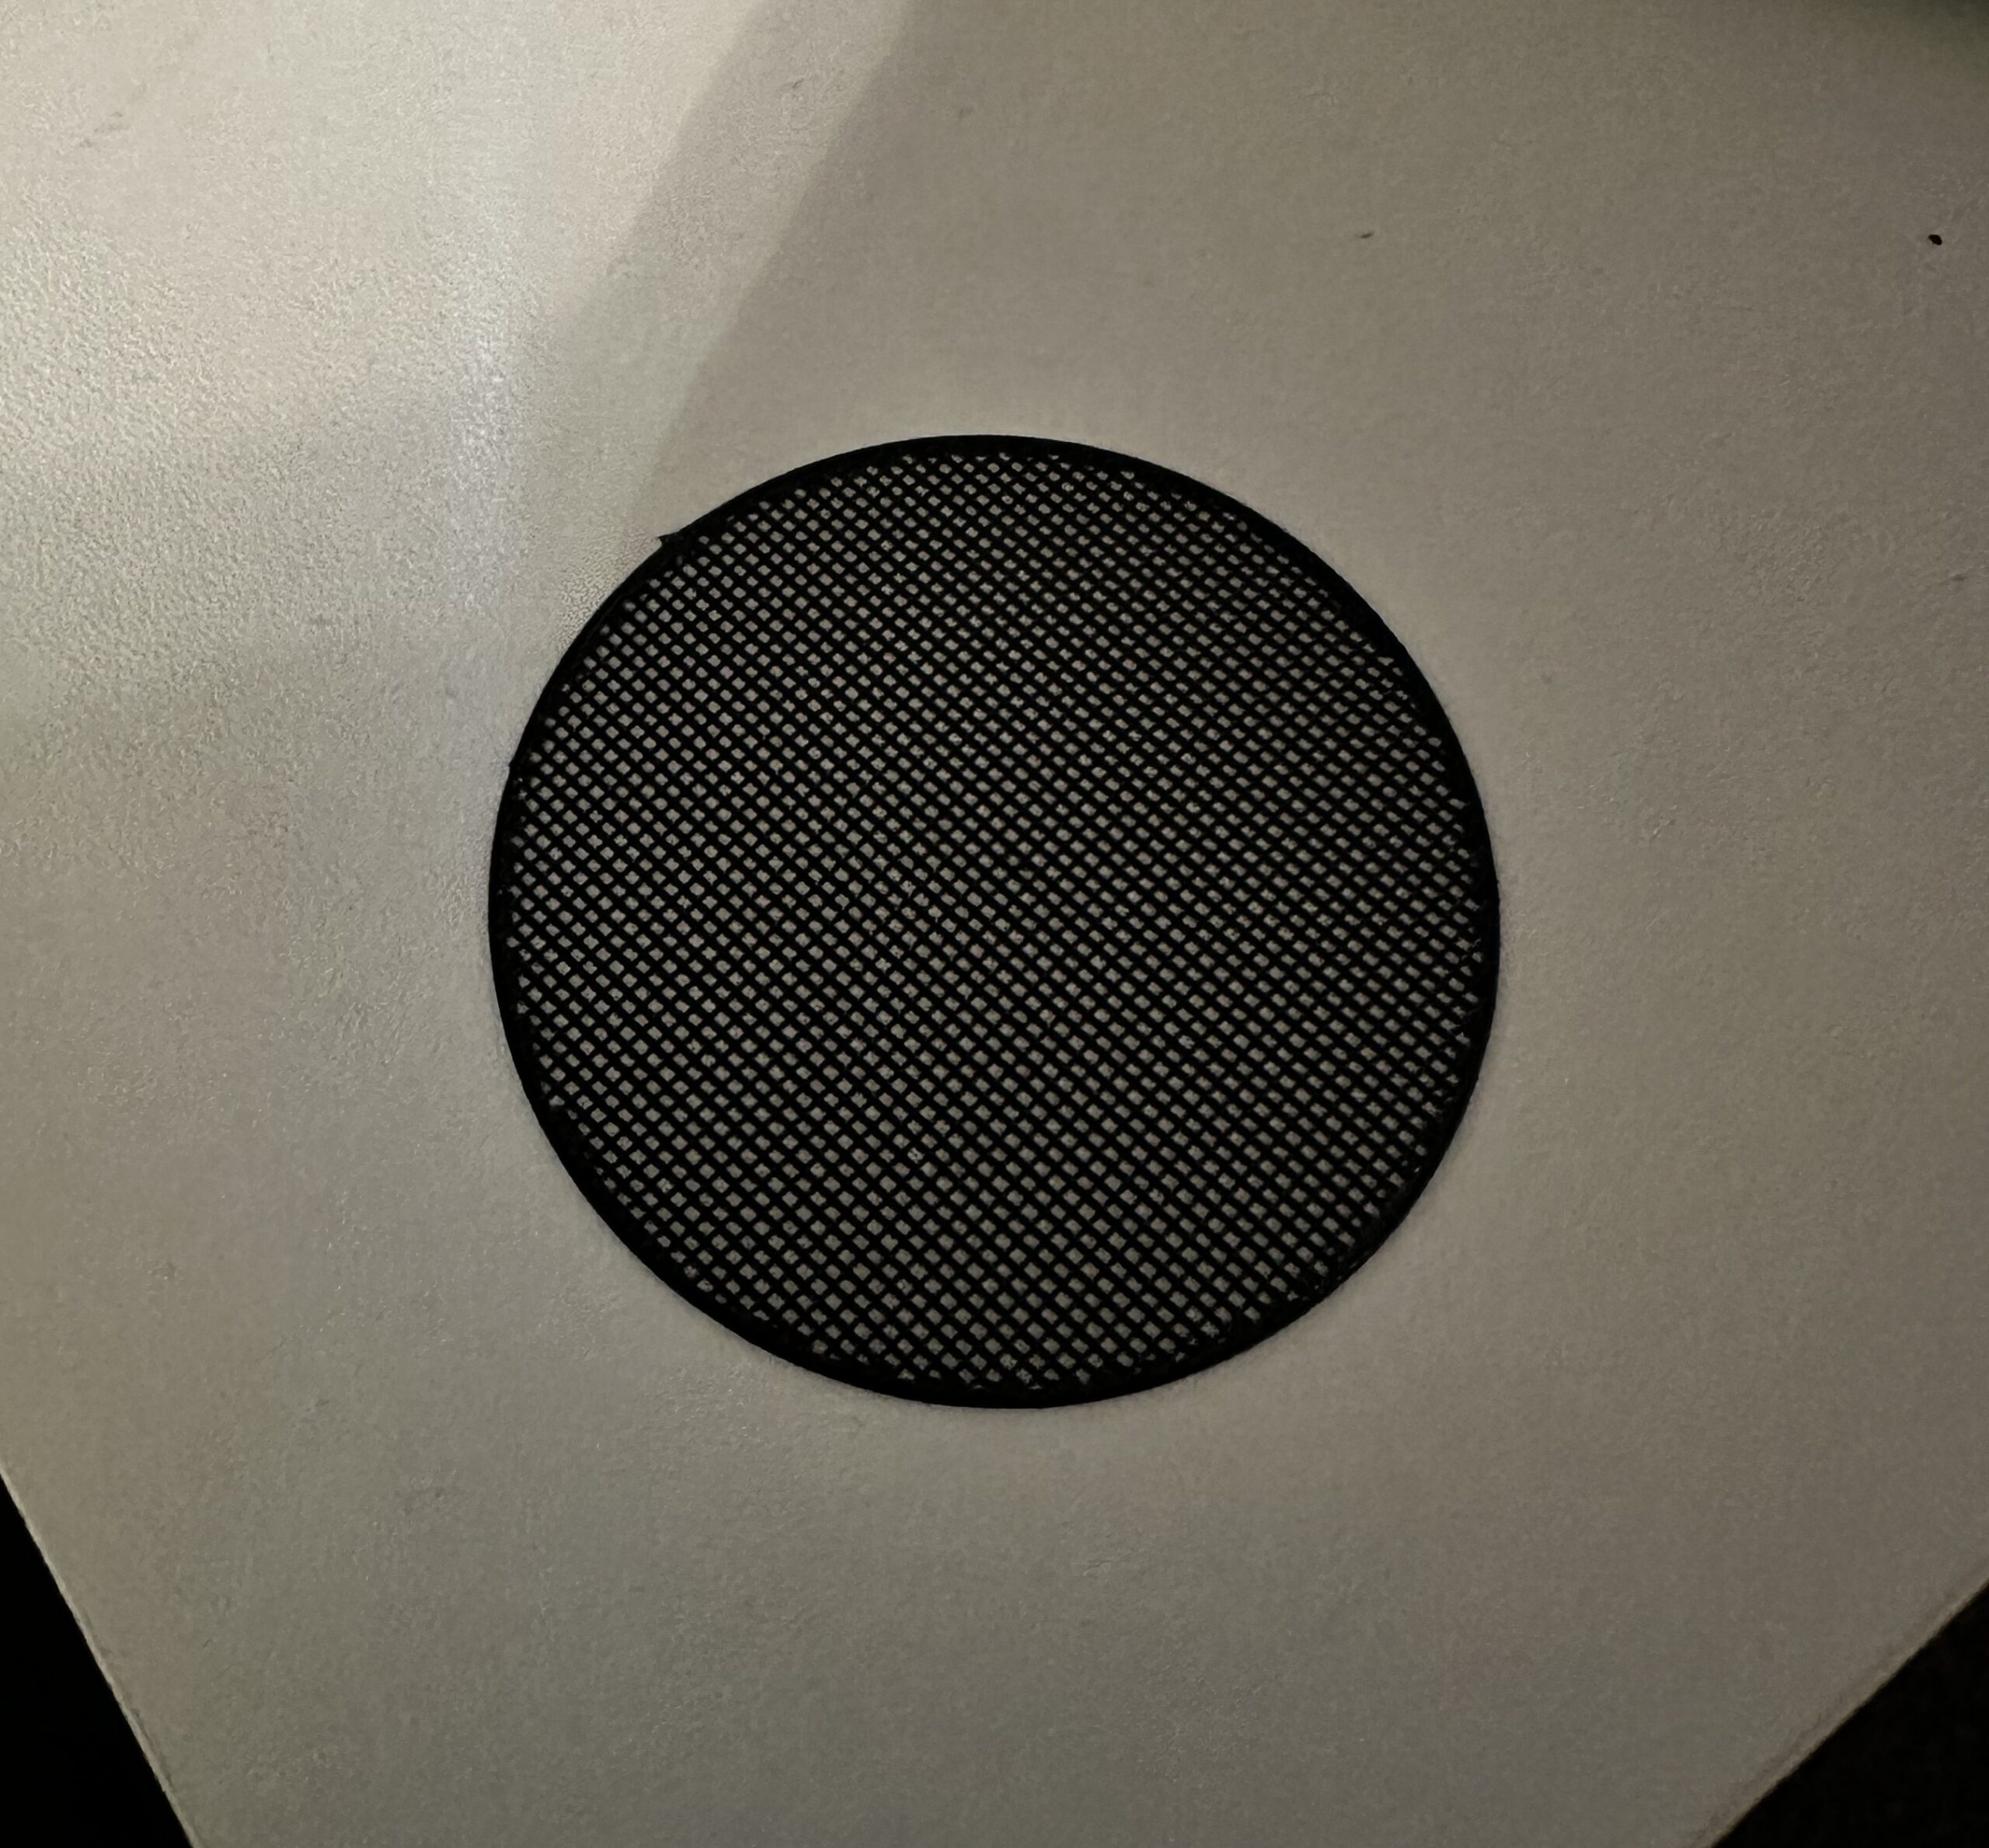
Given that the X1C is an enclosed printer already, all I needed to do was add the heating element. I chose the only desktop heater on Amazon that had the right dimensions to slot next to the X1C’s print bed. I printed a small mesh circle using PETG to cover the intake fan, as small pieces of filament tend to collect at the bottom of the printer, and I didn’t want these to be sucked into the heater.

img 1568

Material that accumulated in printer from one week of consistent printing
img 1570 1

PETG mesh screen printed to protect heater fan inlet, simply glued to fan rim
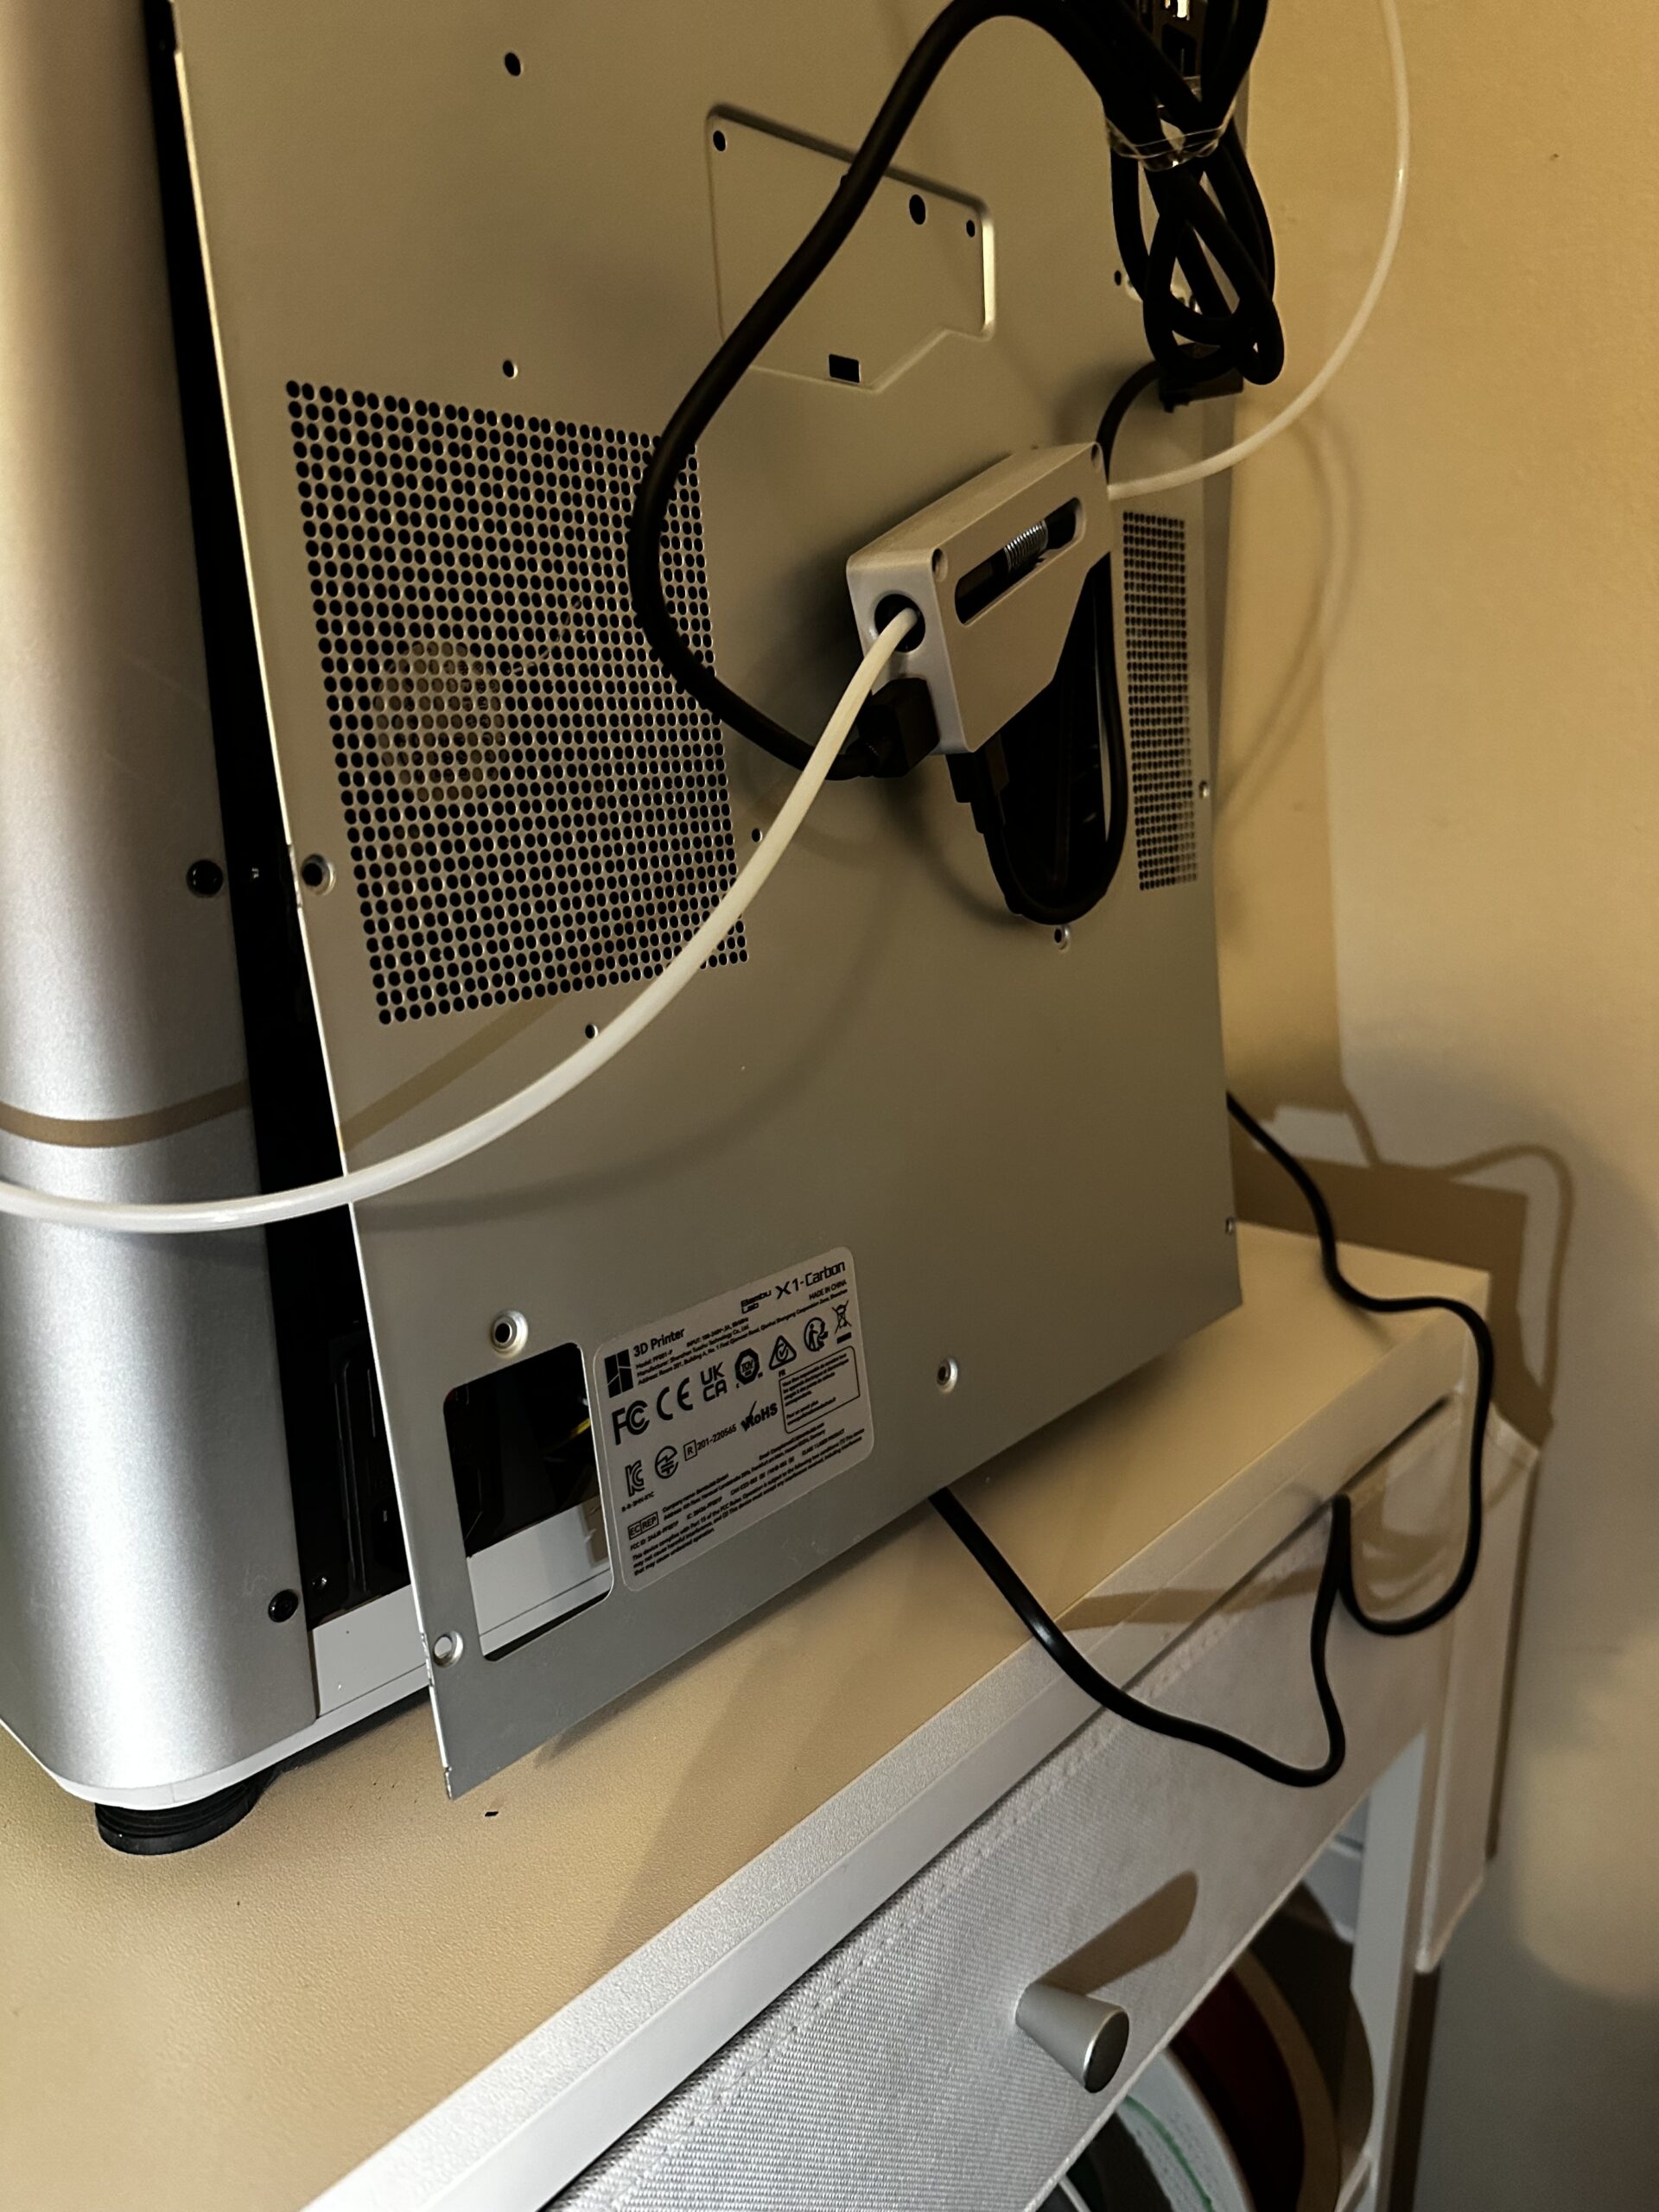
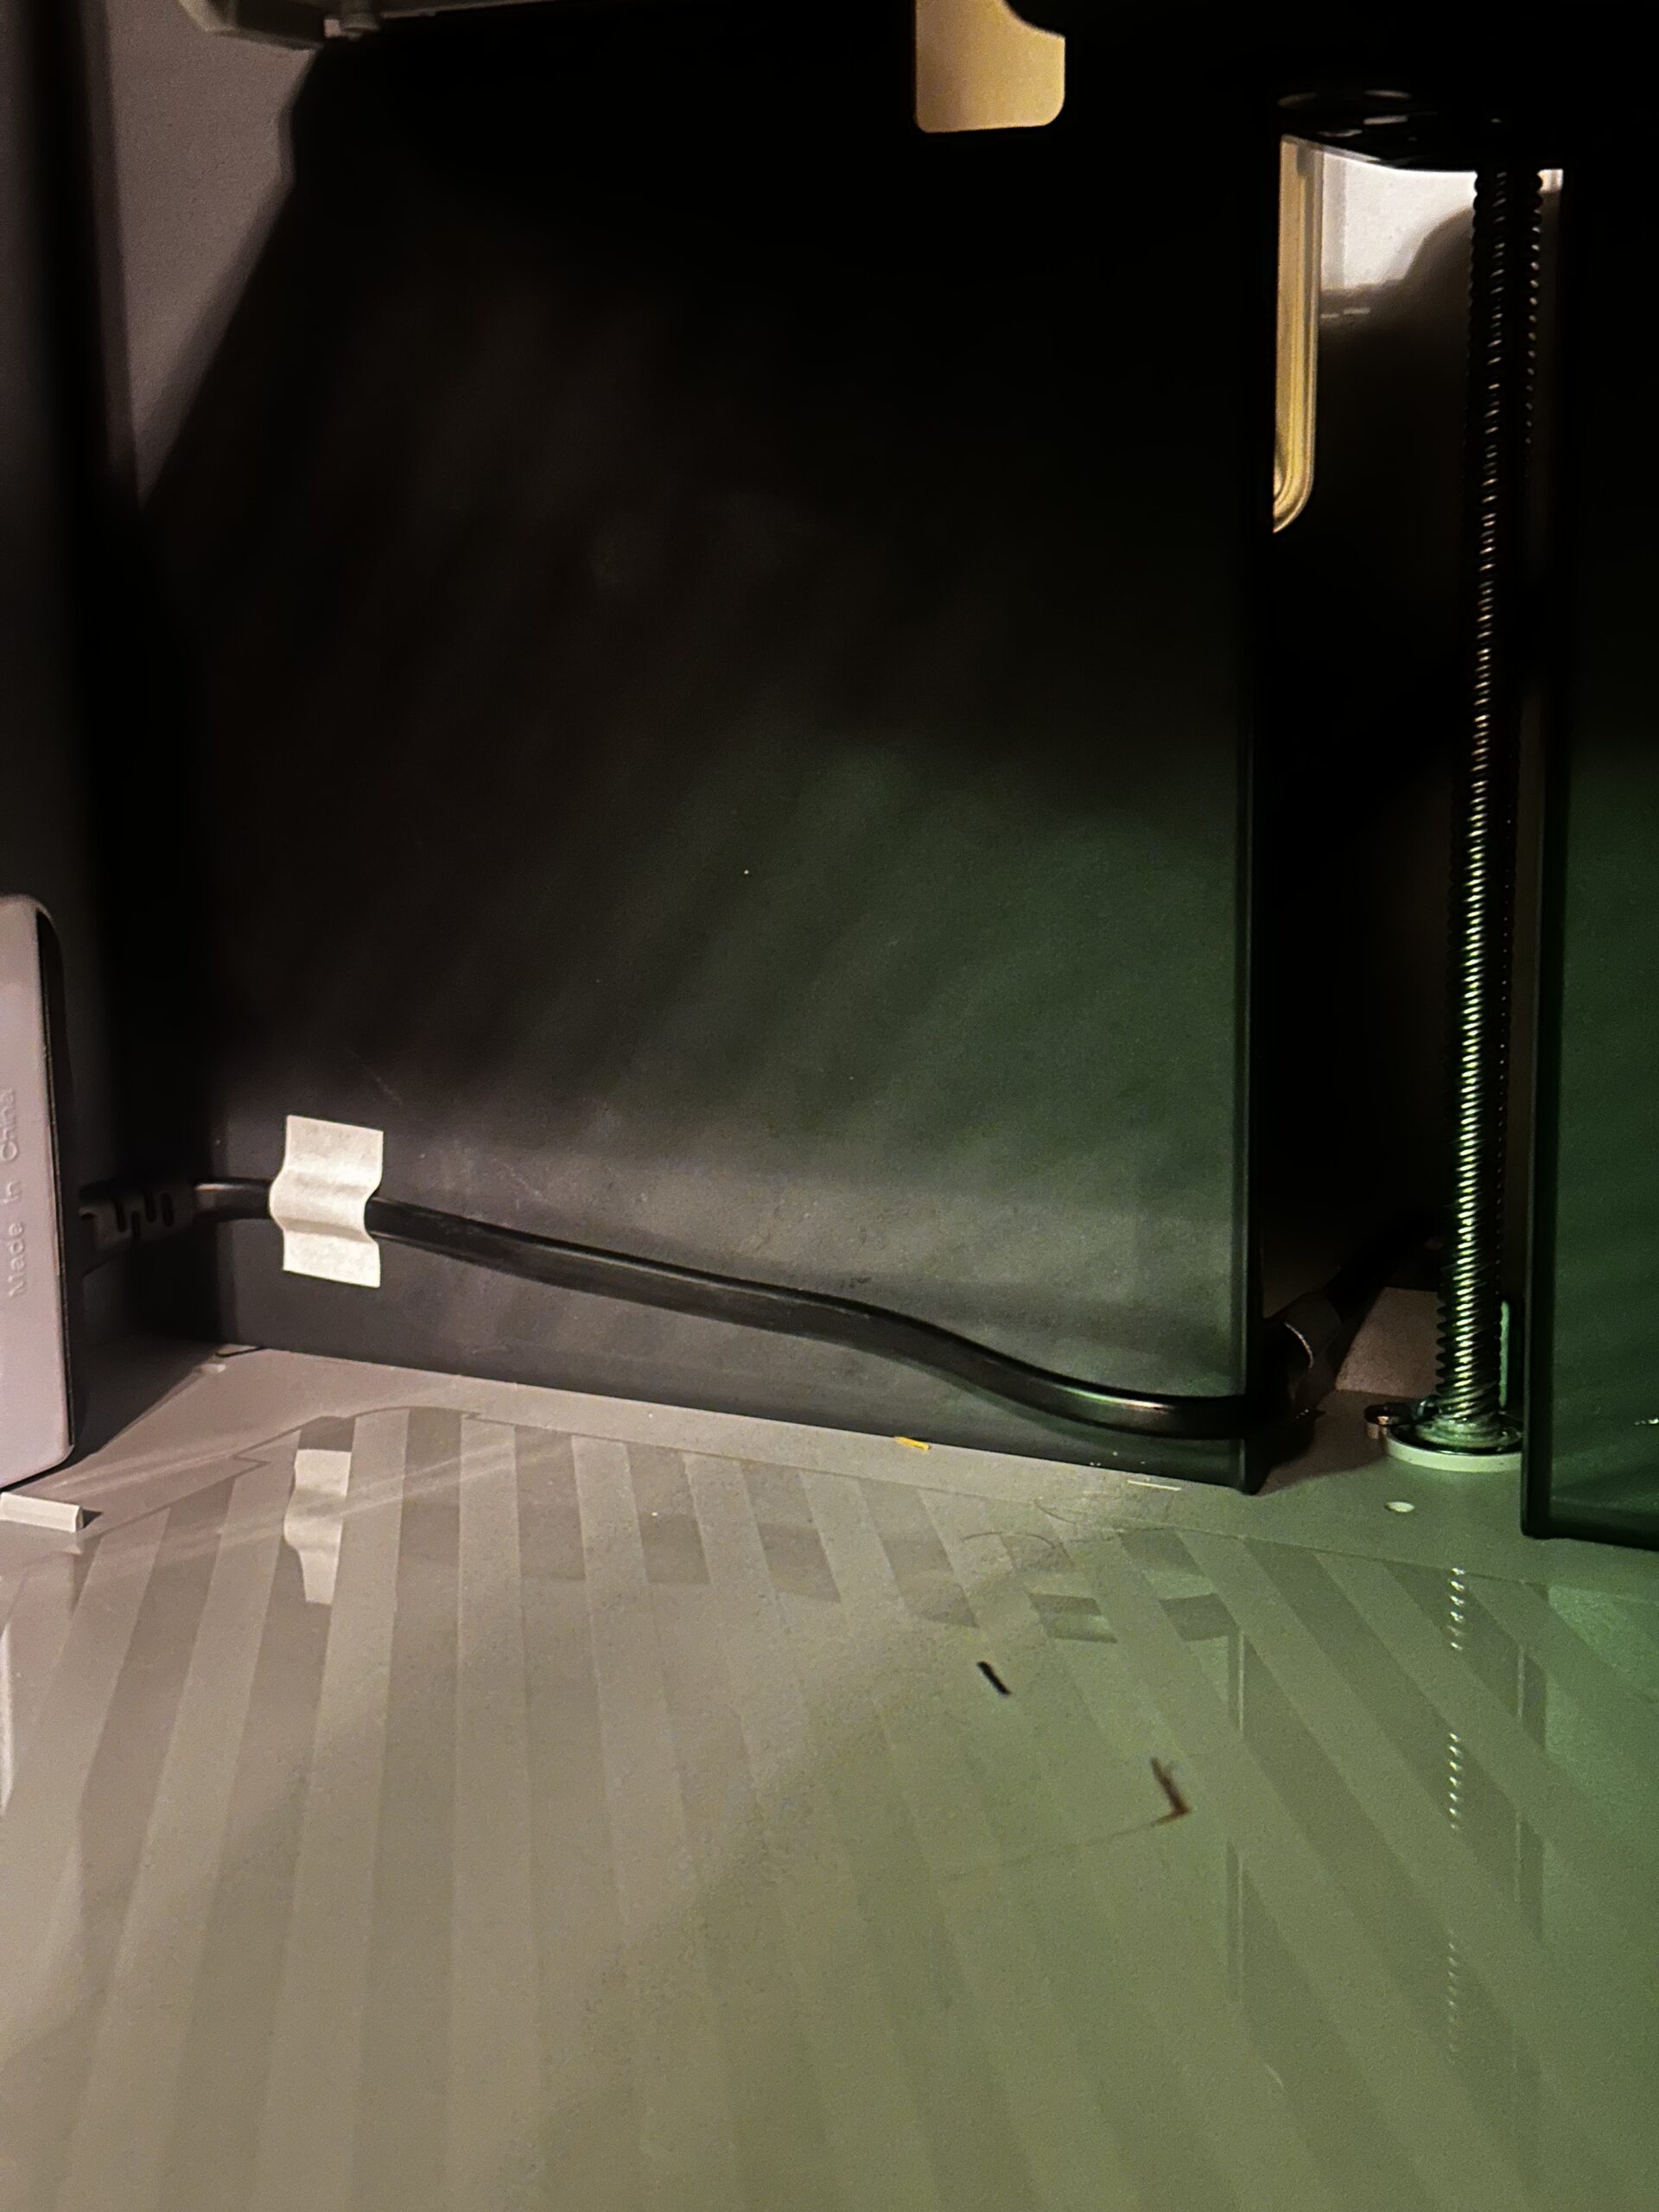
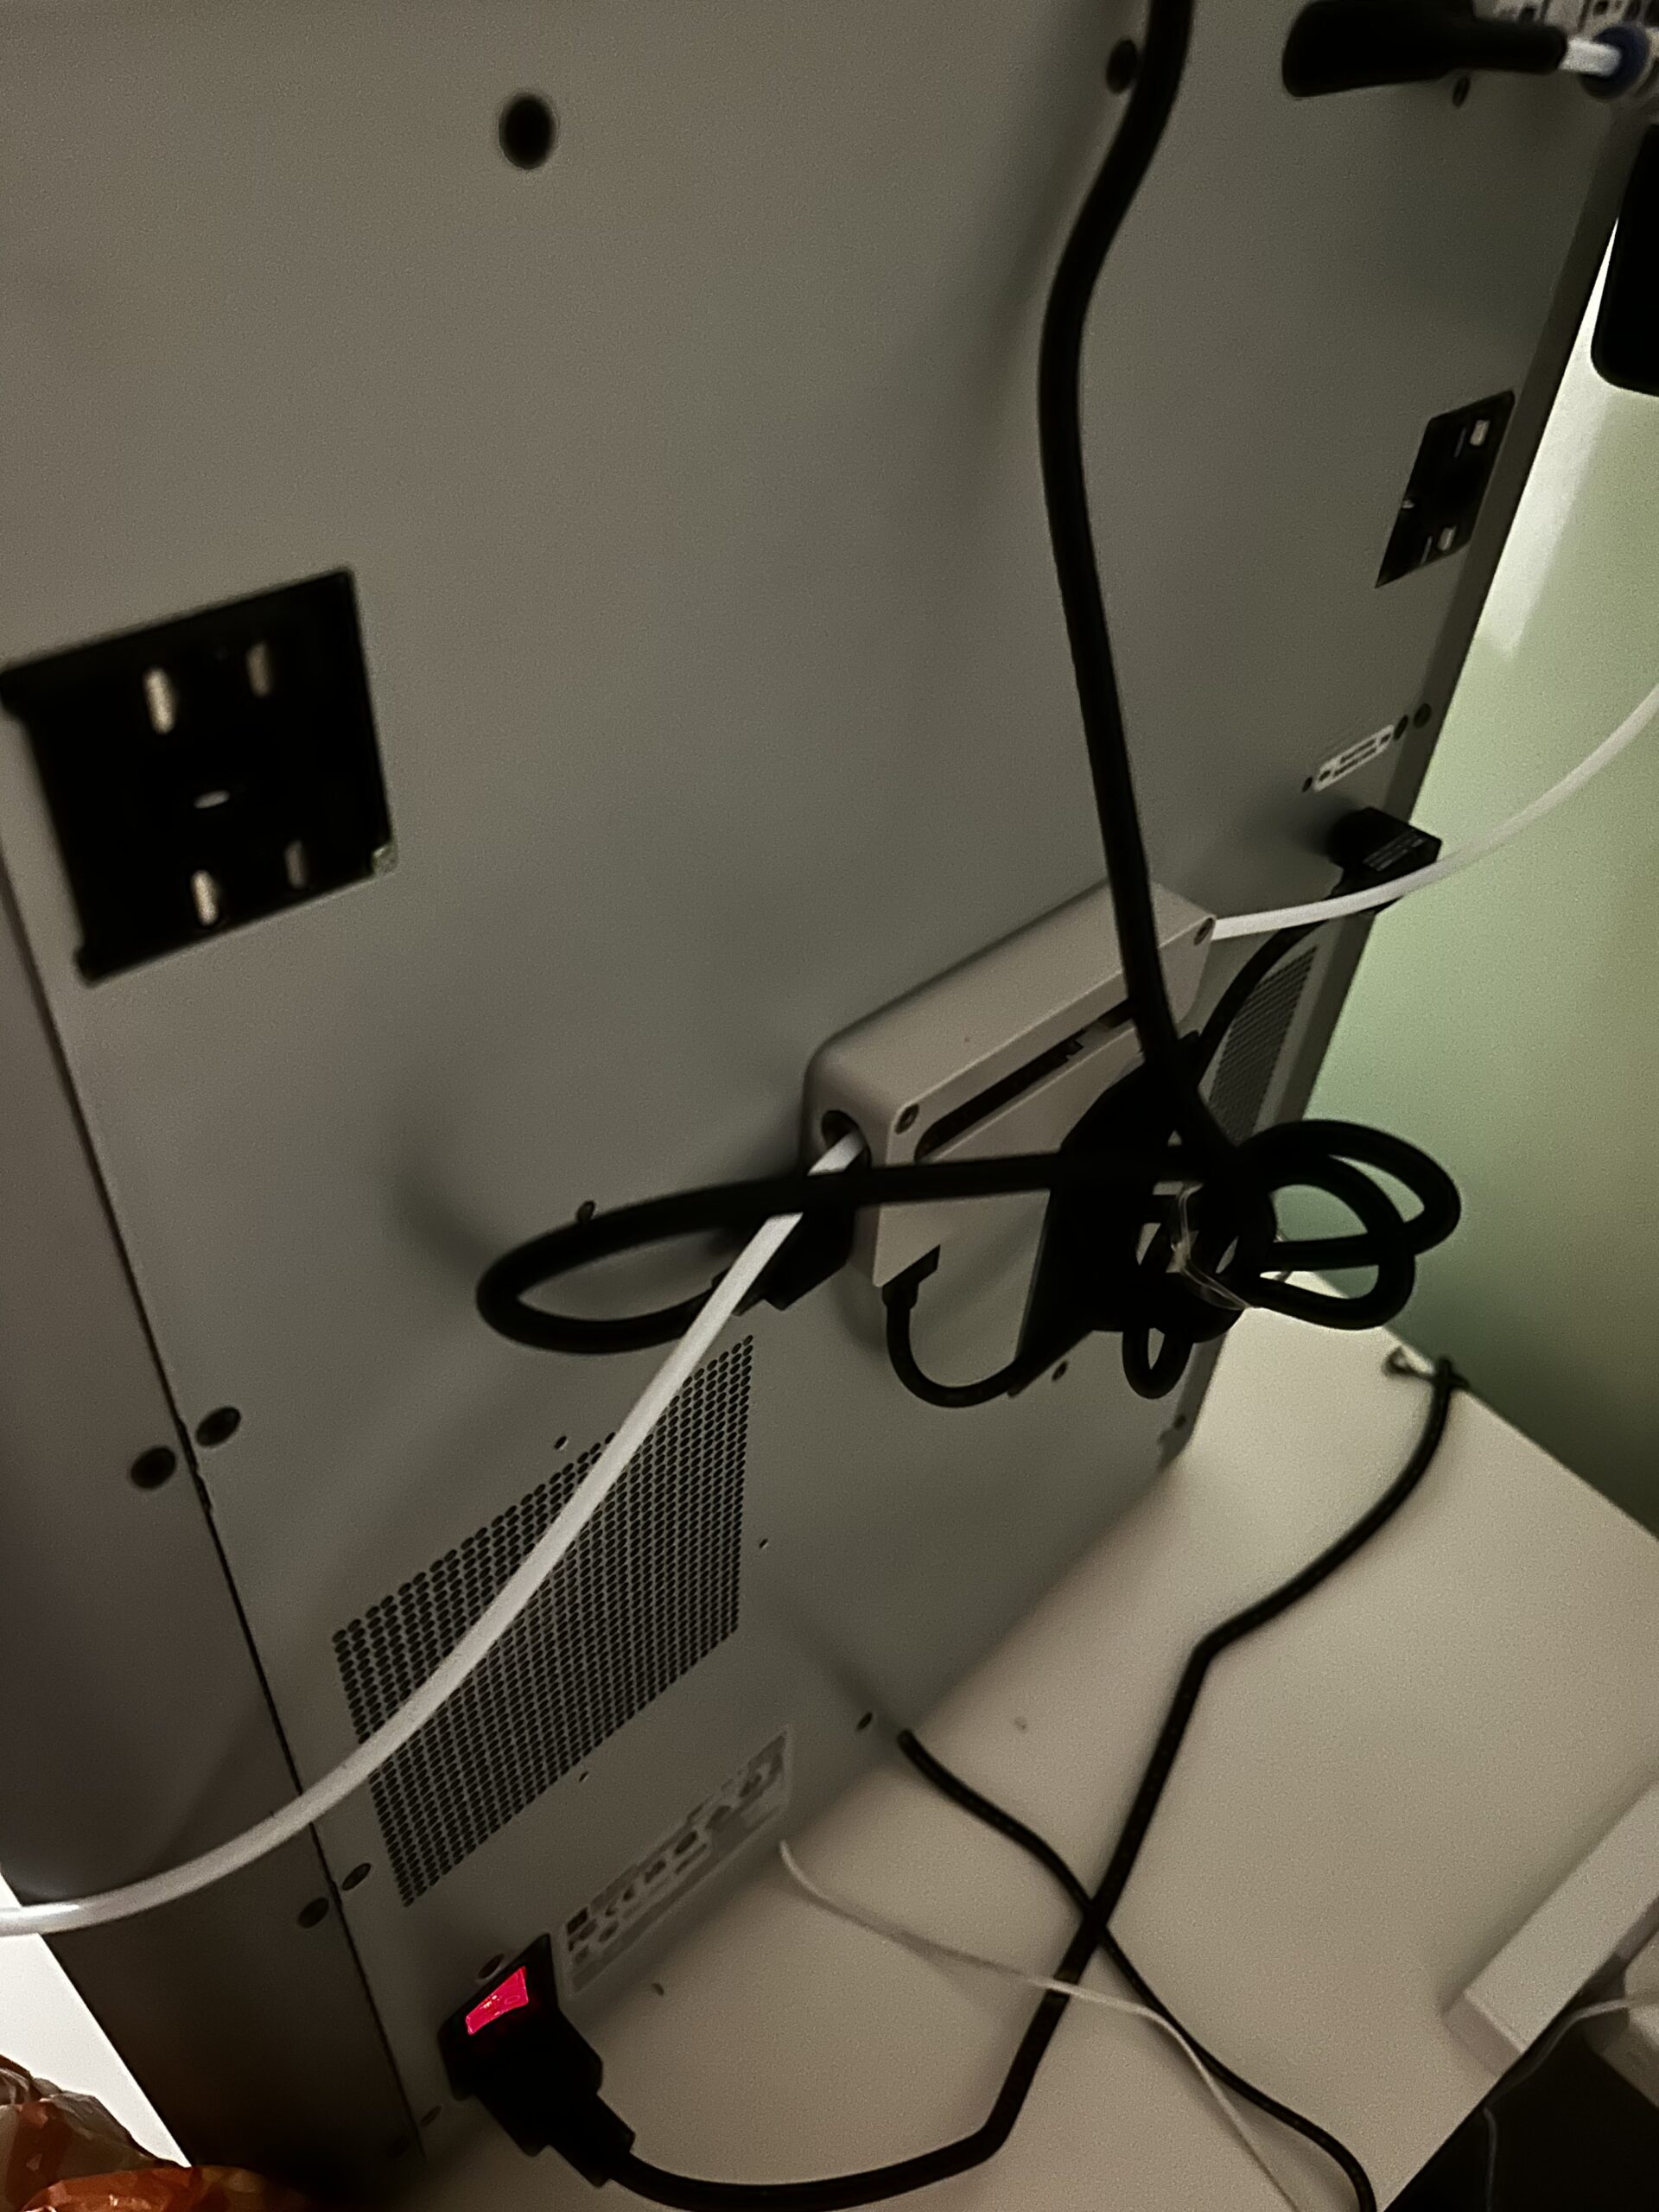
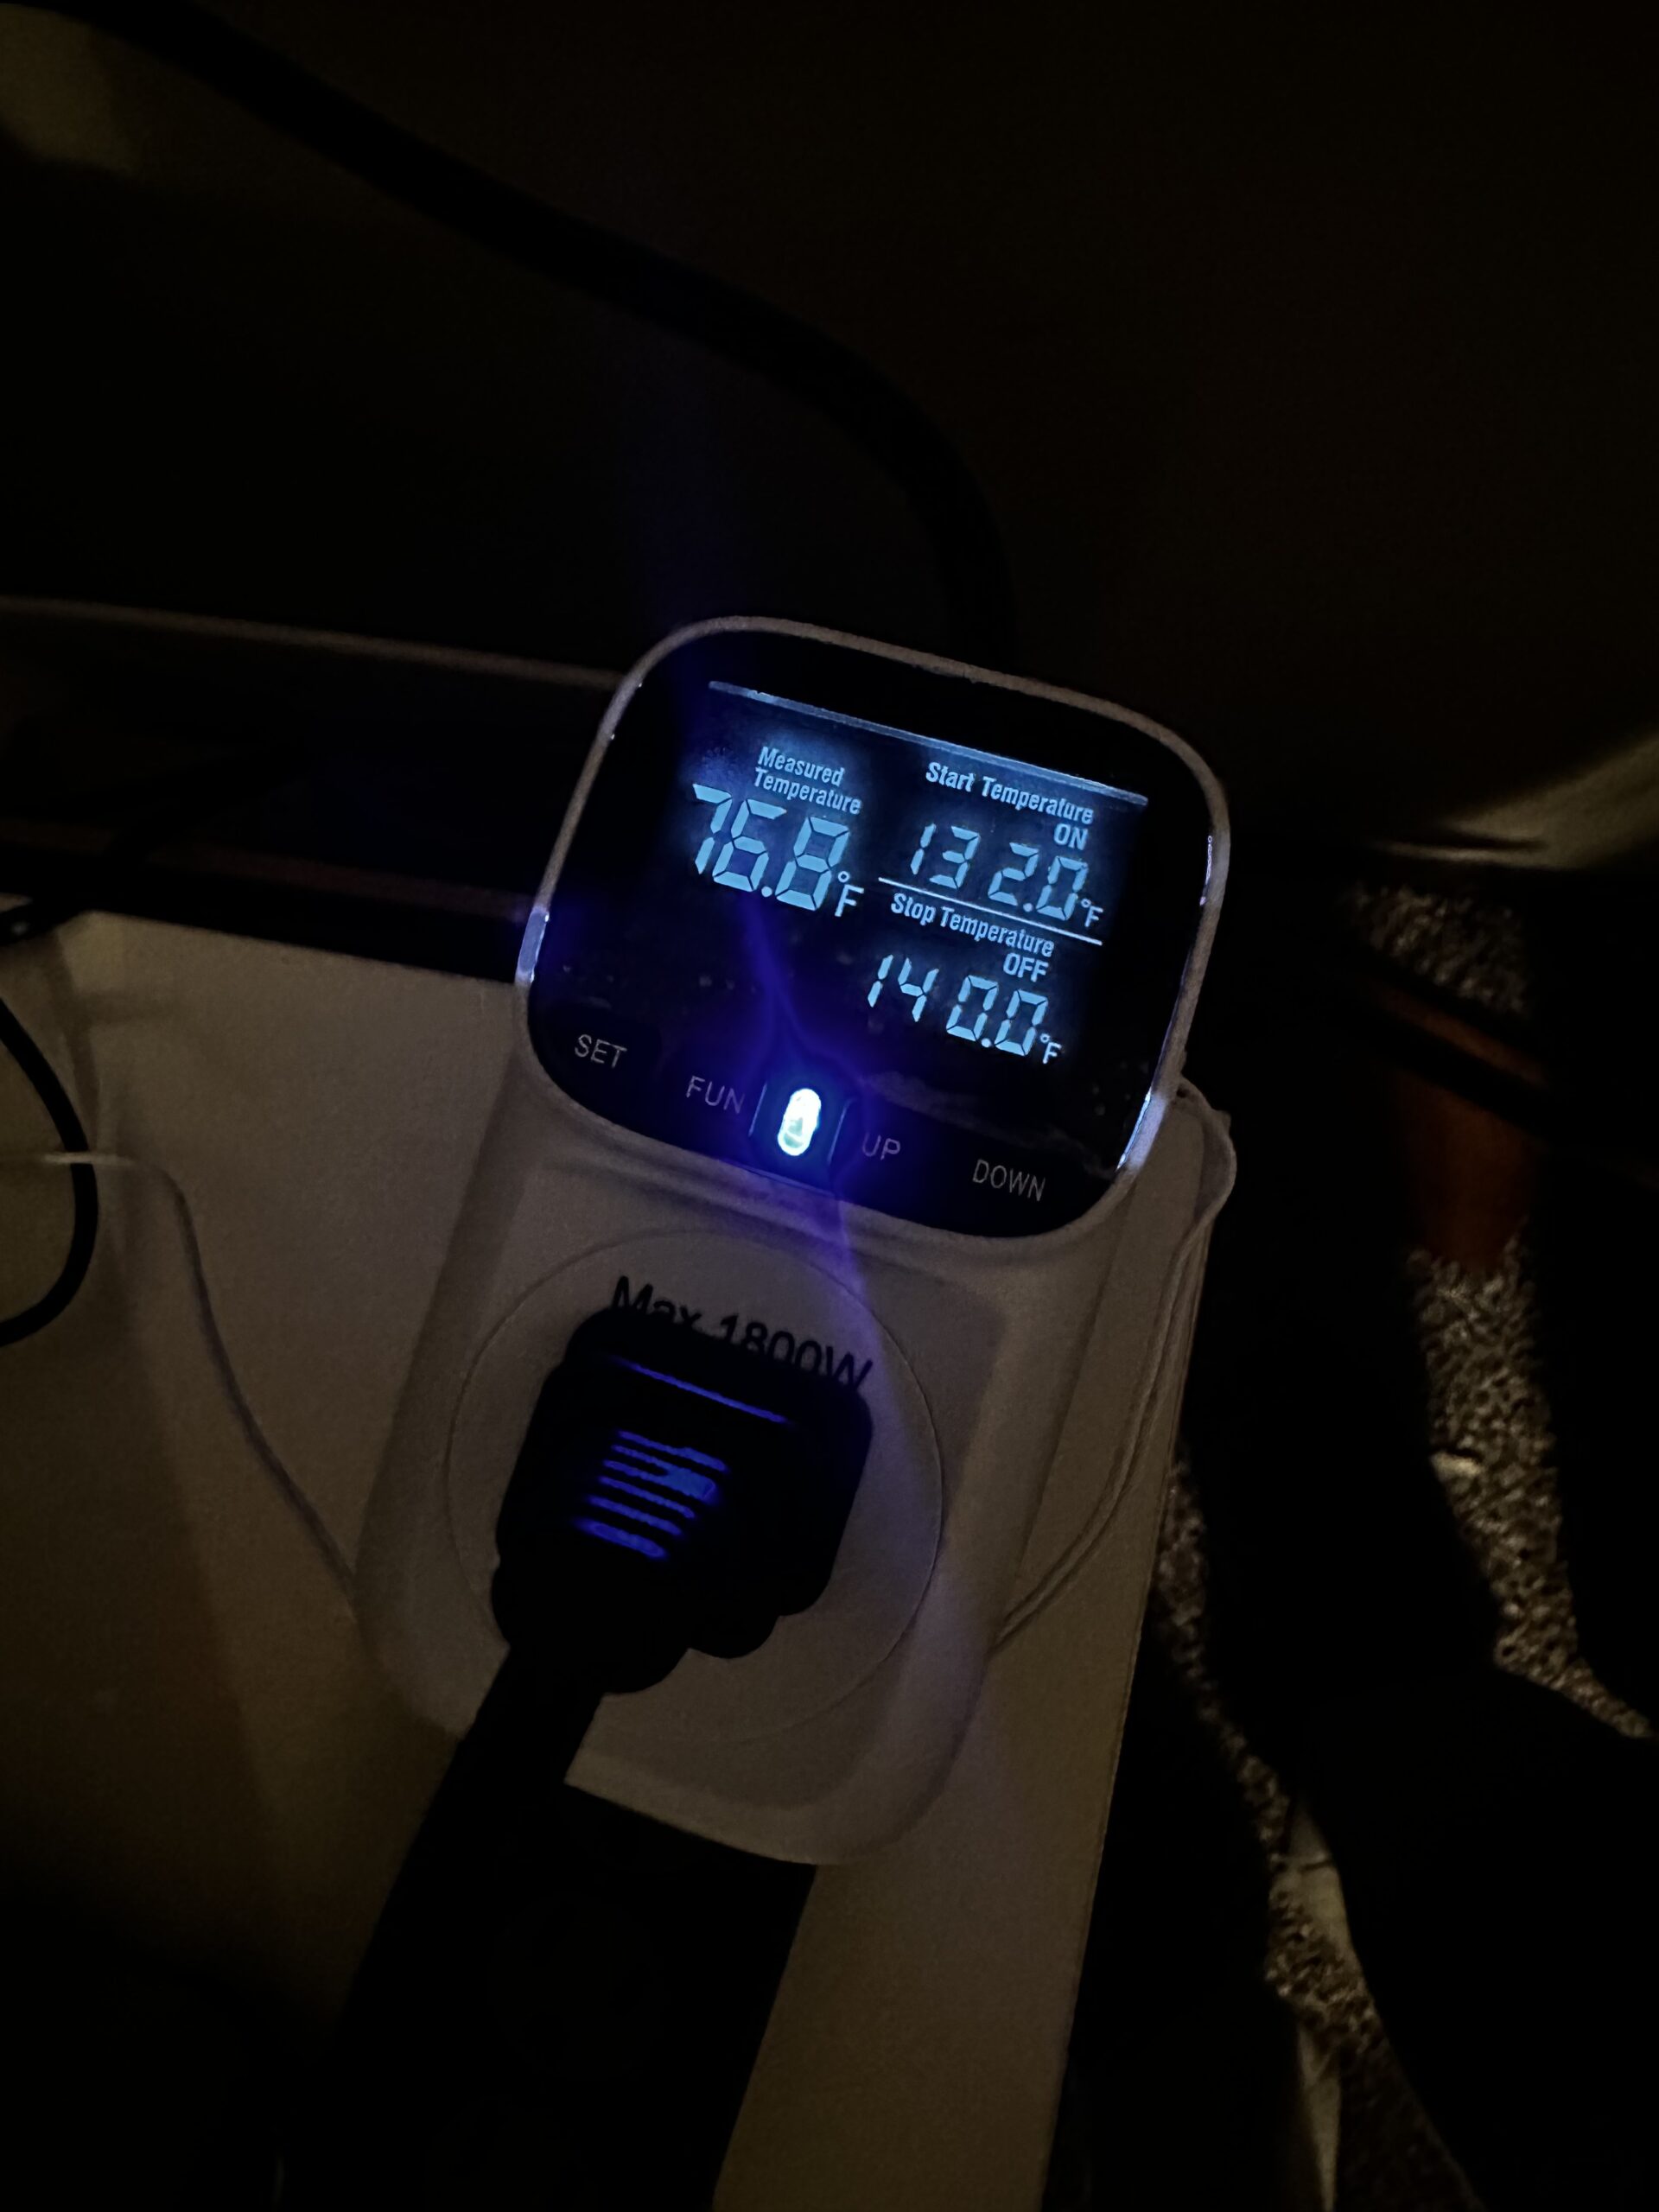
From there, the cables were routed out the back of the printer and hooked up to the temperature controller socket. This socket, utilized typically for garden sprouting, can turn on and off depending on the set temperature range. As mentioned, these sockets are typically used to help sprout plants, but I retrofitted one for my application. Setting the temperature range from 68°C to 73°C (~132°F to 140°F) is ideal for most exotic materials, and it’s not required to be super accurate to one temperature. I took the thermocouples connected to the socket and placed them around the interior of the printer, holding them with Duct tape.

Cable management being sorted; black cord is for the heater, white cord for the thermocouples

img 1576

Temperature controller socket, set to ideal range
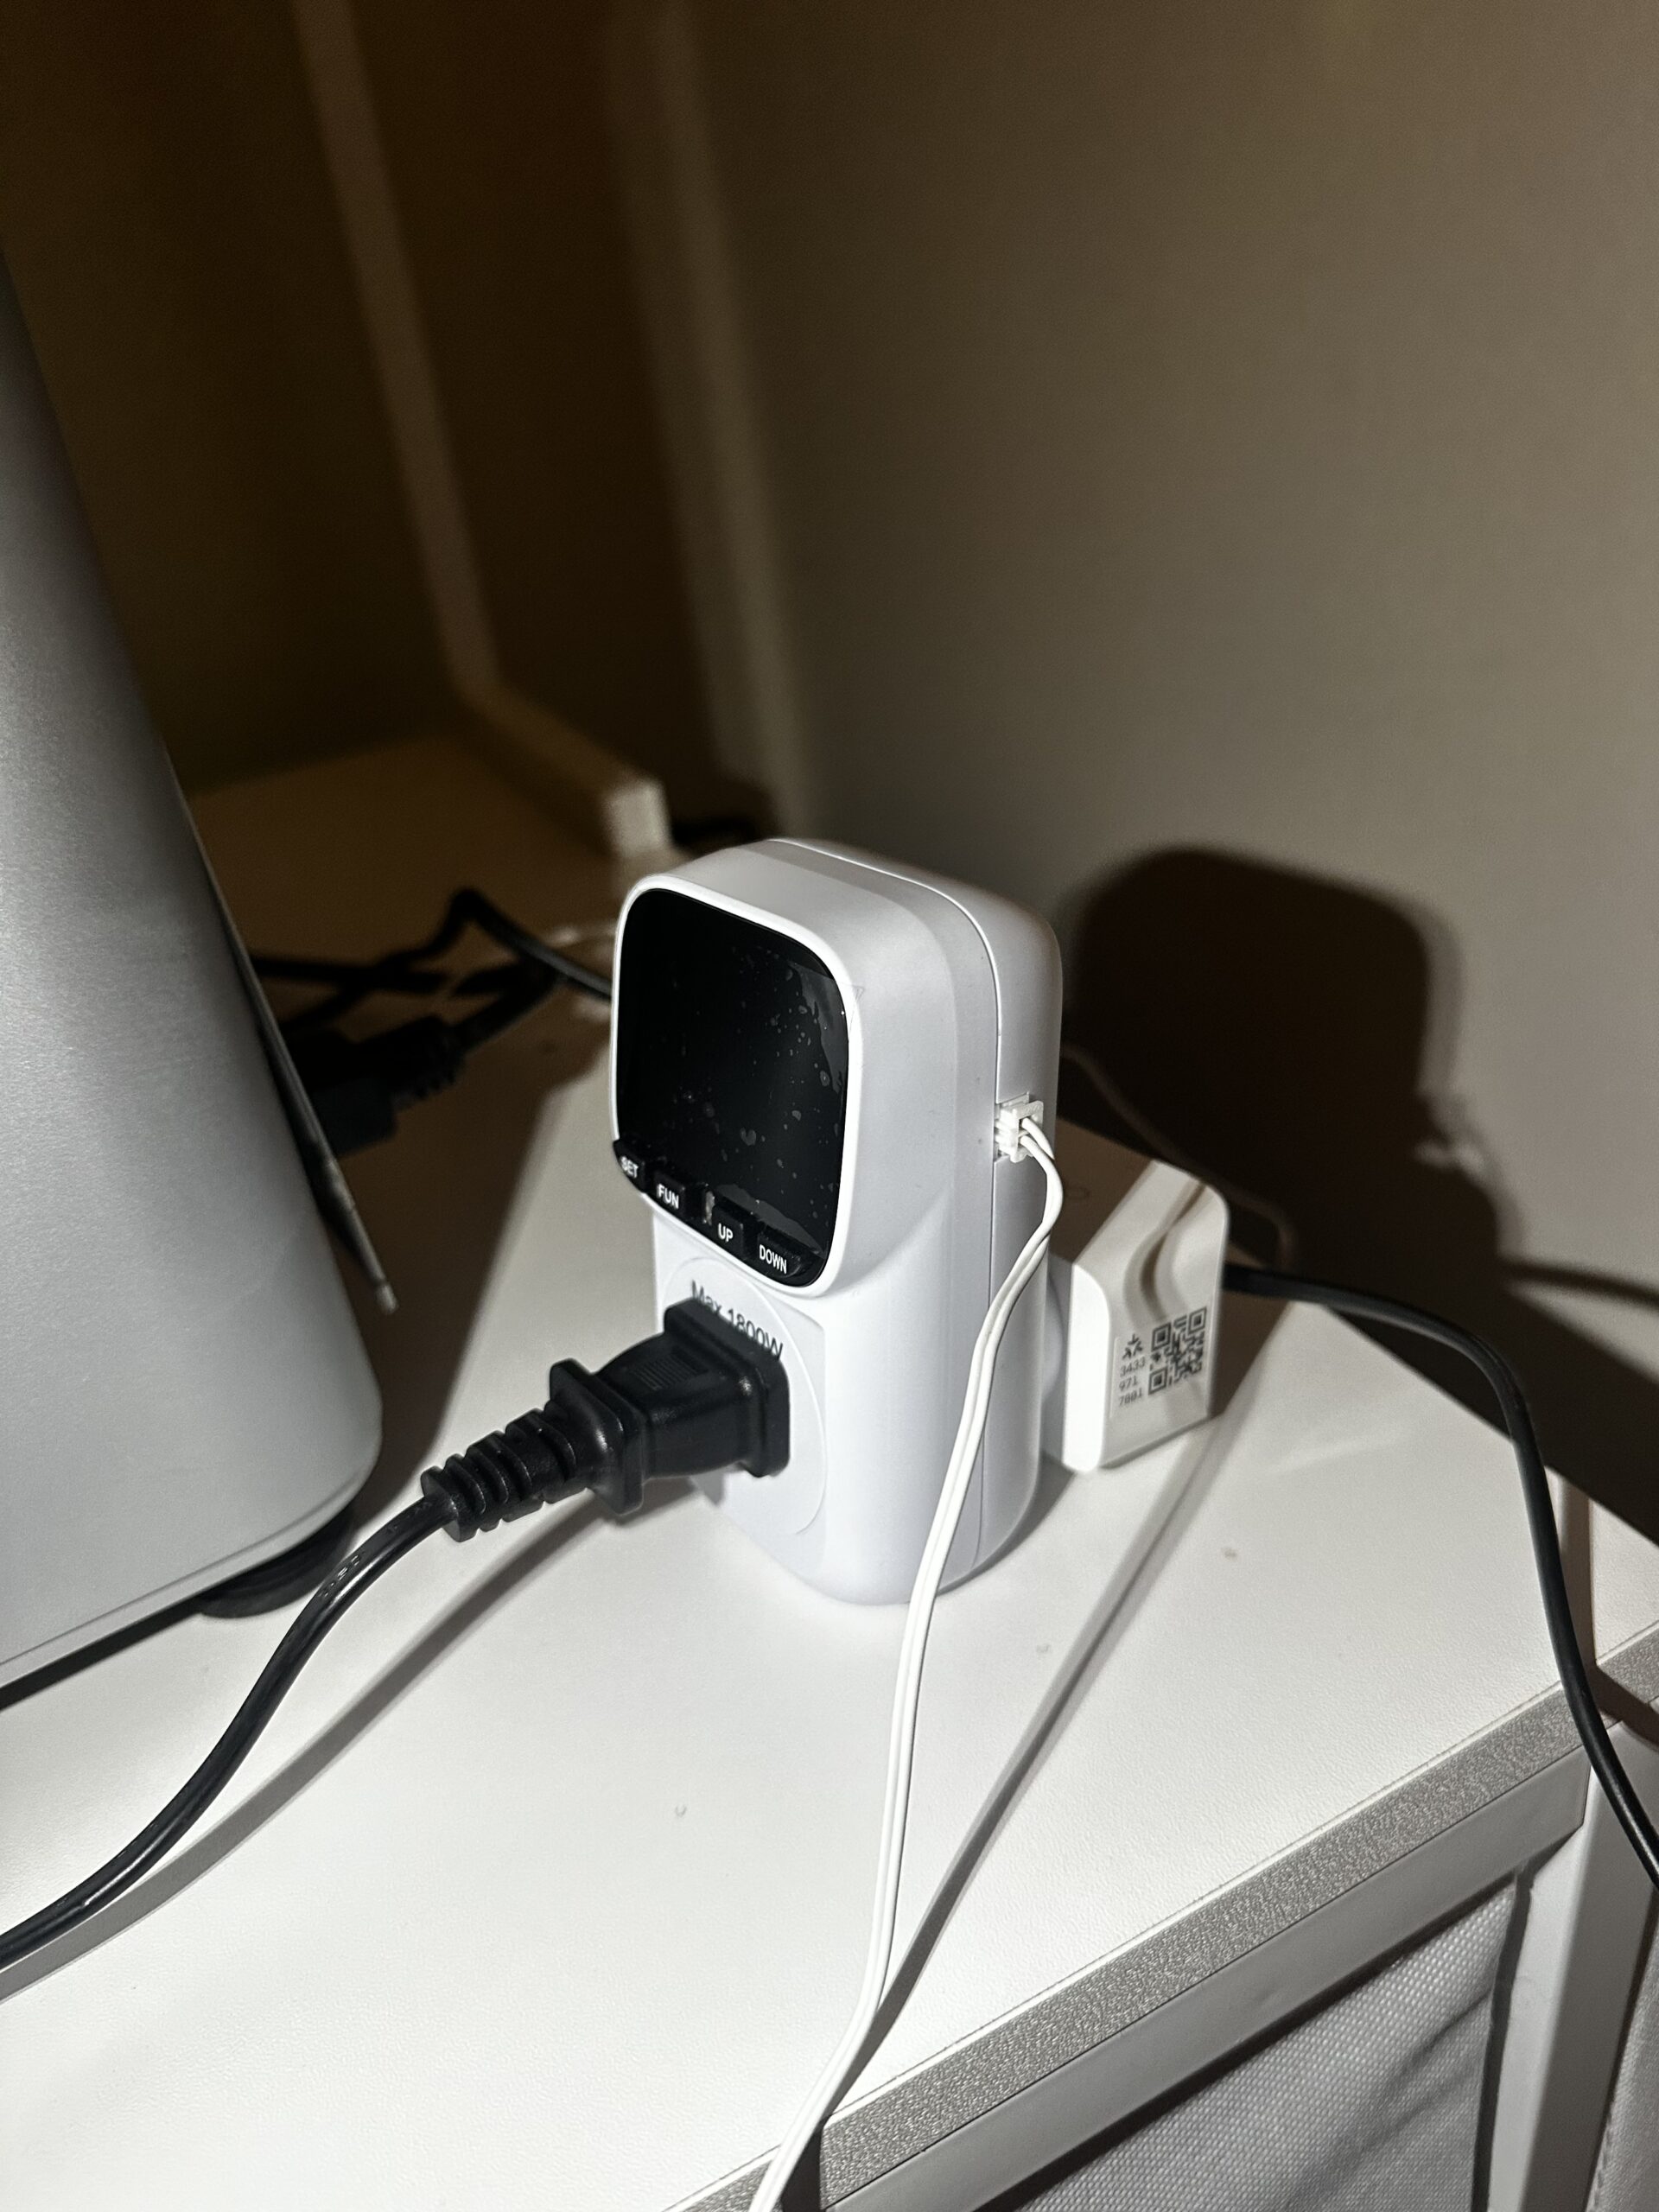
. Finally, I daisy-chained these plugs into a Wi-Fi connected socket, so I could turn the heater on and off if I wanted to start a print while not nearby.

img 1575

Full final setup, with heater (black cord) plugged into temperature controller outlet then plugged into Wi-Fi outlet
Overall, the system works great and has not caused a curled print yet. Sure, it’s not the prettiest, and Bambu has now started releasing printers with built-in heated chambers, but this was a great way to increase my print reliability for about as much money as a full roll of Carbon Fiber Nylon filament.

20260129 021247645 ios

Print quality of carbon-fiber nylon with heater running, compared to initial print

Scroll to Top