
Quad City Engineering and Science Council Tech Challenge
During my senior year of high school in 2023, I had the privilege of participating in the Quad City Engineering and Science Council QC Tech Challenge. This competition pits high school engineering students in the greater Quad Cities area against one another through three engineering competitions: a 2-hour Popsicle stick bridge building challenge, a wooden egg-launching trebuchet, and a cardboard boat regatta, respectively. Each competition involves small teams of students, and the student with the highest overall placement at the end of the three challenges takes home a $1,000 scholarship. Details about the competition can be found on the QCESC website here.

Quad City Engineering and Science Council Logo (OurQuadCities)
Battle of the Bridges
The “Battle of the Bridges,” the popsicle stick bridge, is open to any age from elementary school and up, divided into age groups to ensure fairness. The competition took place at the Putnam Museum in Davenport, Iowa. The same parameters applied to everyone, as follows:
- 2-hour time limit for bridge to be built and pass inspection, with the inspection card seen below
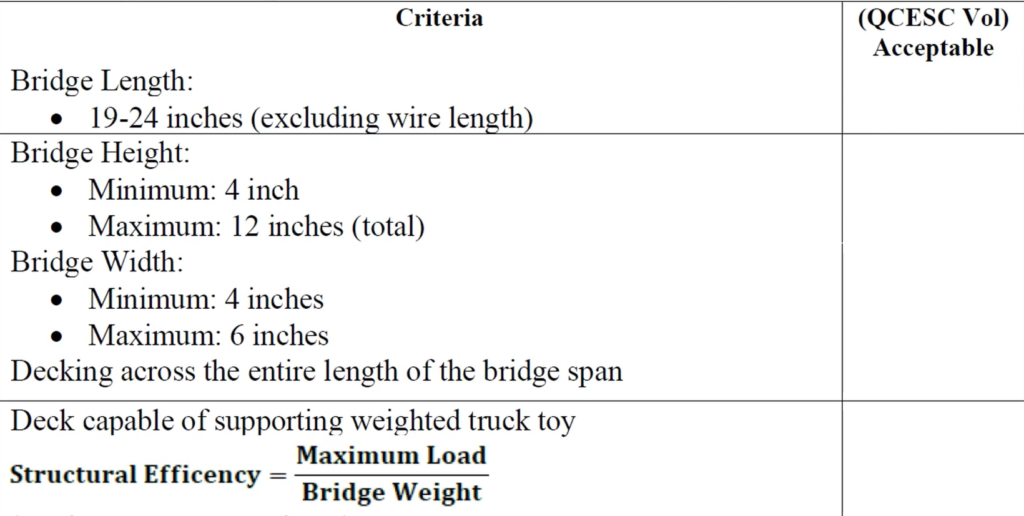
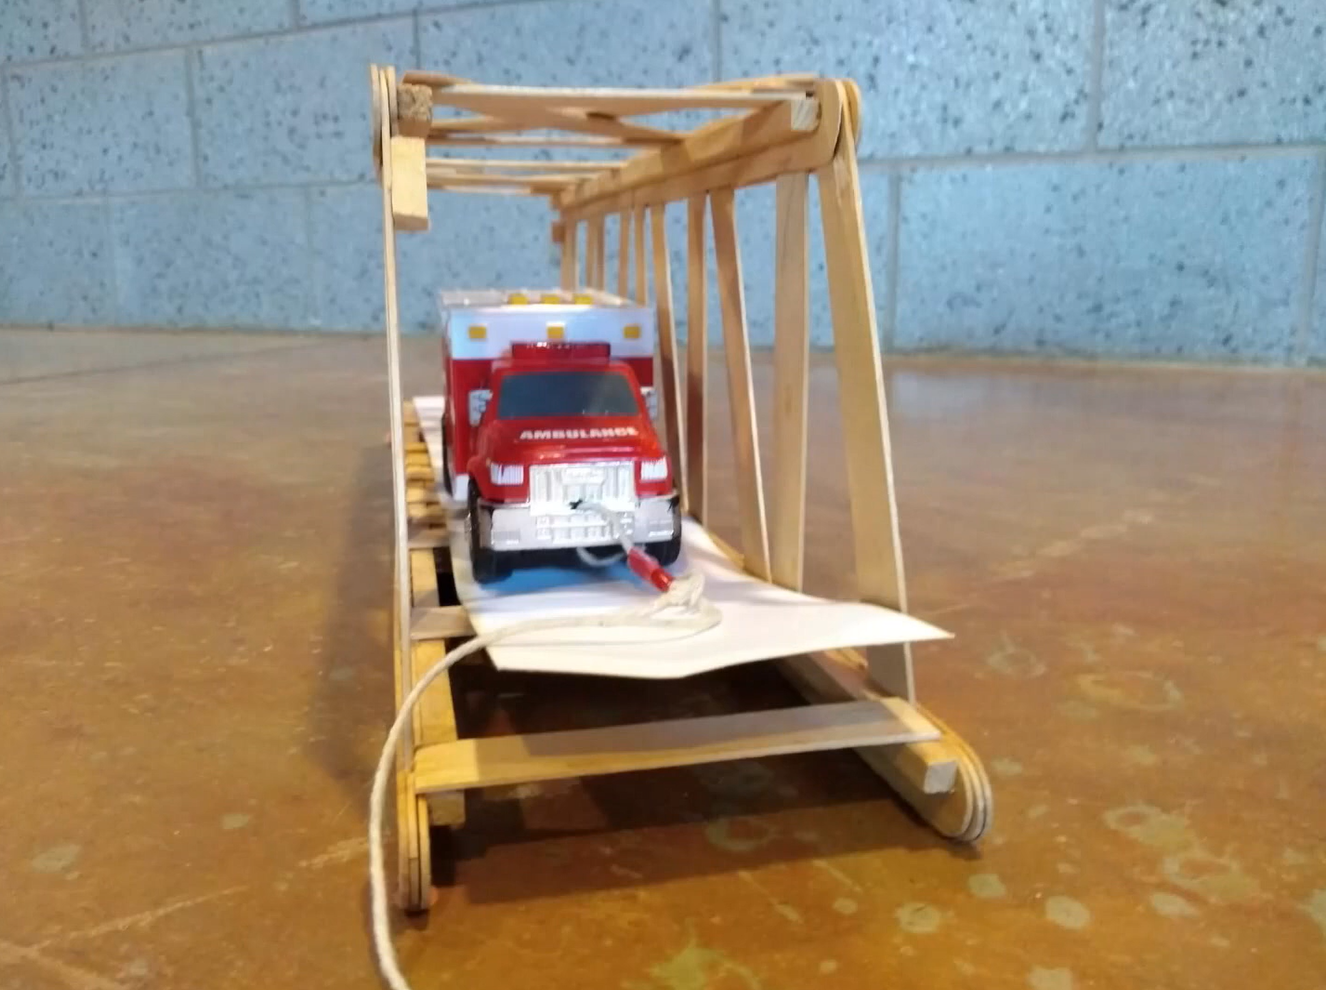
Necessary requirements for bridge, as well as mentioned "weighted truck toy"
- Tools for measurement, cutting, filing, and holding were provided, as seen below
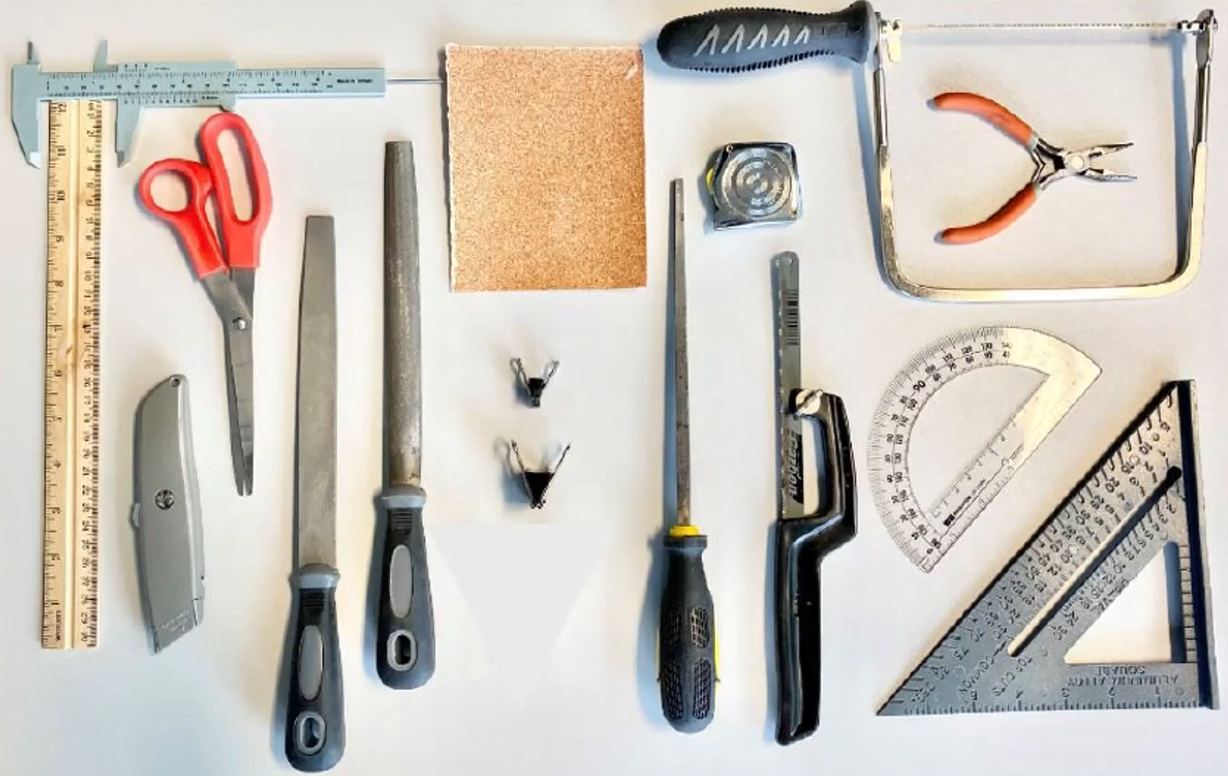
Tools provided for use during the competition
- Various assortments of thin balsa wood, Popsicle sticks, and super glue to assemble the bridge
As a high school senior who had a basic understanding of physics and load cases, I knew some basic objectives. For example, triangles are good. The member experiencing the most force needs the most reinforcement. However, with this knowledge, I also knew that I was not a civil engineer by any means, and most of my work was based on guessing and checking. So, taking inspiration from various bridges, such as the Government Bridge in Davenport, Iowa (first railroad bridge across the Mississippi), myself and my two teammates designed a bridge to test with before the actual competition.
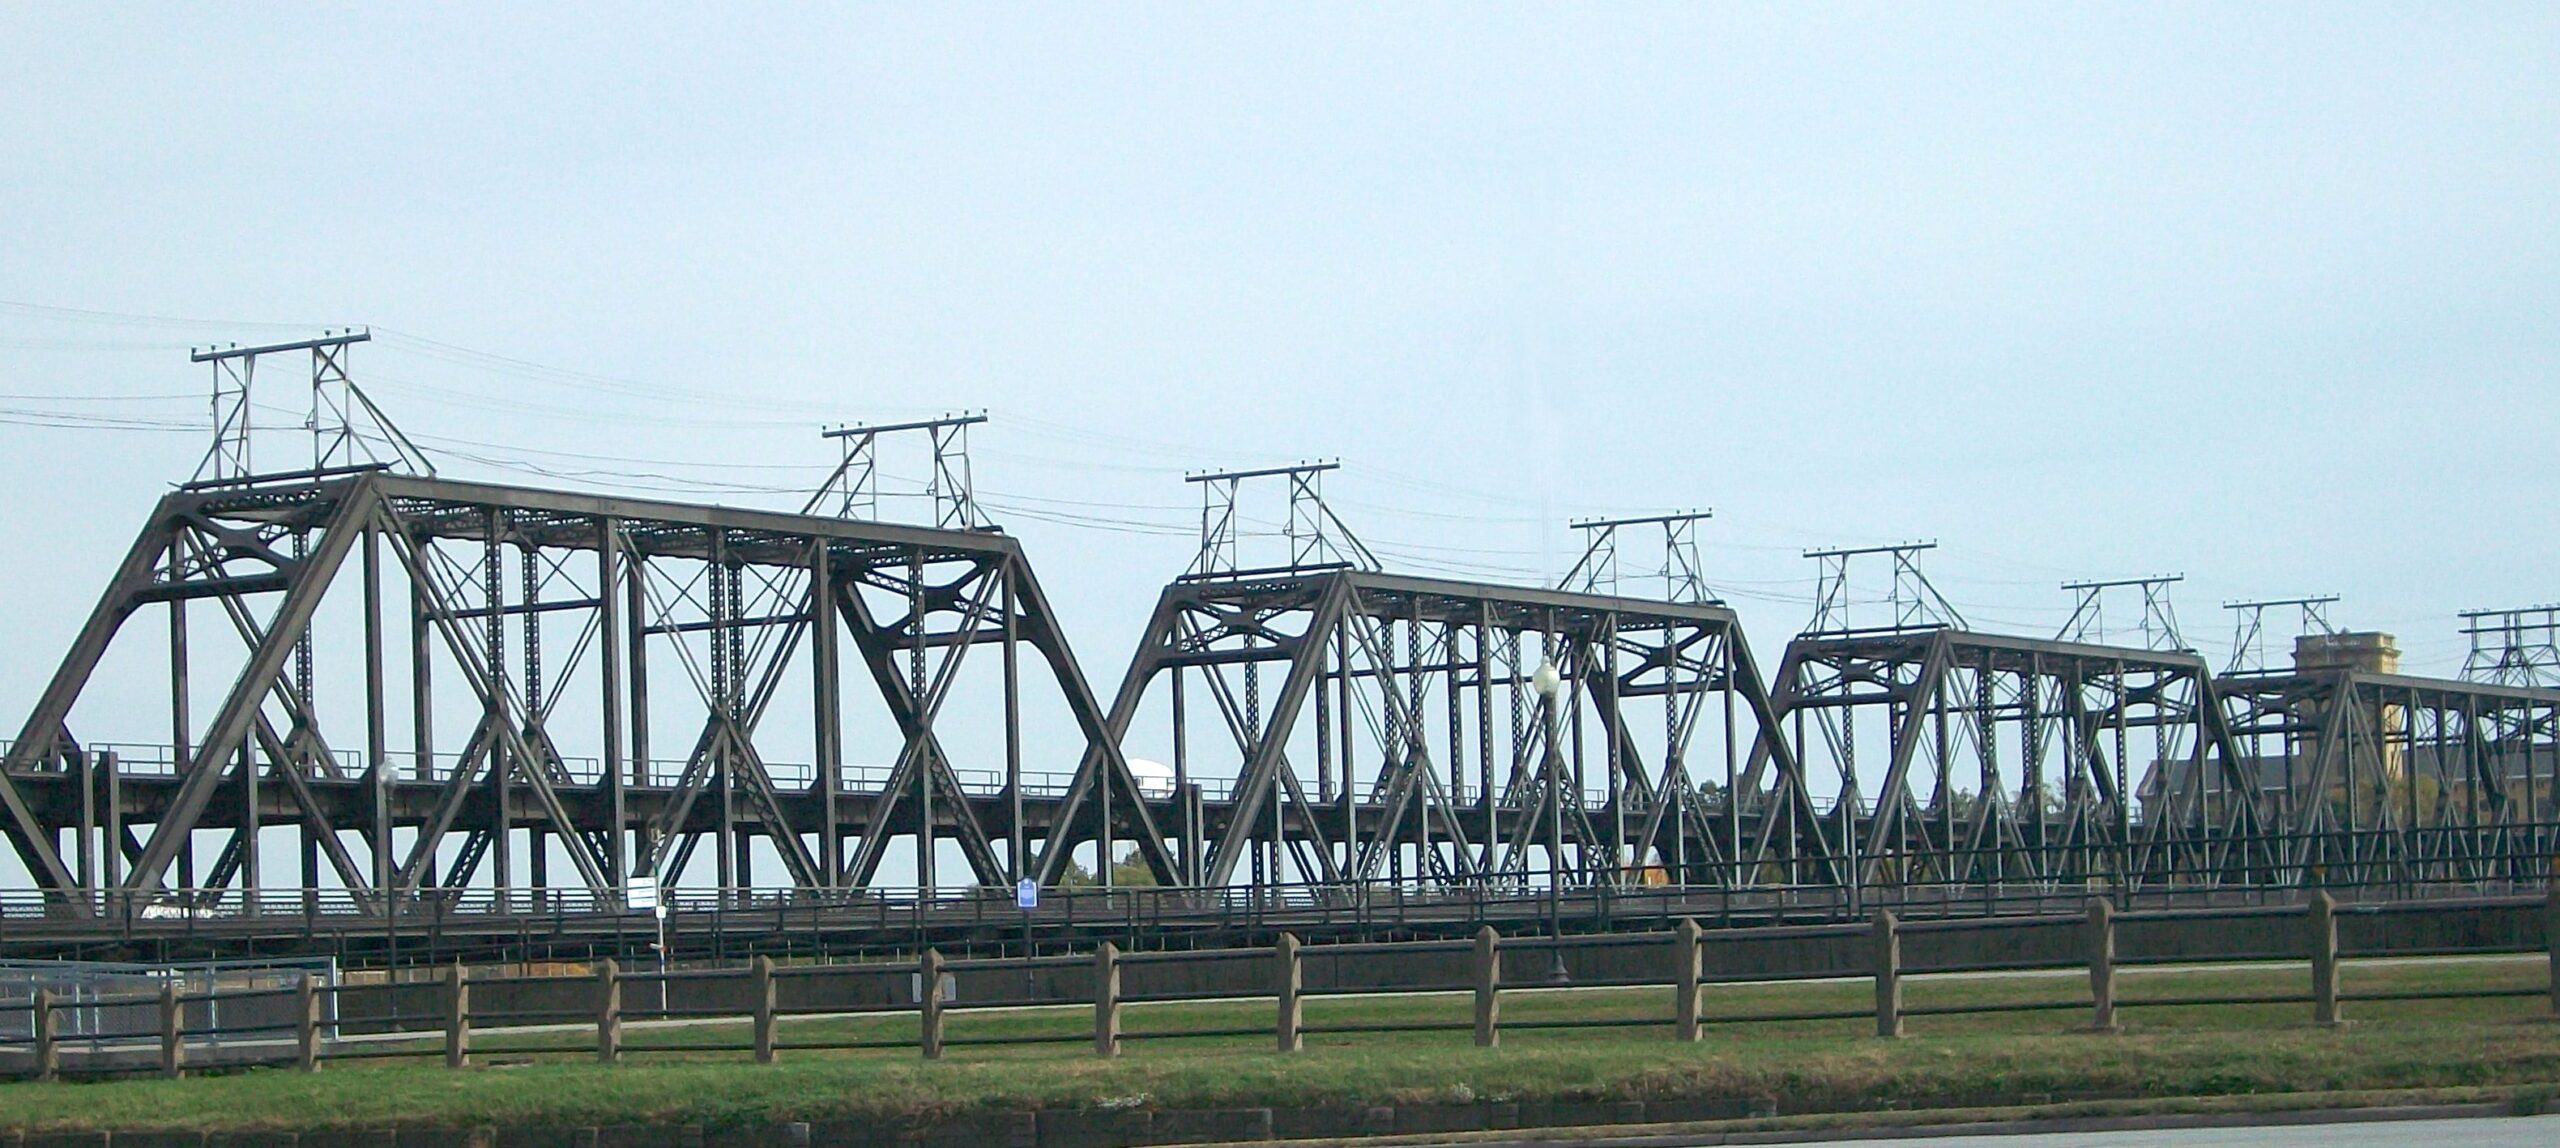
Portion of Government Bridge in Davenport, Iowa (Wikipedia)
Although I did not take any pictures during this initial try, the biggest takeaway was balance and symmetry. When gluing such a small, delicate structure, failure can occur much sooner due to compounding forces when members become misaligned from their intended positions. In the case of our test bridge, we had glued it roughly 1 centimeter twisted along the “road” axis, which caused the slight twist to grow and create an unintentional moment force. In this experiment, our bridge held less than 100 lbs before it folded in on itself in a sorry mess.
Taking what we had learned during our trial, our team showed up to the Putnam Museum on the day of competition ready. Confident in our original design, extra precautions were taken to “measure twice, cut once” and ensure as symmetrical of a bridge as possible. The opposing corners of our bridge differed by less than a millimeter, which was remedied with slivers of wood acting as shims. A second change we made from our original design was adding a brace across the very top of our bridge. As this portion of the bridge will see the most deflection from the base, resisting movement here is crucial. When our bridge finally ran, it held a total of 218 lbs, while weighing only .27 lbs, giving it an overall efficiency of 807%. This was enough to place my team, “Team Yeezy,” first in the high school competition.
Video of my team’s bridge at breaking point, exploding in epic fashion
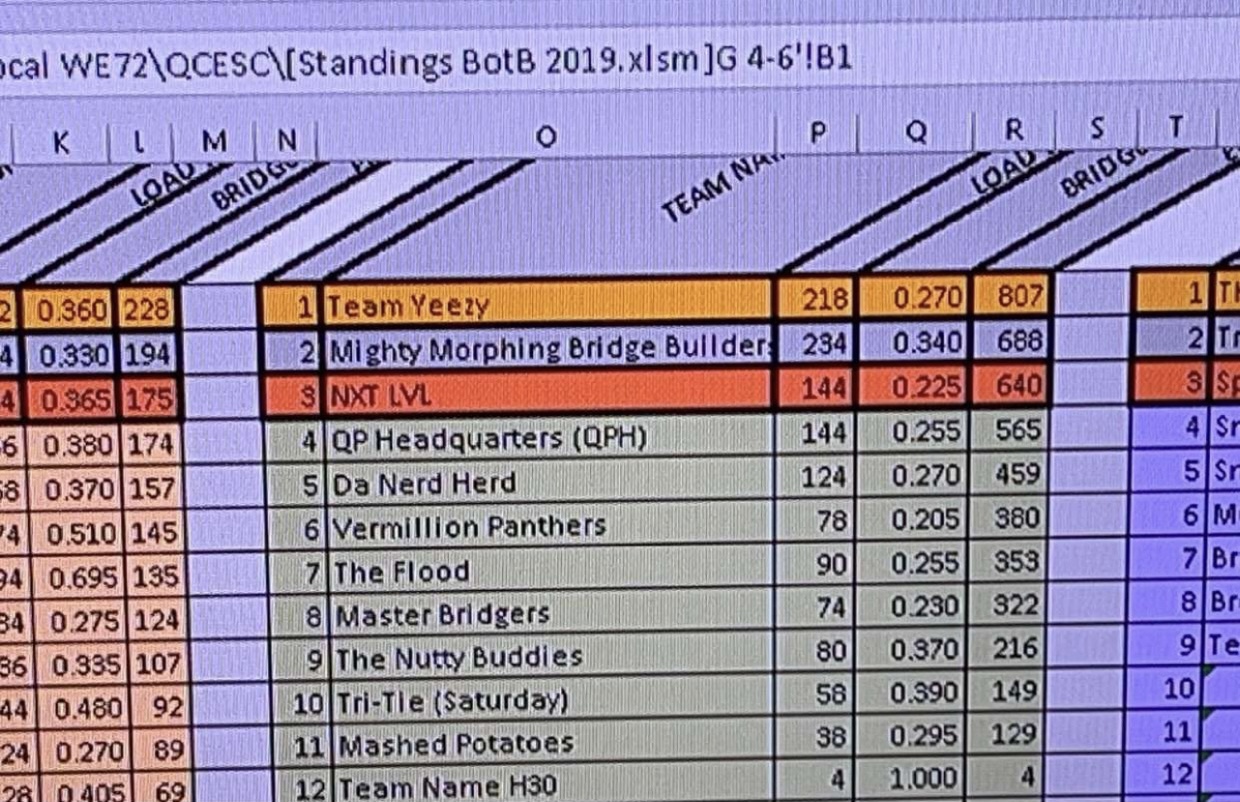
Final picture of the leaderboard, with Team Yeezy showing no mercy
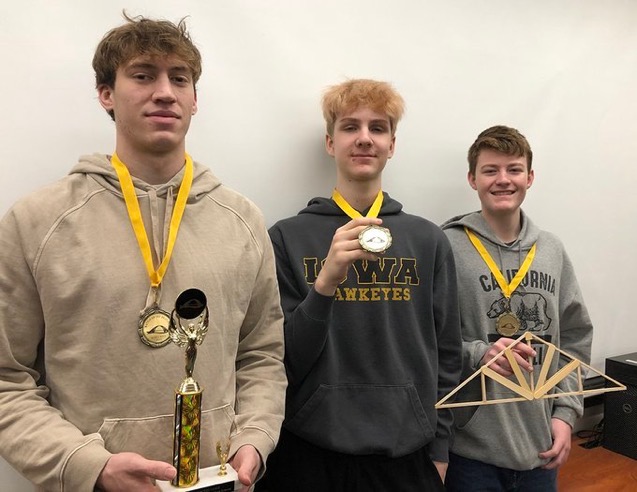
Team Yeezy with our first place trophy
Trebuchet Egg Throw
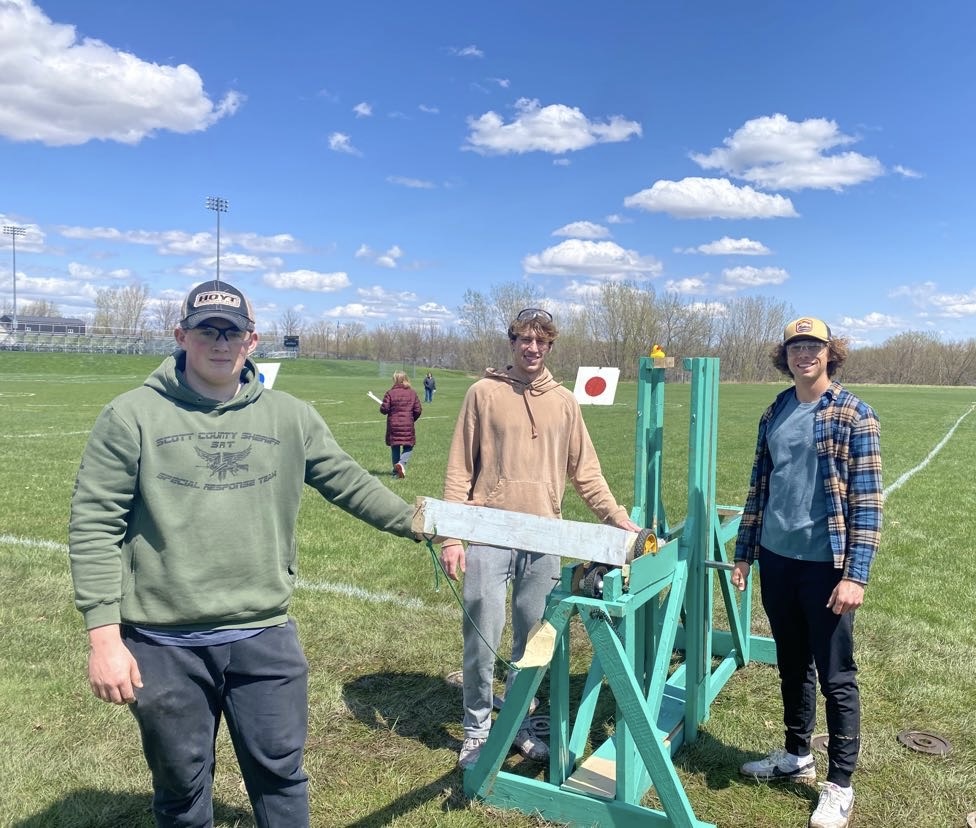
The second activity in the competition was the Trebuchet Egg Throw, which involved creating a trebuchet or catapult apparatus to launch eggs at designated targets. I will link the full overview and rules here, but there were three targets at 75 ft, 100 ft, and 125 ft. Along with this, each trebuchet had to have a safety mechanism to prevent unexpected firing, and all materials had to fit in a 4 ft x 6 ft x 3 ft box before assembly.
My team for this competition chose to use a floating-arm trebuchet, which decouples the throwing arm from the frame itself, unlike traditional catapults. In exchange for added complexity, the energy exchange is much more efficient due to the completely vertical weight drop, as well as additional velocity benefits from the arm’s “whipping” effect.
We began with general research, looking at previously built designs, such as Texas Tech’s ASML entry, and a miniature version.
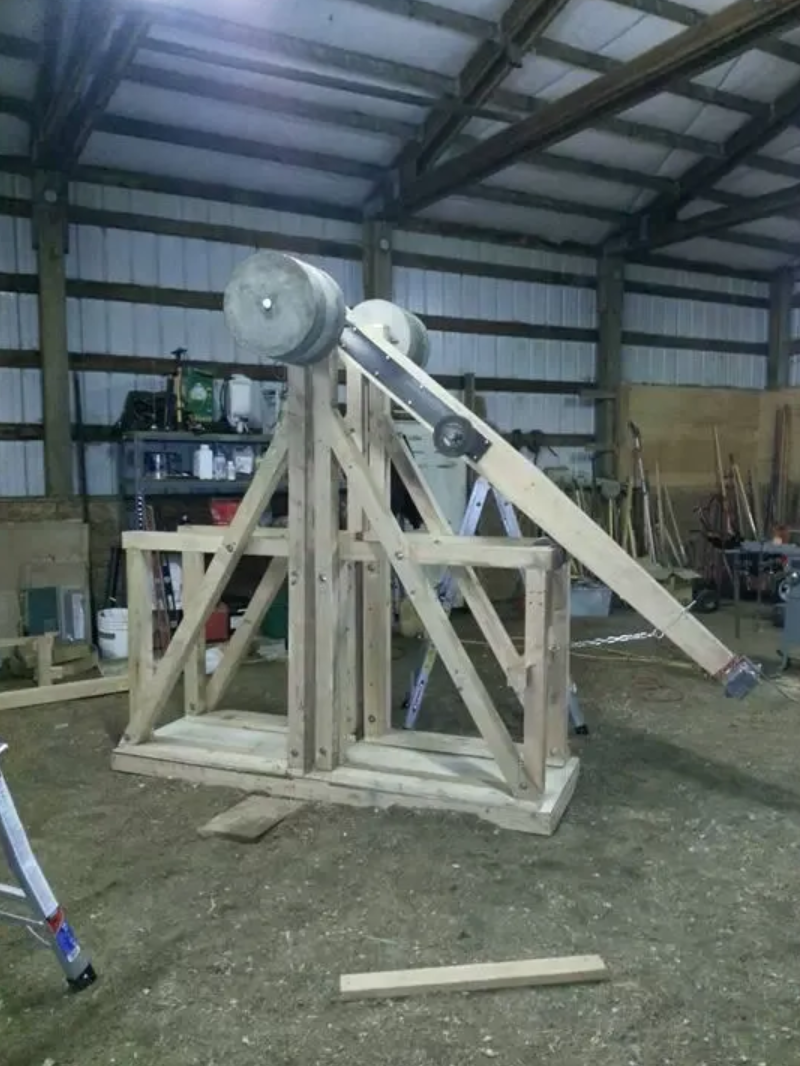
Example of a floating arm trebuchet (Instructables)
With a basic design in mind, we gathered our supplies and ensured they fit in the allowed volume. Our team was also able to reuse parts in our high school’s wood shop, bringing our spending to $0.
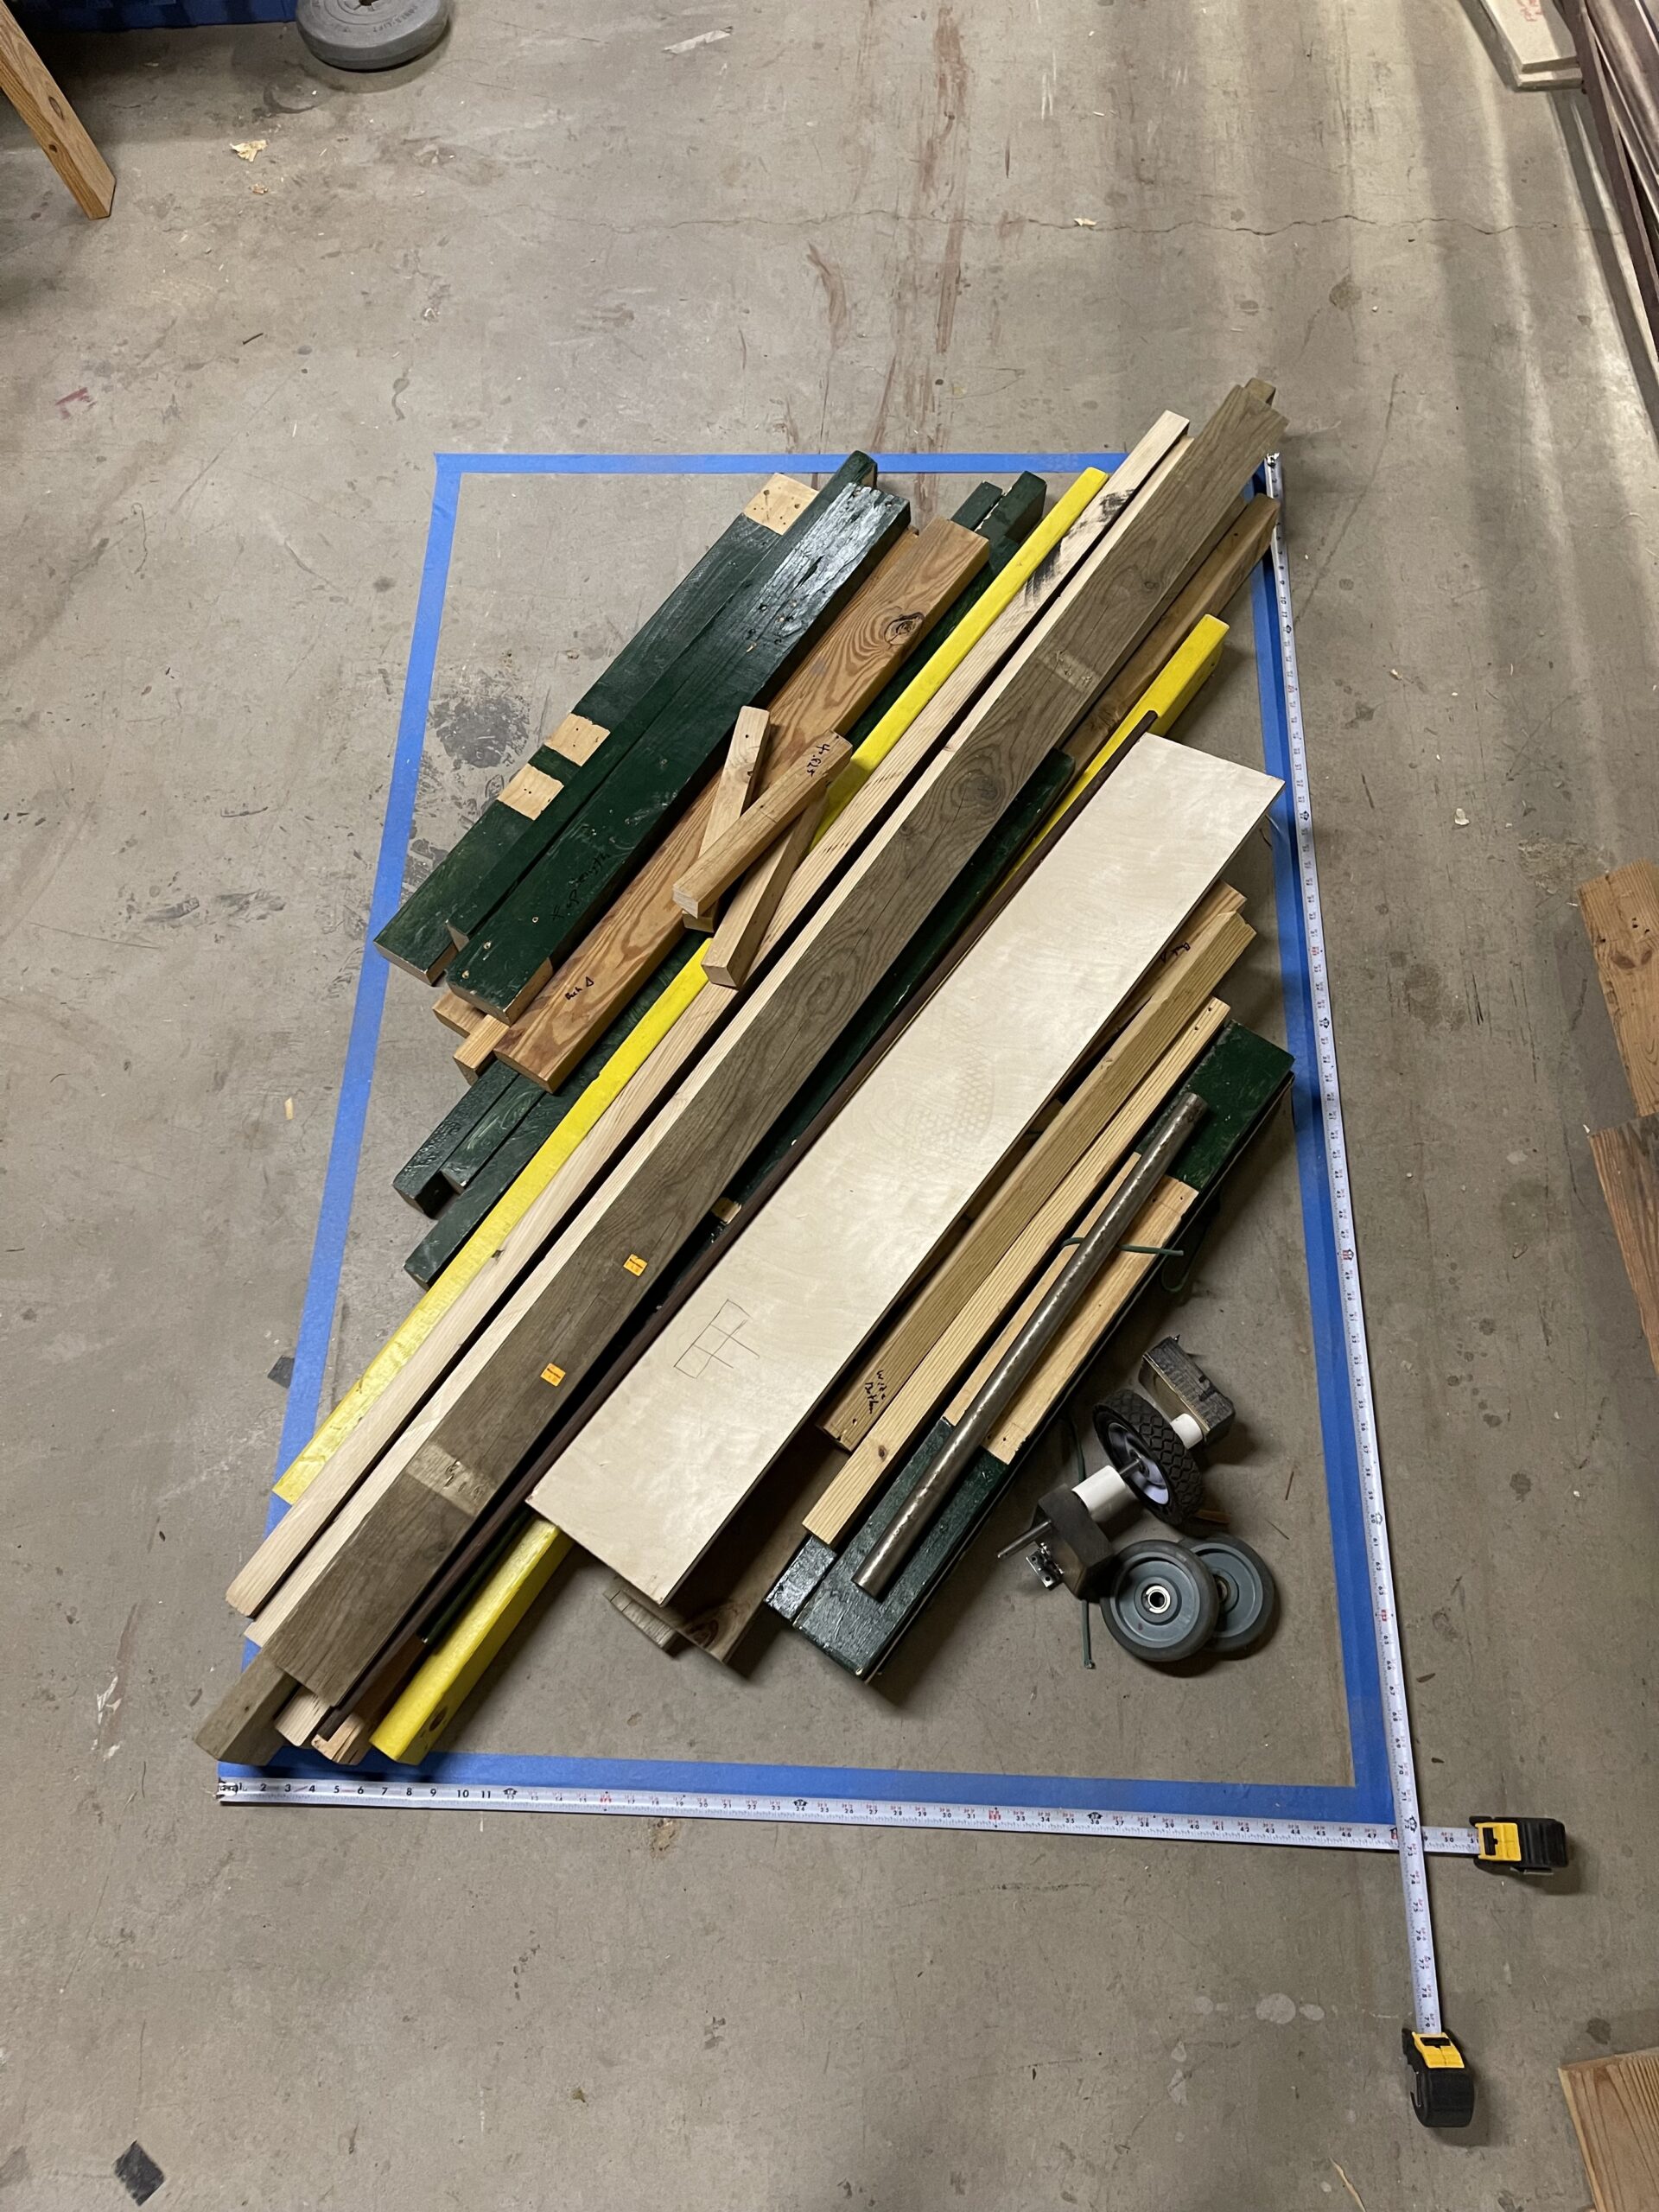
All supplies used, placed in a 6 ft x 4 ft x 3 ft volume before building
Once building commenced, it went relatively smooth compared to our initial design sketches. Unfortunately, I don’t have any of the sketches with me at the time of this writing. One aspect that we did not analyze thoroughly enough at the time of building was certain tolerance values around the trebuchet. In the “channel” where the weight falls, intuition told me that having room around the weight holder would result in less or no friction induced from the side walls. Instead, as the weight would fall, it would violently hit one side and then the other, giving us inefficient and inconsistent results. This was semi-remedied by adding additional boards to close up the gap, but enforcing the weight traveled as close to the same path each time would have ensured better tuning before the competition.
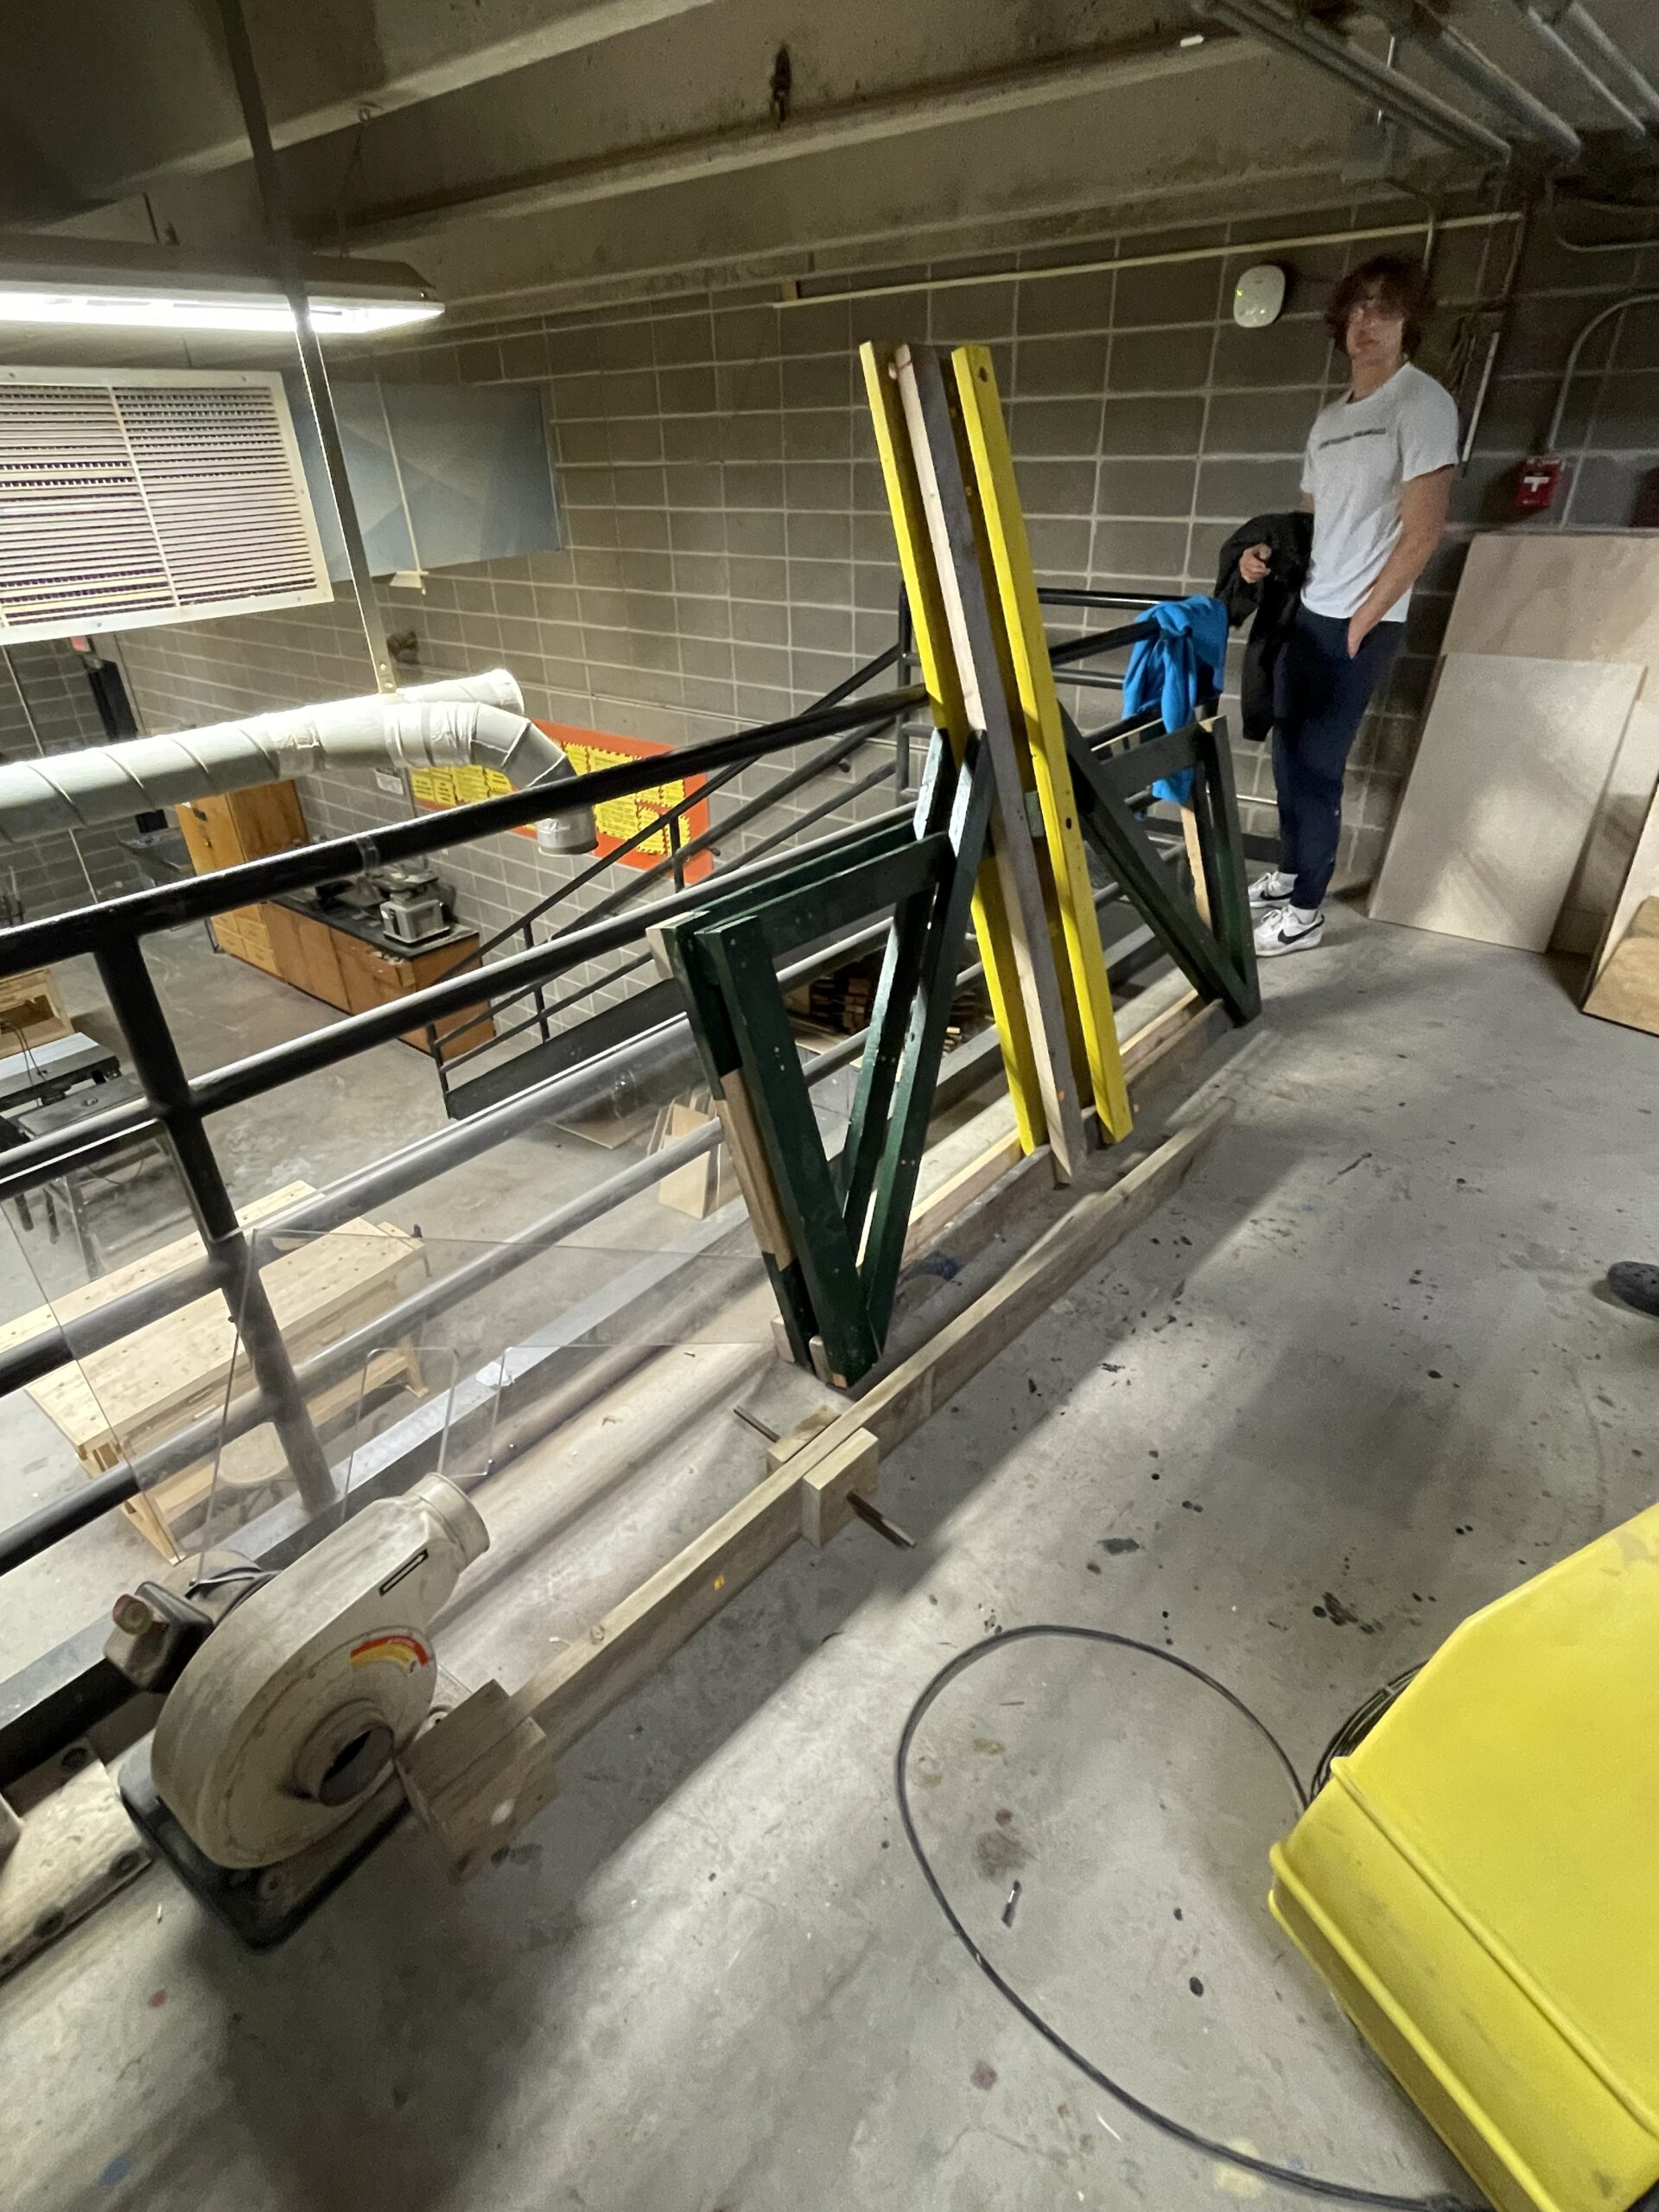
Main trebuchet wall supports, as well as floating arm
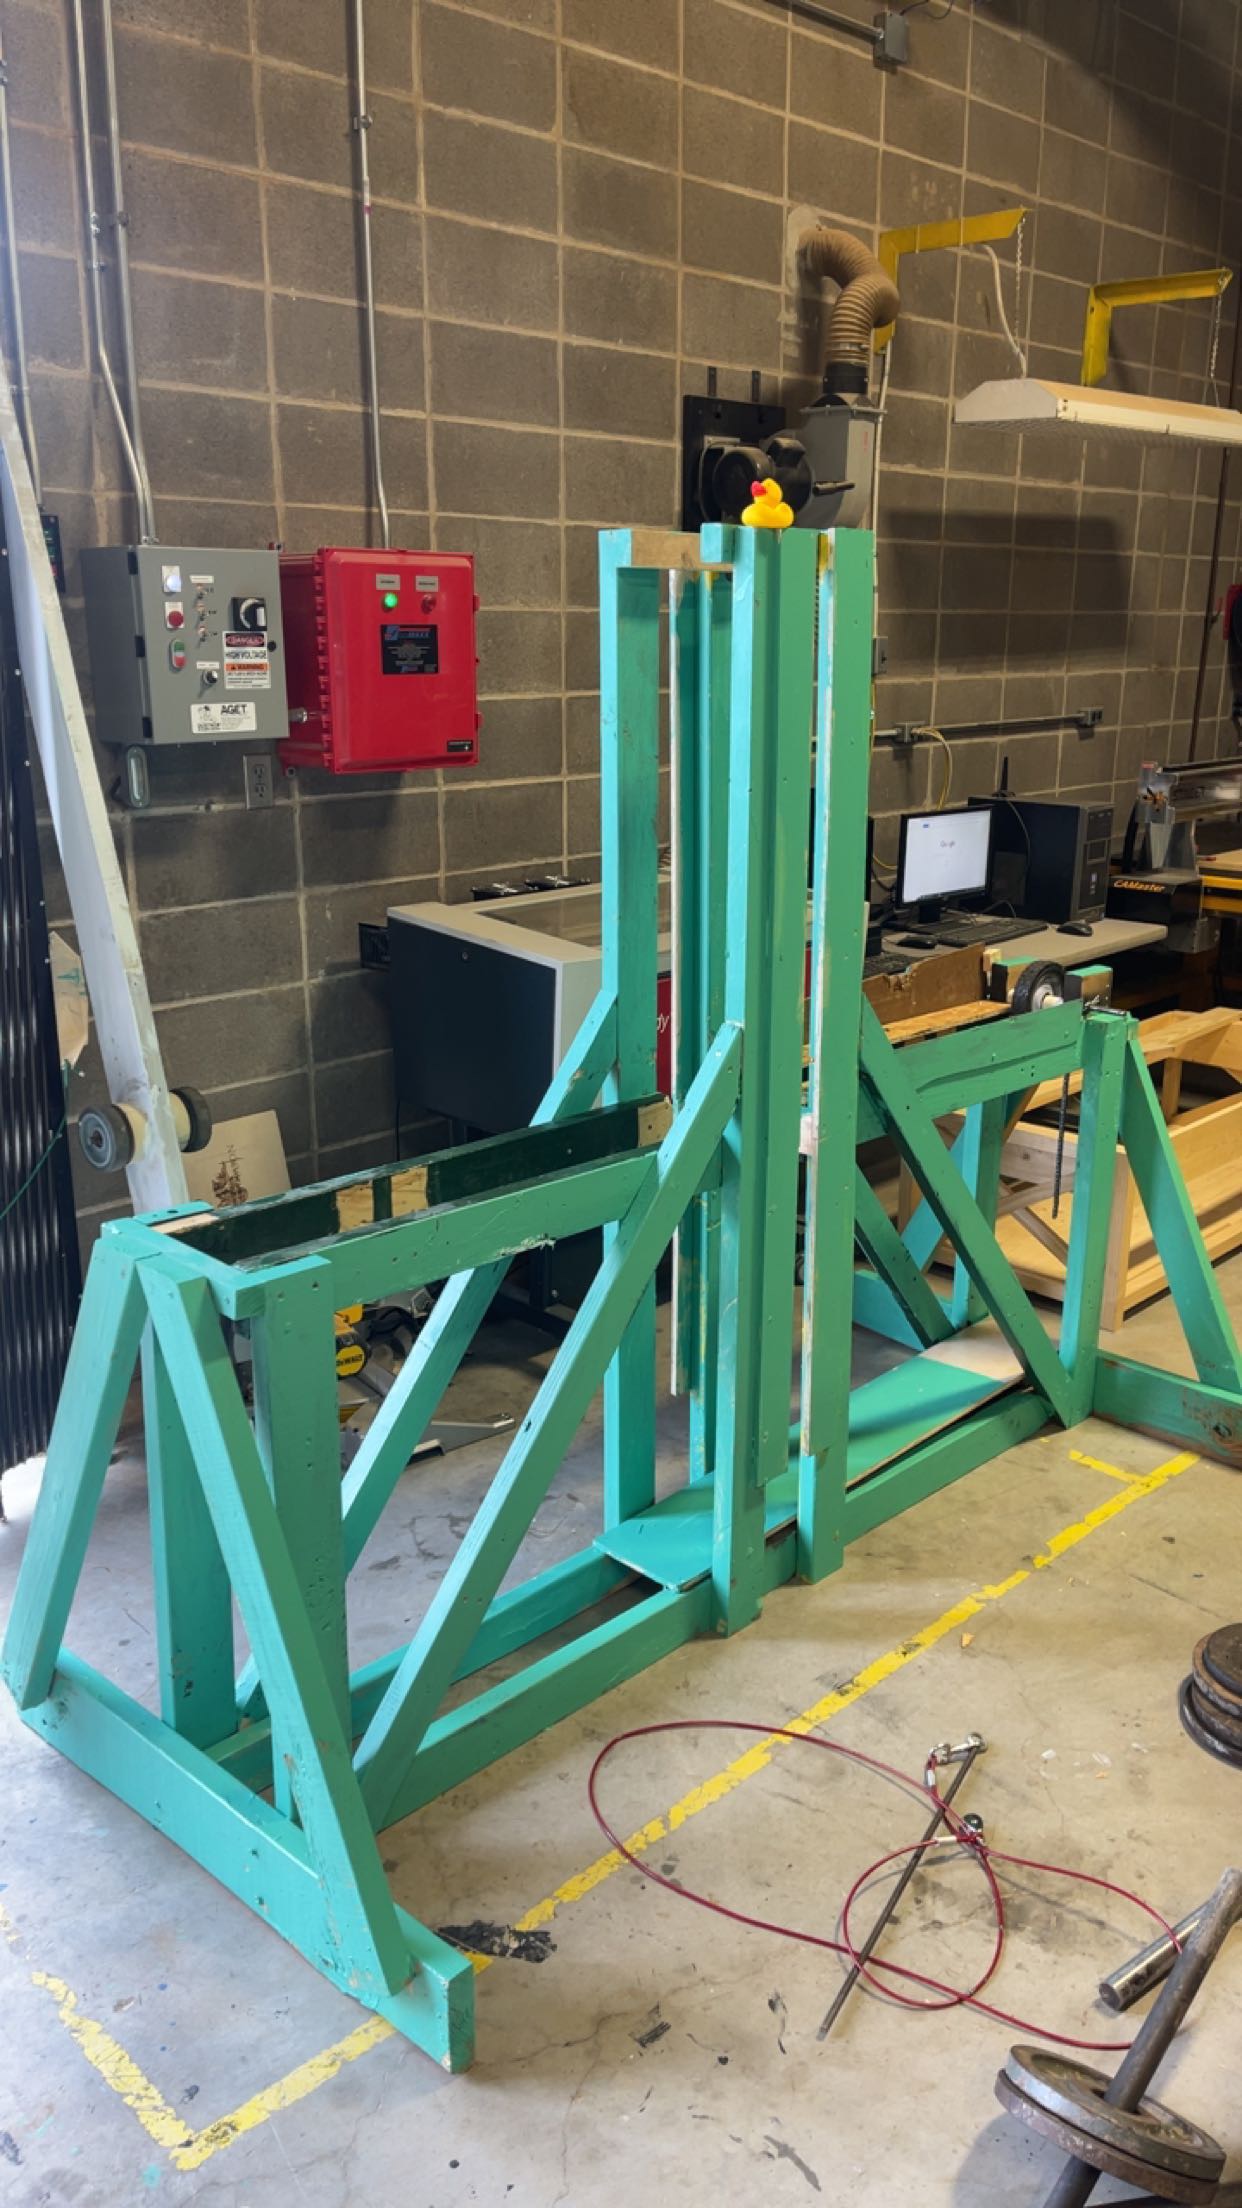
Trebuchet assembled, with the "Deep Sea" theme in full effect (notice the rubber duck!)
Leading up to competition, our team experimented with various weights and the resulting distances. The weight values that gave us the most accurate distance values at 75 ft, 100 ft, and 125 ft were noted for competition day.
On the day of the competition, we began by presenting our design to a board of judges, explaining our decision-making for the project.
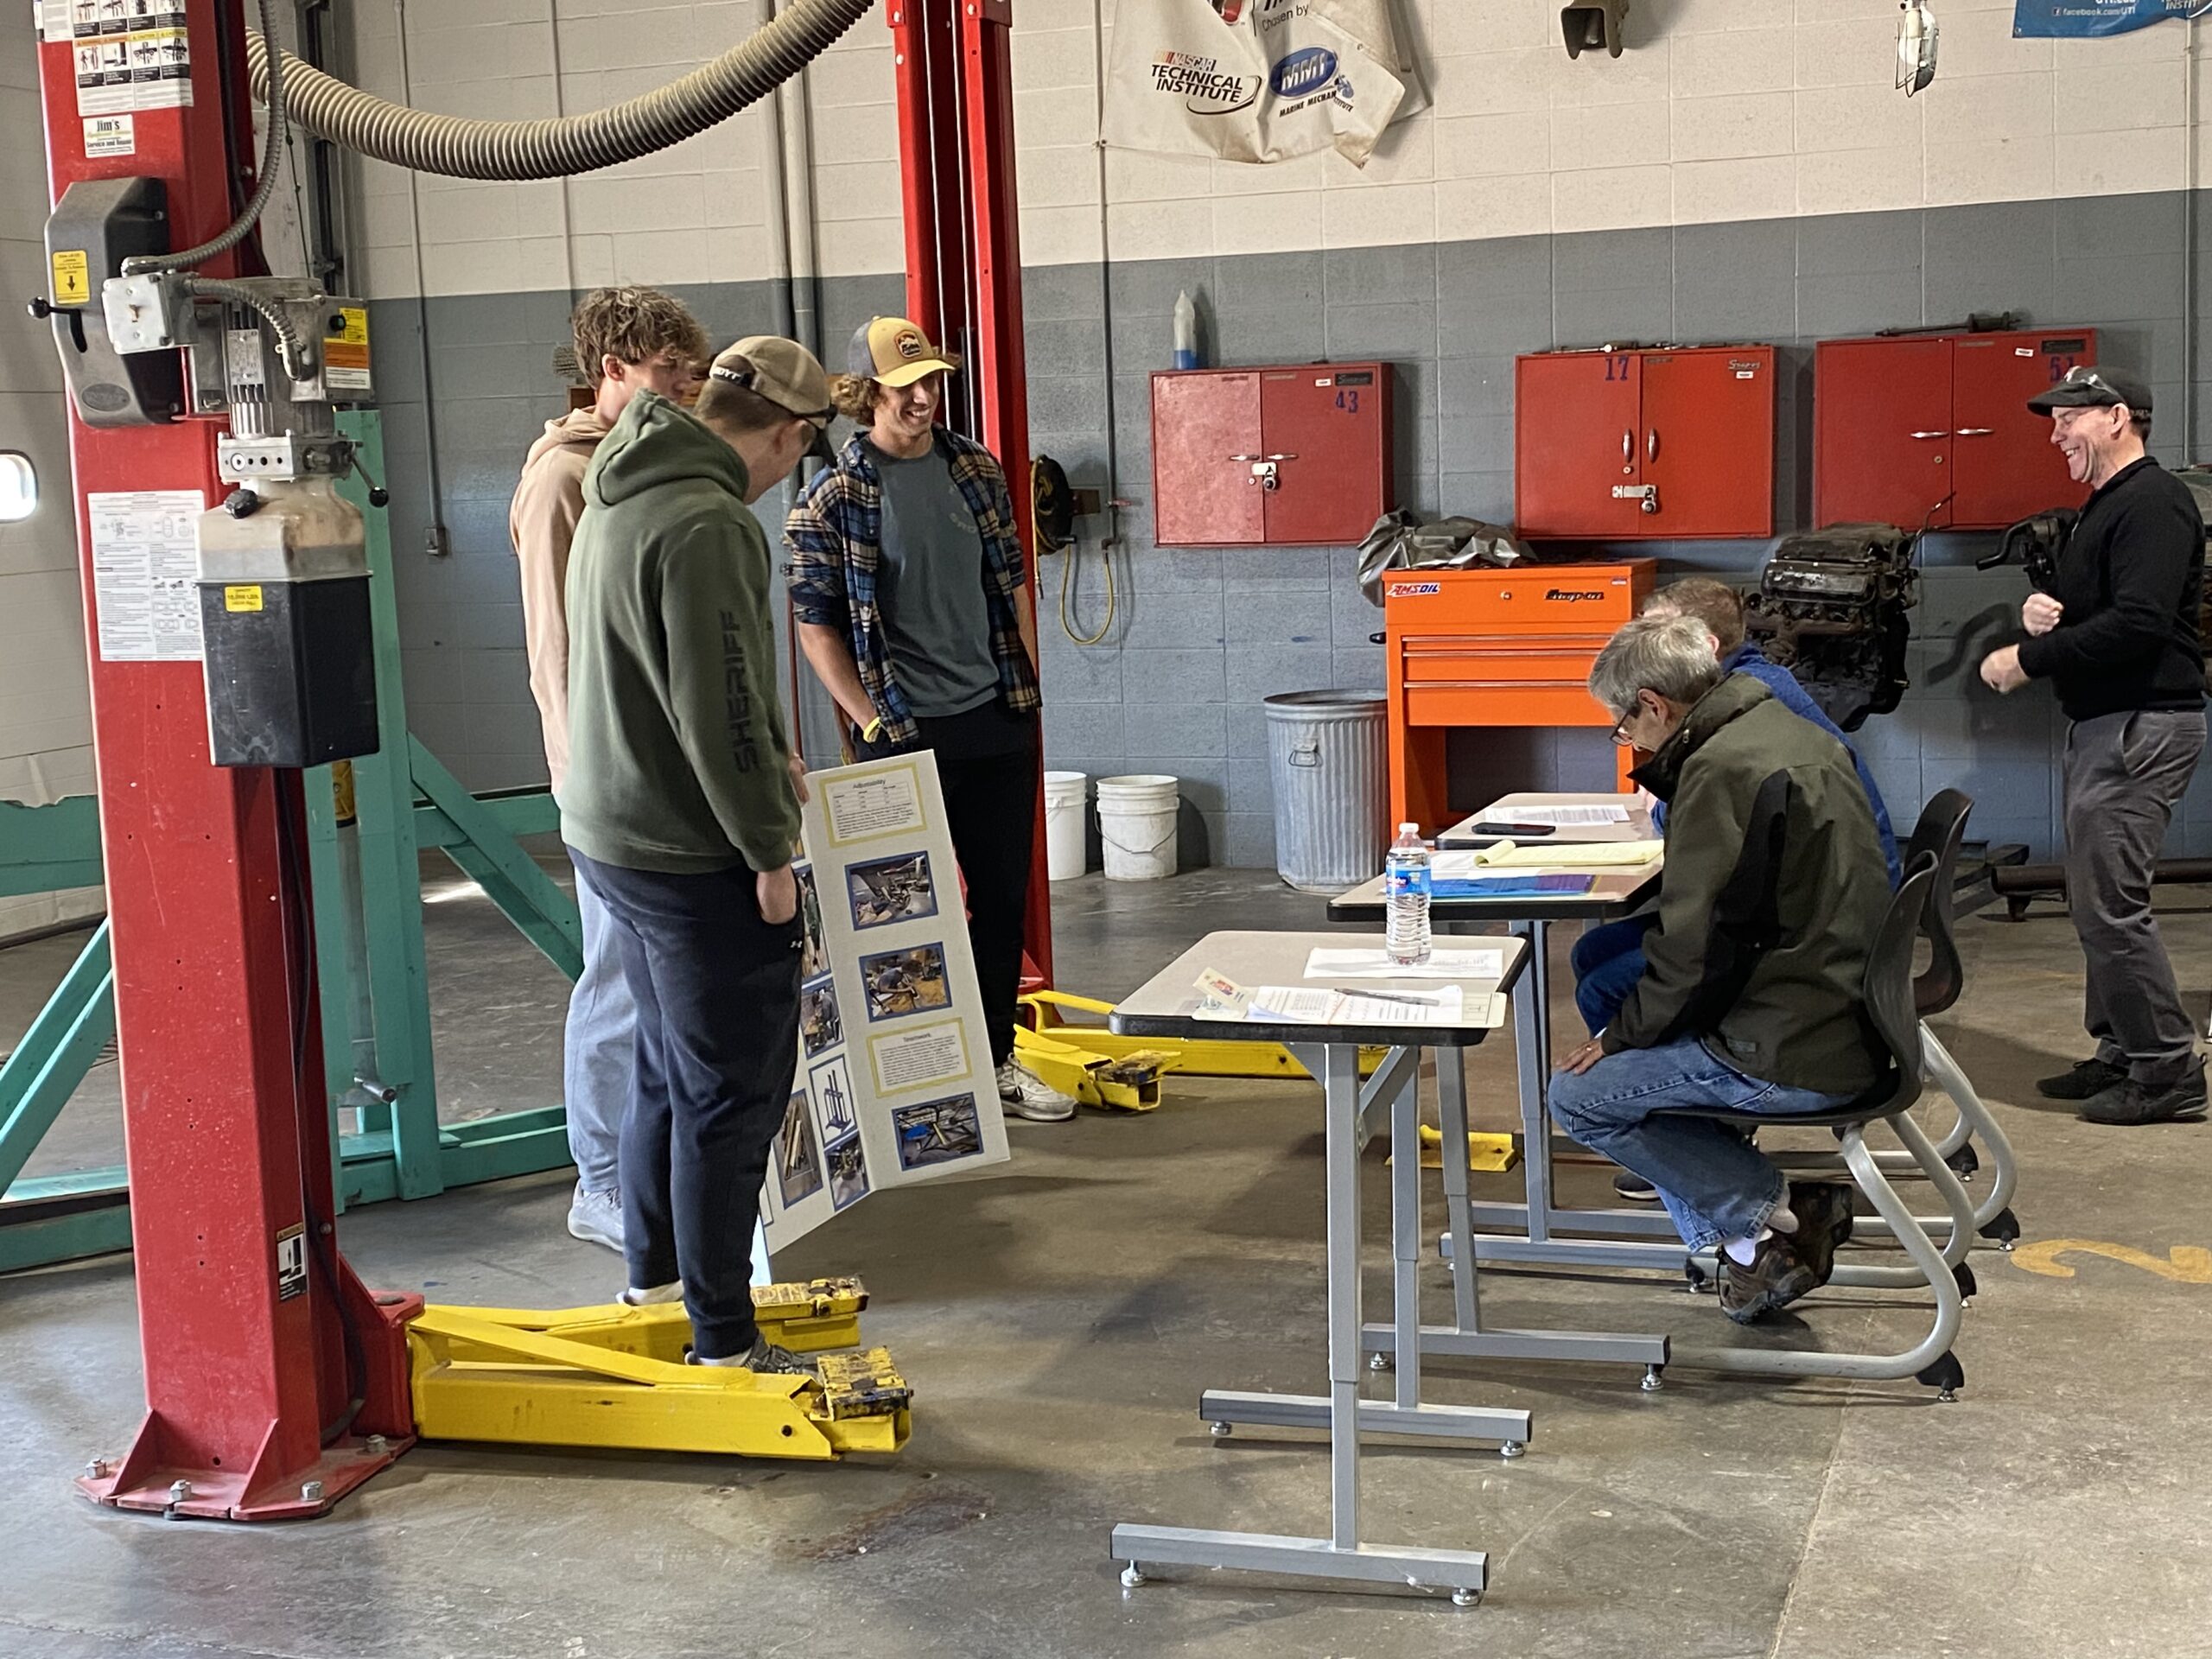
Presentation to board of judges on competition day
Following our presentation, it was our turn to launch eggs. Although I don’t remember our exact percentage of targets hit or overall accuracy, our performance earned us third place. On competition day, we had issues with our string and pouch assembly attached to our arm, and I wish that we had spent more time analyzing how egg placement and pouch placement affected overall flight. However, a third place finish was very exciting heading into the final competition.
Egg trebuchet hitting the 75 ft target on competition day
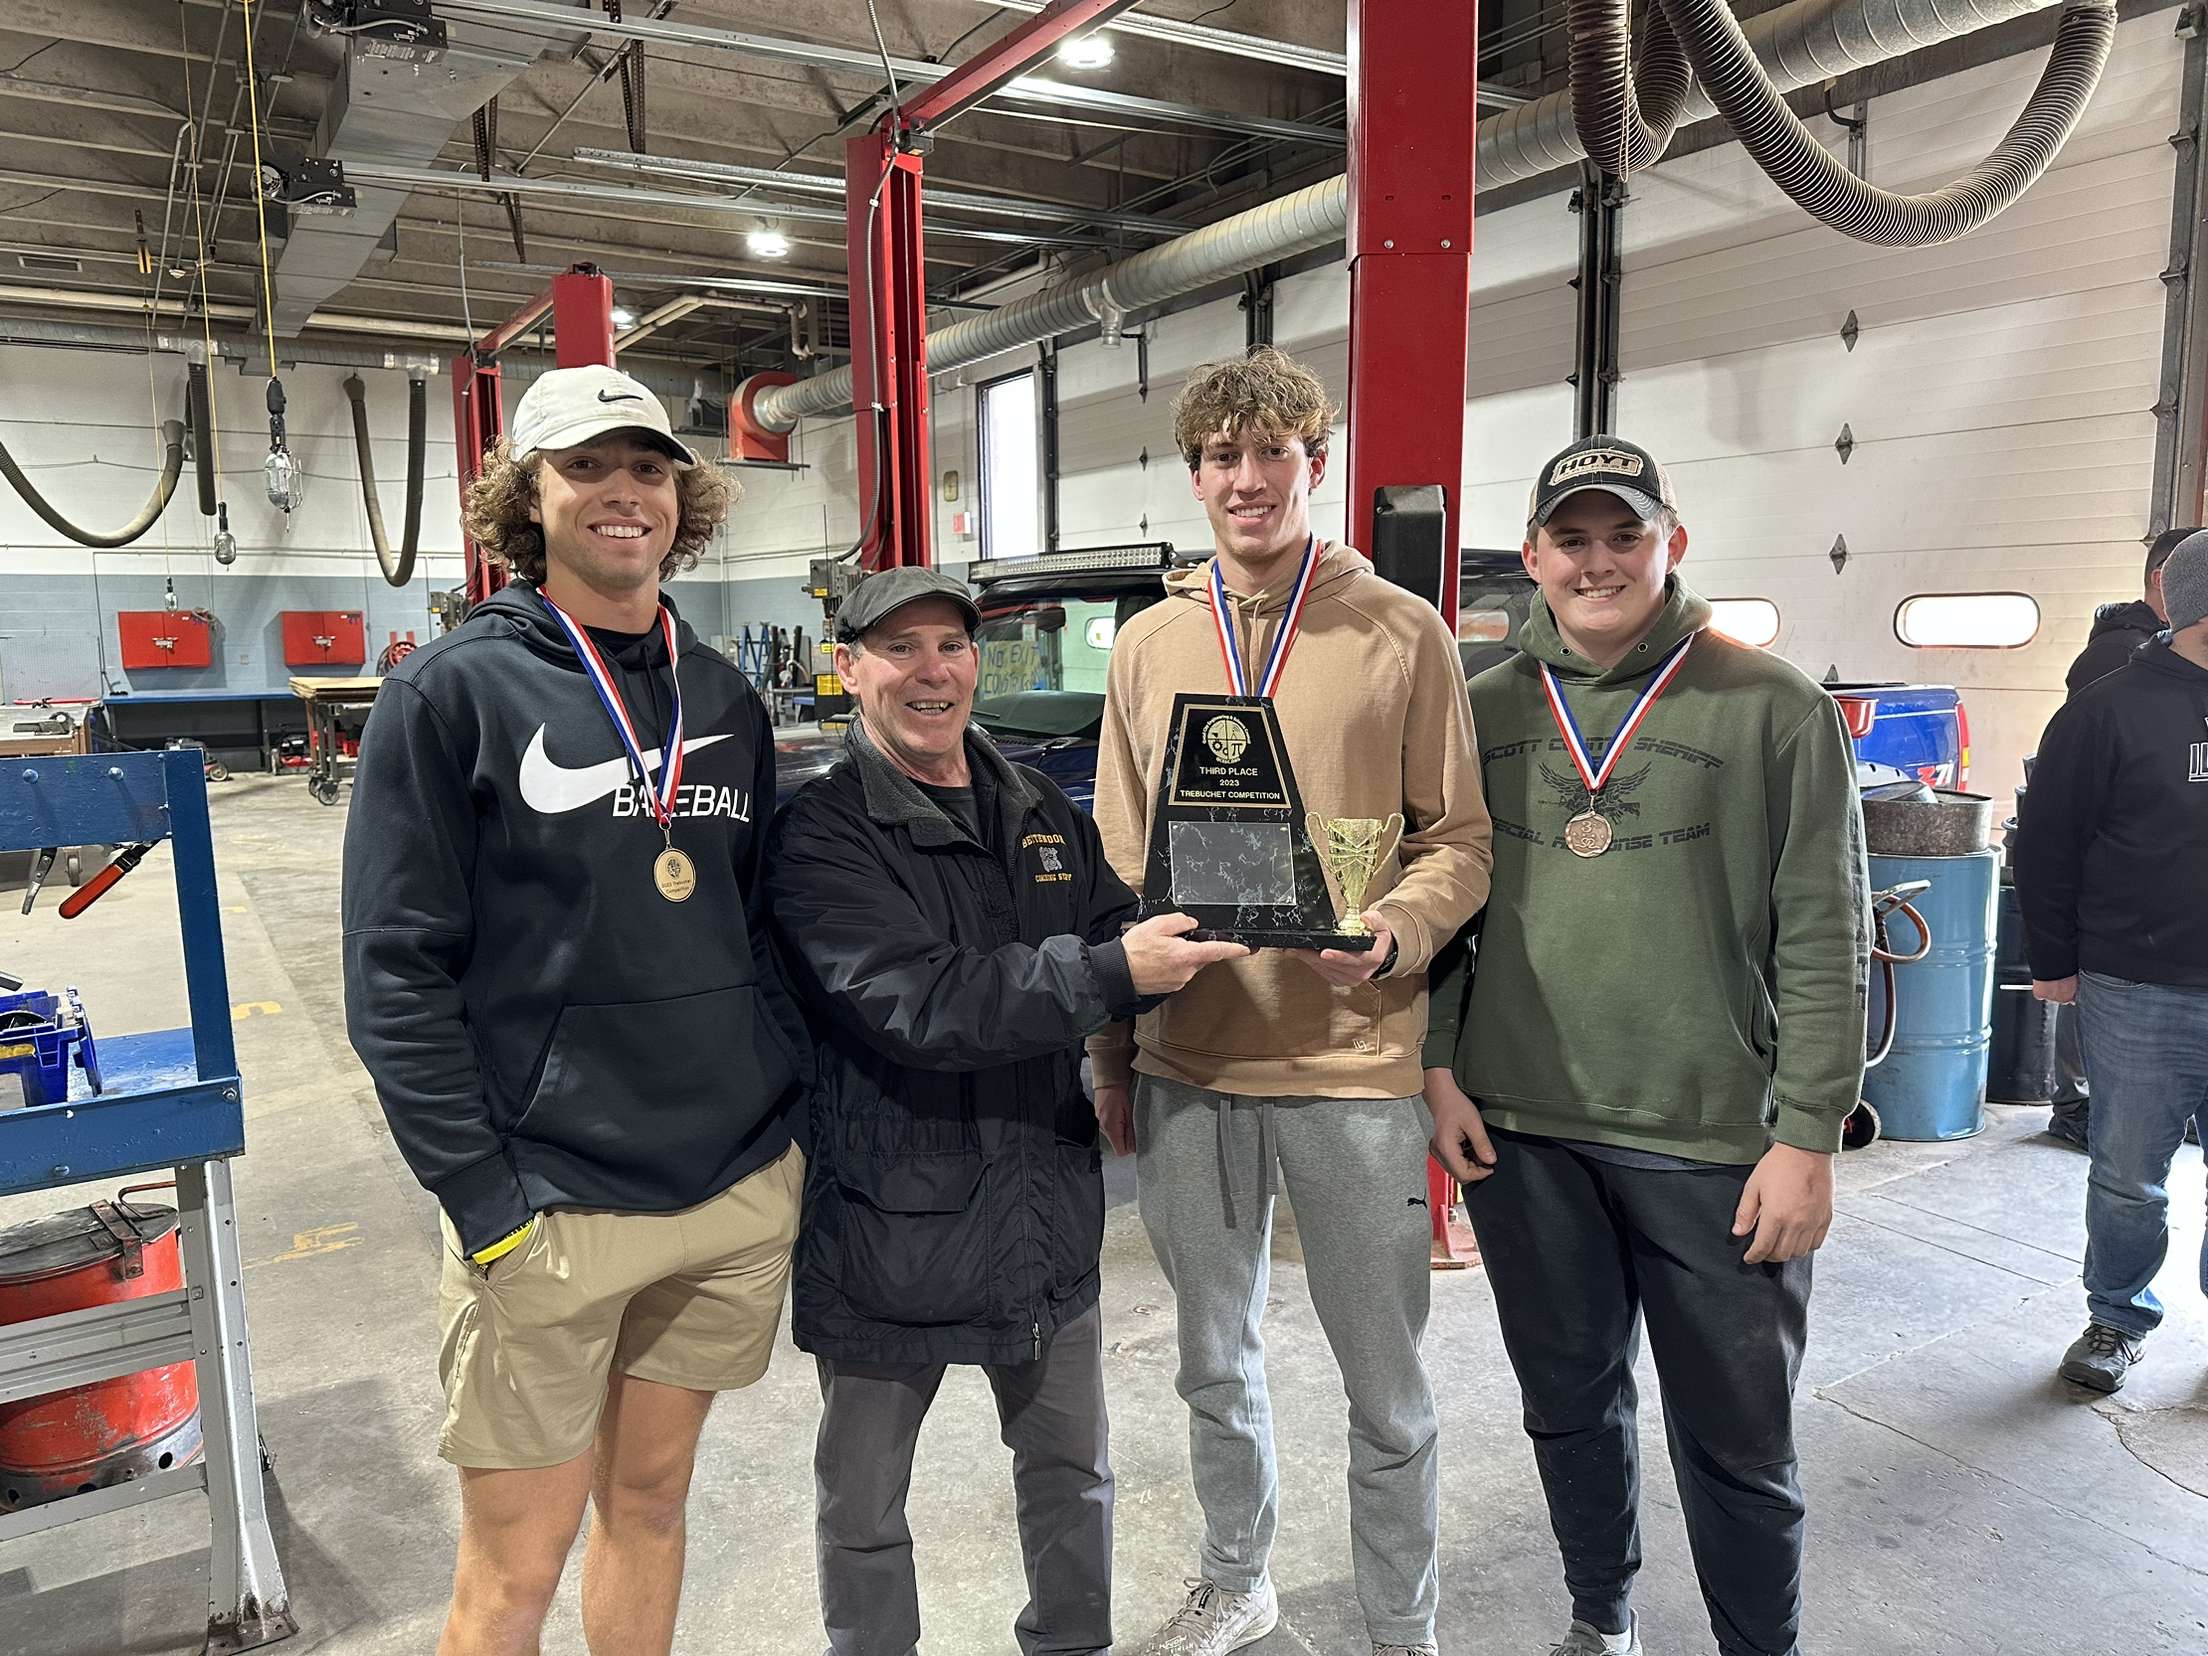
My professor, me, and my team with our third place trophy
Cardboard Boat Regatta Race
The final leg of competition was the cardboard boat regatta around the Bettendorf Middle Park Lagoon. Teams of one or two people would build a boat, as well as power systems (oars, paddles, etc), completely out of cardboard, and a time trial would be held at the lagoon. The total distance was around 600 yards, and teams are only allowed to use liquid water sealants/adhesives that do not significantly alter the structural integrity of the boat. A more in-depth overview of the event, as well as full rules, can be found here.
Looking at previous winners, the fastest times were overwhelming with boats piloted by two people instead of one, so that’s what my teammate and I designed for. Using Archimedes’ principle that the weight of displaced water must equal or be smaller than the weight of anything associated with the boat, and using 62.4lbs/ft^3 as the weight of water, our boat needed roughly 6 cubic feet of volume below the waterline. Our boat was designed to use a large (roughly 10 ft x 10 ft) sheet of cardboard, as well as a watermelon bin I stole from my high school job for reinforcement.
In an effort to be even faster, our duo decided on using oars to avoid swinging back and forth across the vessel. The cardboard use here was a mix of old carpet tubes I sourced from a local carpet place, as well as old industrial cling film tubes I also “borrowed” from my high school job.
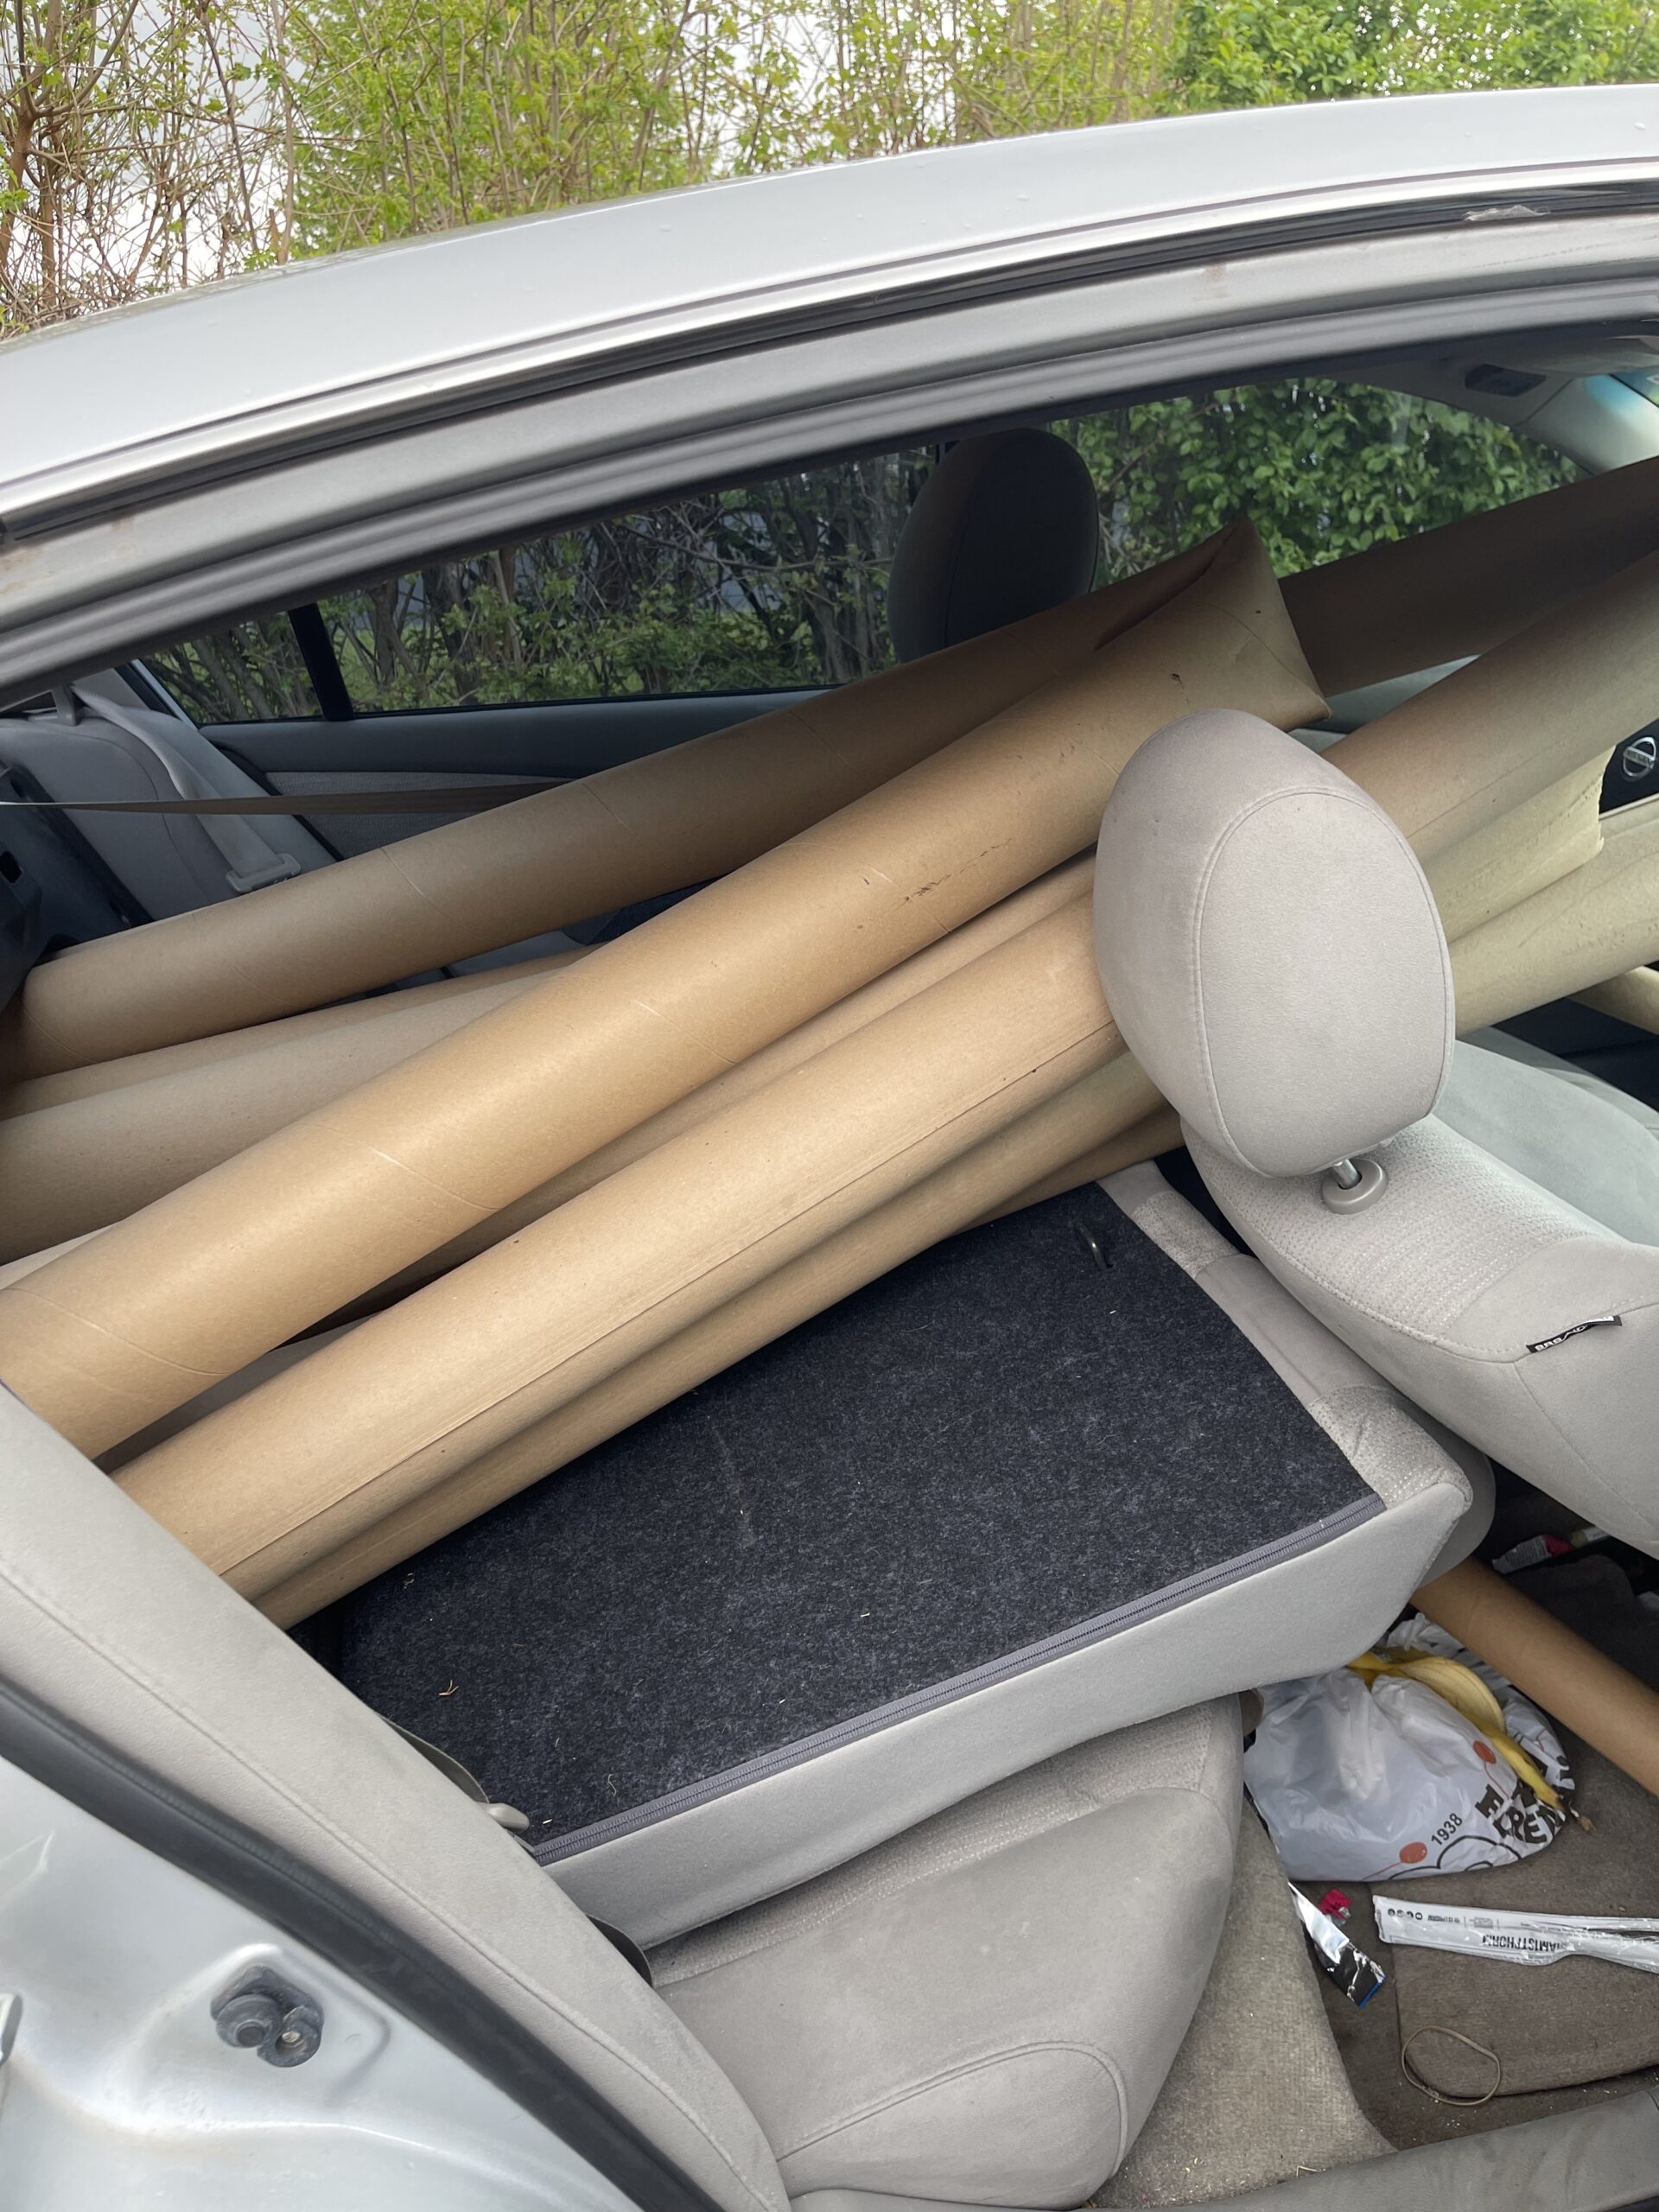
Totally legal transportation of cardboard tubes from the carpet shop to my high school
In building the boat, original Gorilla Glue was the glue of choice due to its waterproof nature and high strength. To seal our cardboard, Gorilla Glue Sealant Spray and Waterproof Deck Stain was used. In sheet metal style, our general design was traced onto the large piece of cardboard, with the intention of folding it together to keep the corrugated portion behind a sealed wall. Various weights, clamps, and straps were used to hold the glued portions in place while setting. Unfortunately, one thing we fought was attempting to glue over the deck sealant, as this naturally repelled the glue. Light sanding was required on certain areas to get a better bond.
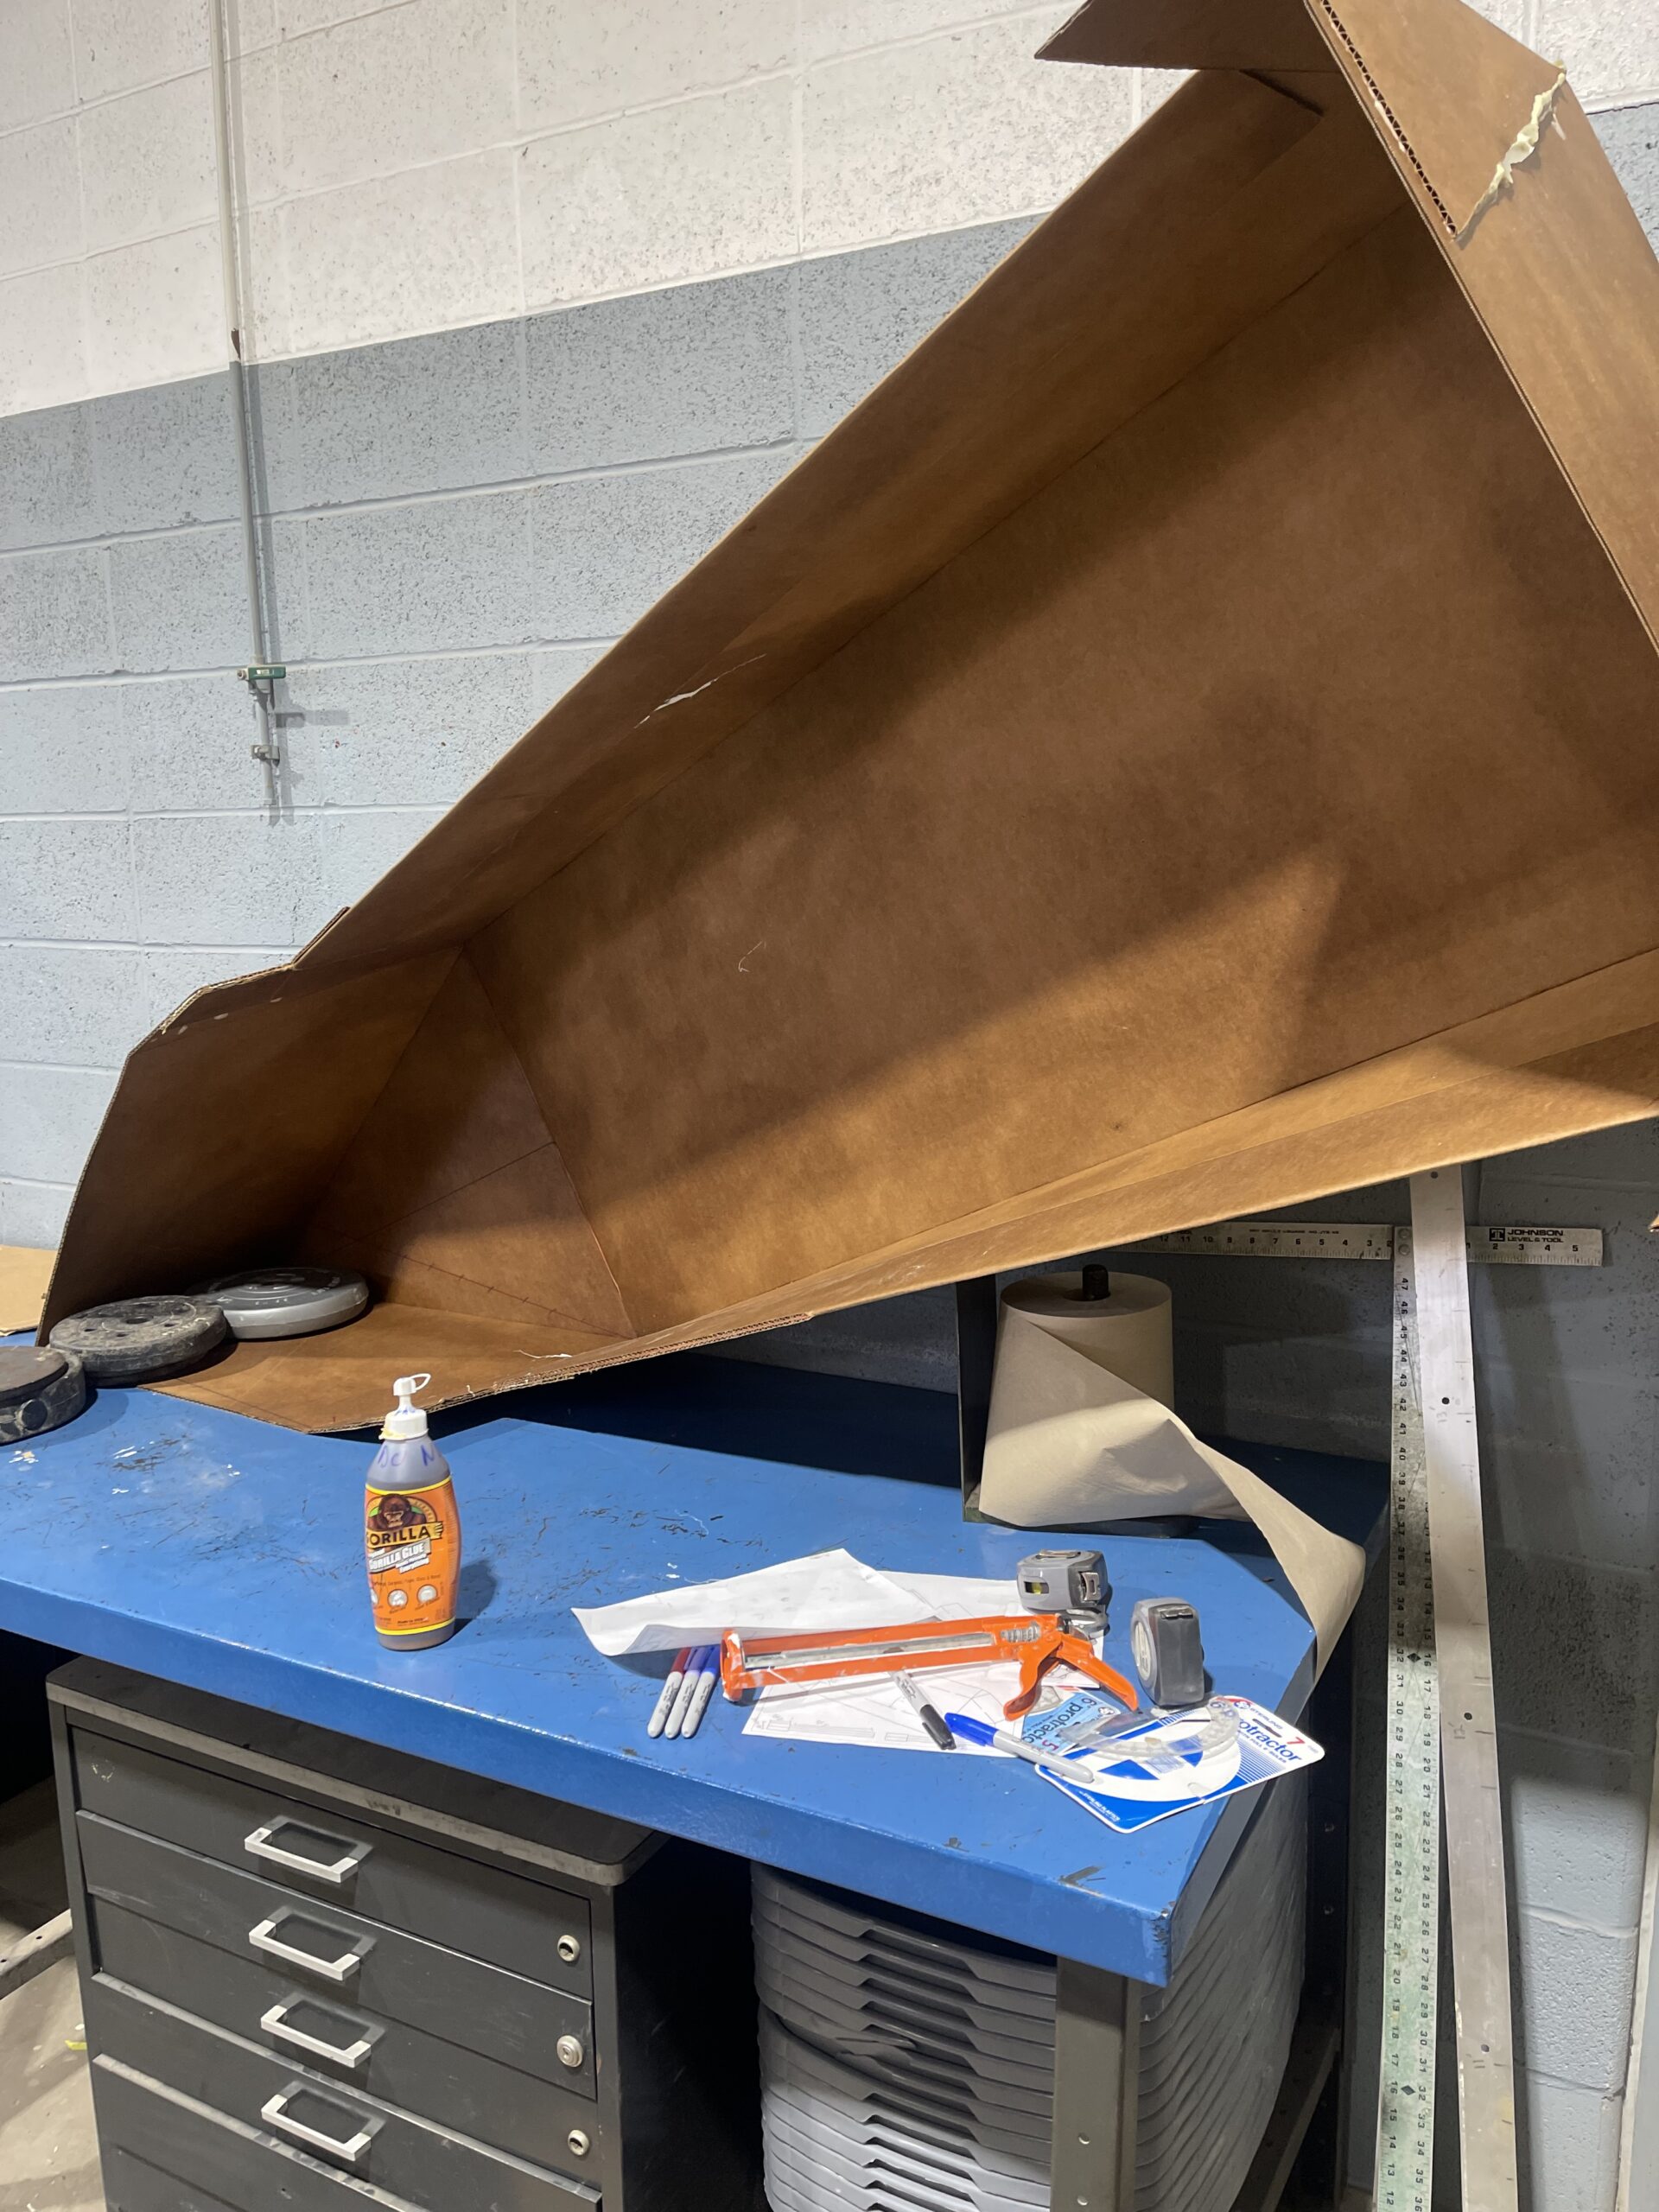
Early gluing after applying deck sealant
Tubes spanning the boat’s opening were also installed in an effort to minimize the boat folding in on itself like a taco due to the centralized weight of the occupants.
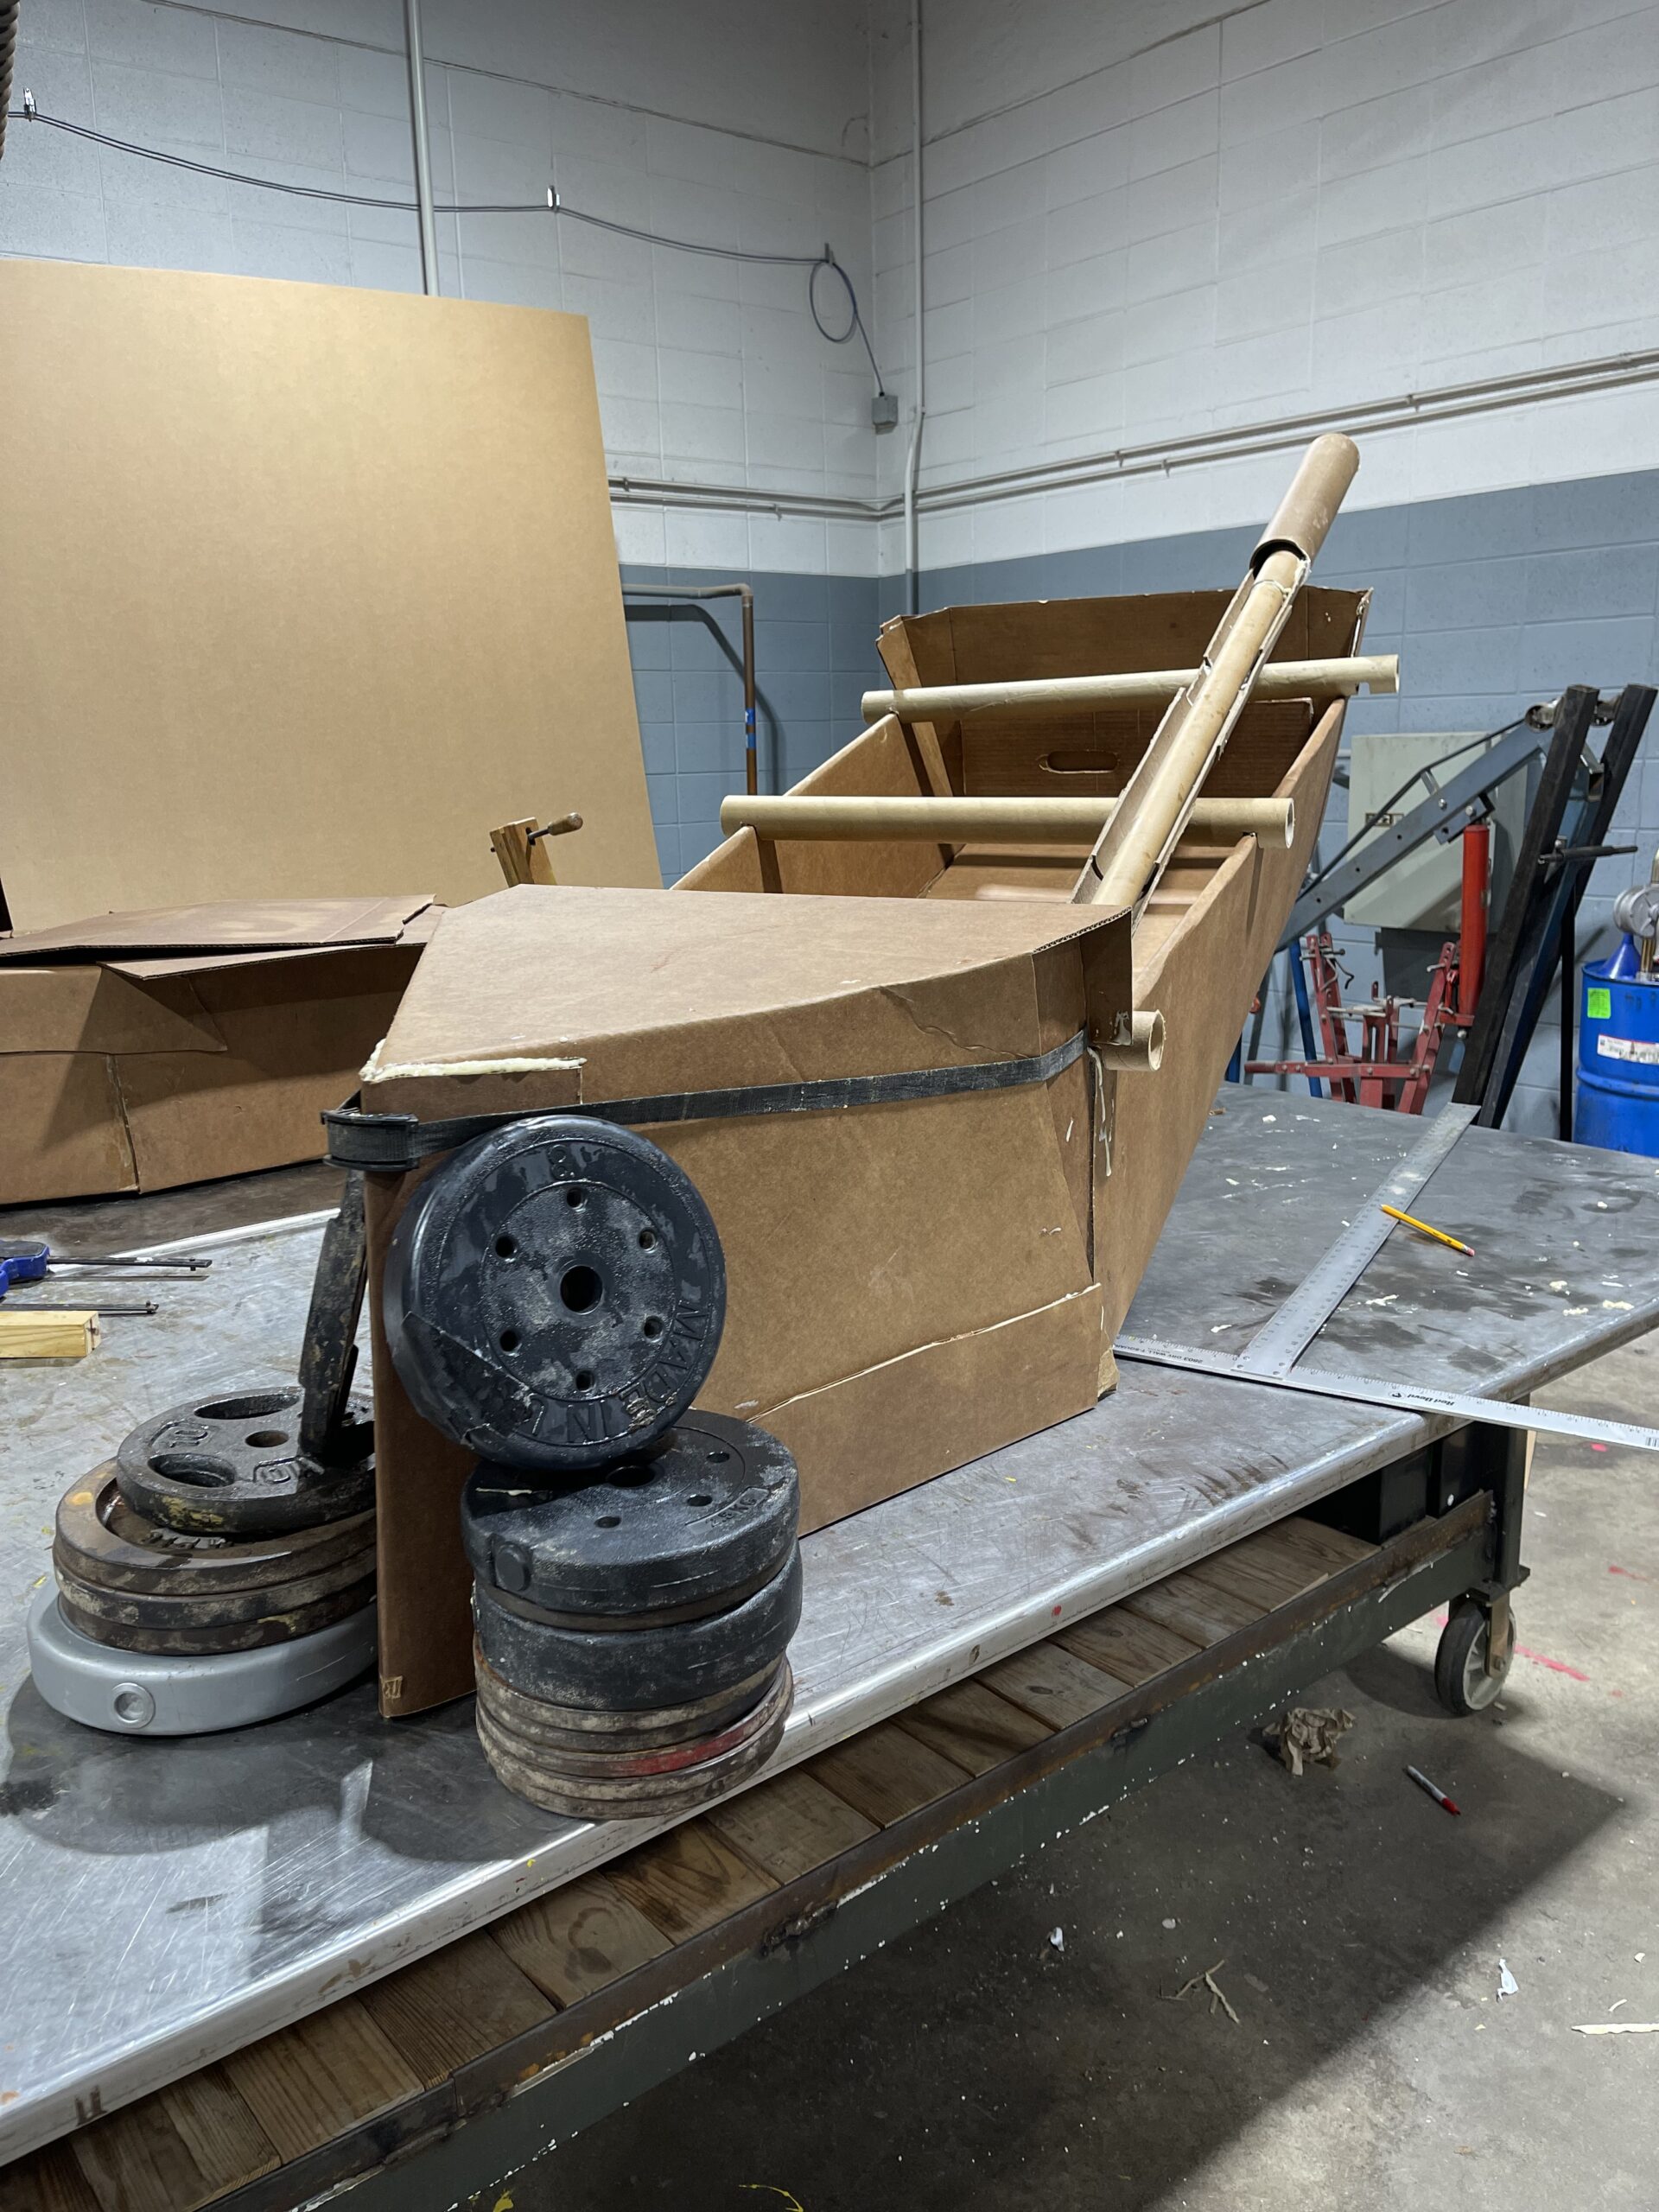
Reinforcements glued to the bow, as well as spanning tubes
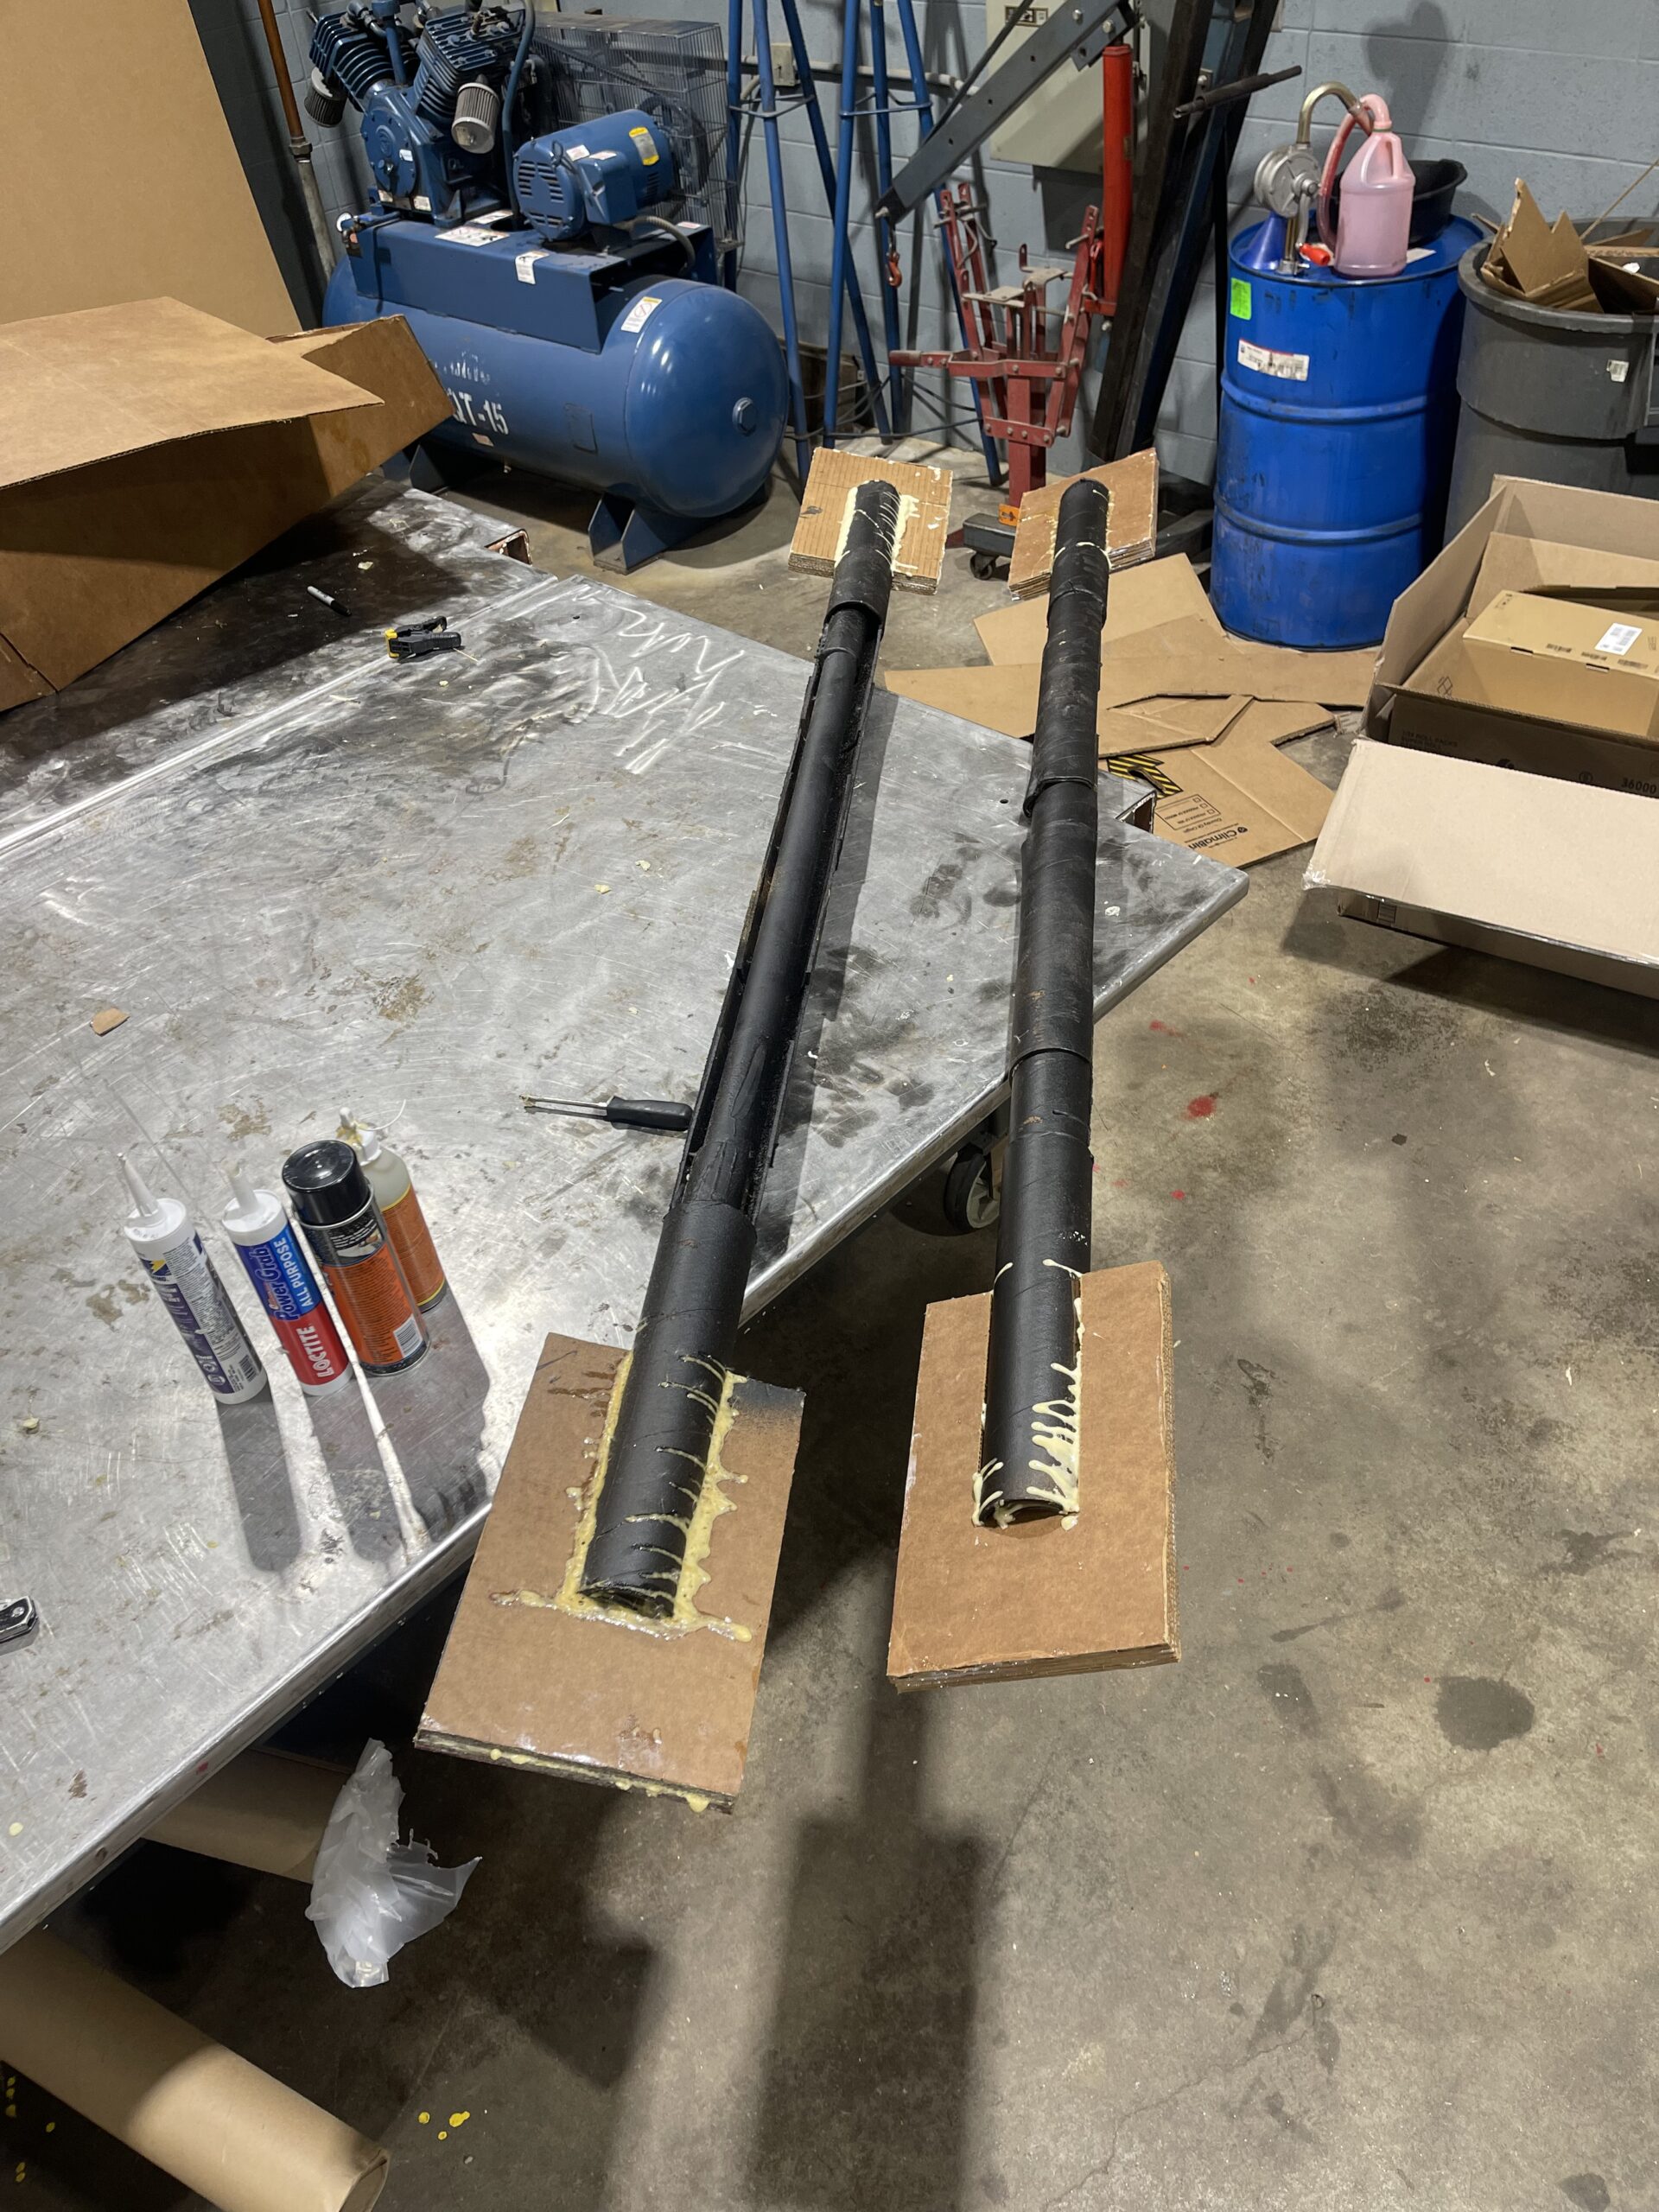
Oars assembled, with Gorilla Glue Sealant applied
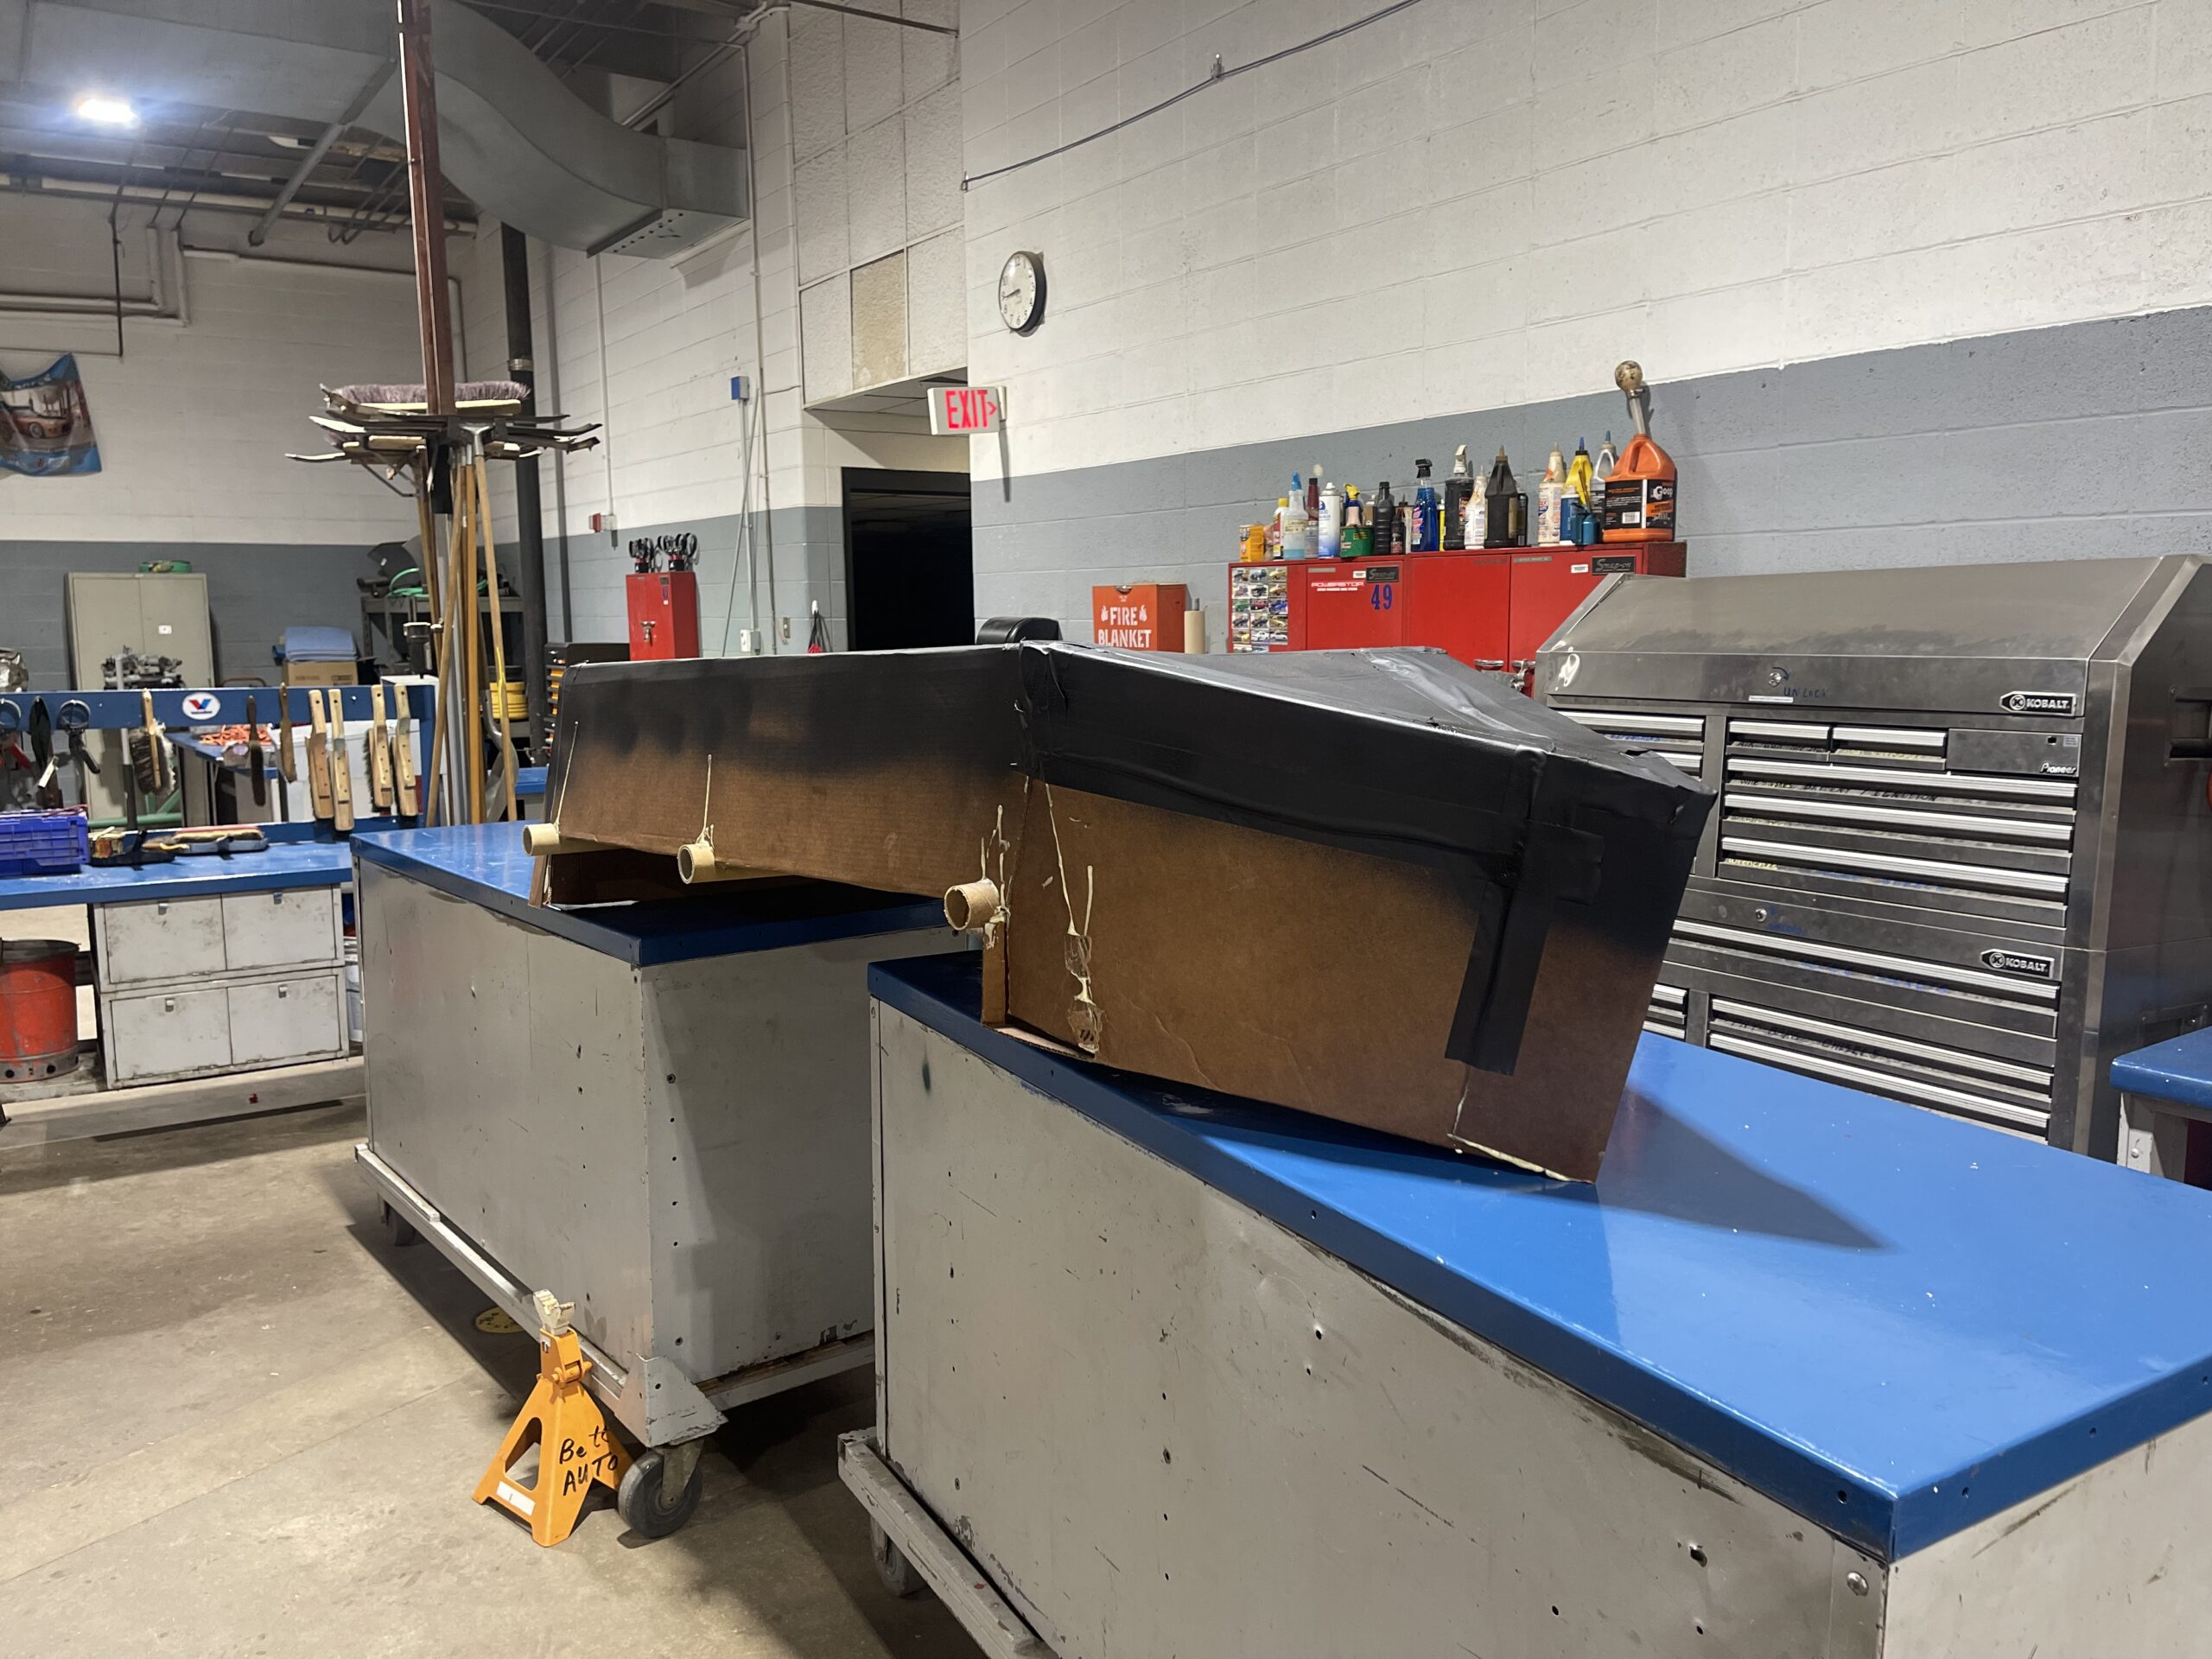
Boat assembled, with Gorilla Glue Sealant applied to the lower portion
In painting our boat, we decided we were going to rewrite the history of one of the most infamous maritime disasters of all time…
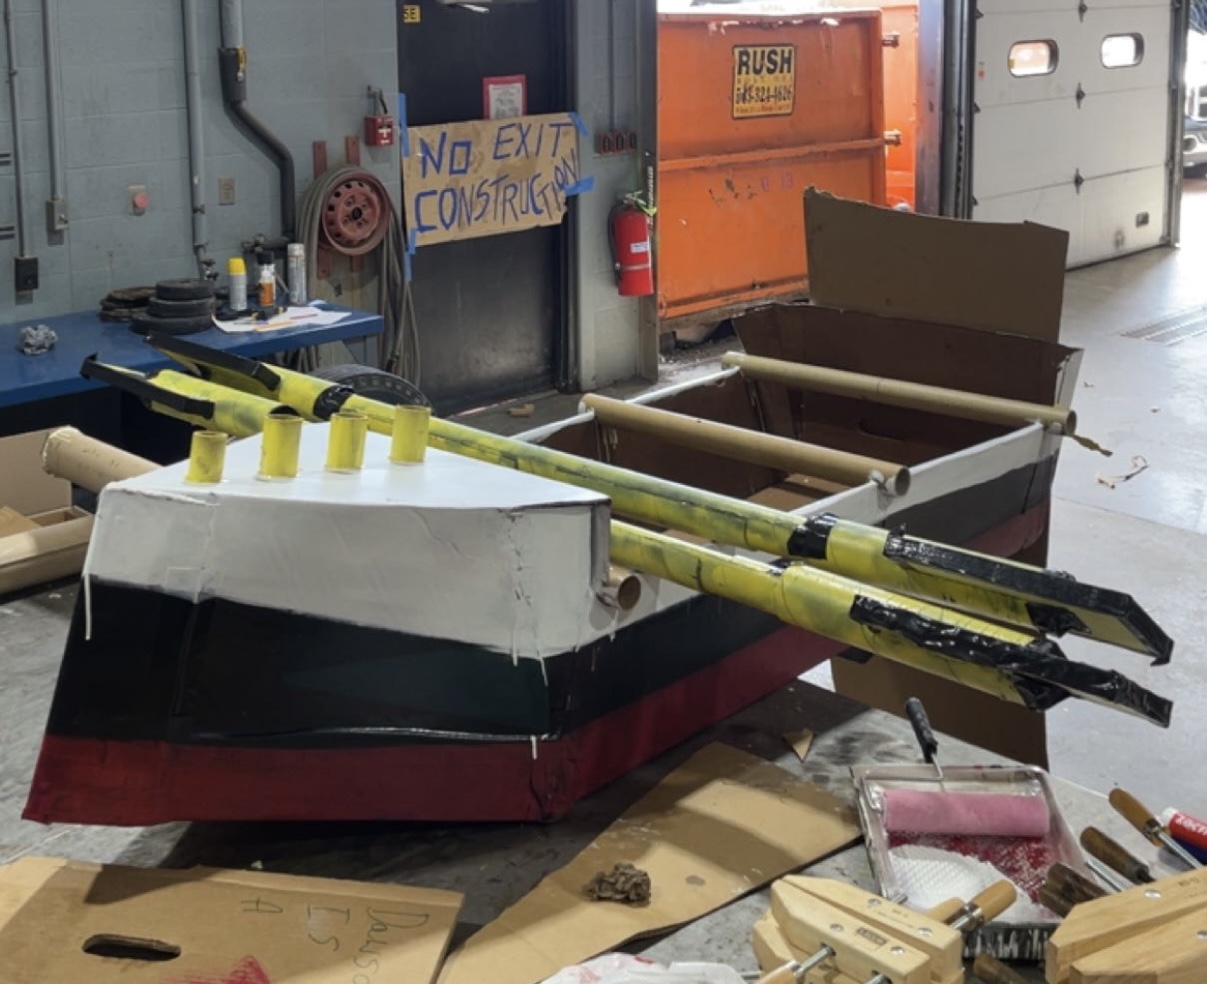
RMS Titanic, cardboard edition
On the day of the regatta, we were ready. Our boat and oars were solid, our calculations were sound, and we were ready to blow the competition out of the water (ha!). When our turn finally rolled around, my peer and I managed to get ourselves into the boat, unfortunately breaking the middle cardboard tube in the process. Reinstalling it the best we could, we set sail…
And sank not even 100 feet from the dock. In our calculations, while our boat might have been able to float forever, we didn’t account for the fact that we would both be rowing, causing a weight swing side to side, as well as have a rearward weight bias. Pairing both of these together, along with a razor thin margin of error in our displacement, resulted in water filling the back of the boat every time we reached over to paddle. As you can see in the video, the way the boat sank was stern first. Or, I could blame my poor engineering on the bad omen that is probably naming your boat after the Titanic.
Fortunately for my group, our boat was so well-built that it came out of the water in one piece, and was remarkably still solid. Given that the rules did not say anything about trying again, we decided to let it dry out and run again, only this time with just one person. However, when this was attempted, the boat had been softened too much during the first sink, and I managed to sink the same boat twice in one day. This was surely caused by the Titanic tribute and not by my engineering.
Unfortunately, the finish, or lack thereof, in the cardboard boat regatta resulted in a multi-way tie for first place at the end of the three competitions, and a winner was chosen at random, who was not me. Although much of the engineering seen in this challenge was elementary, the opportunity to compete allowed me to experience firsthand how different variables come into play, such as tolerances, accuracy, and testing. If I were to go back and attempt this competition as a collegiate engineer, I would be curious as to how I would approach the same problems.